How to donate frozen oocytes or embryos?
From MedITEX - Wiki
In order to donate frozen oocytes/embryos, a few prerequisites need to be fulfilled.
Contents |
Donor
The option Person is: Donor (Ooc./Emb.) needs to be checked for the donor of the oocytes/embryos. These are the steps:
- Click on Demographics (female) then, double-click the green area on the right.
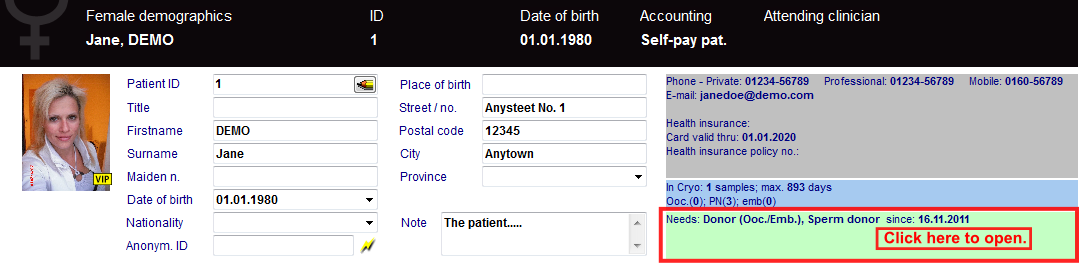 |
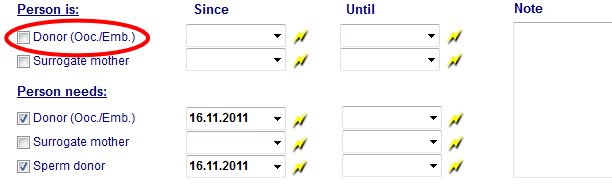
- On the opened window Person and donor information, you need to check that the Person is: Donor (Ooc./Emb.).
 |
Change to the recipient patient.
Recipient
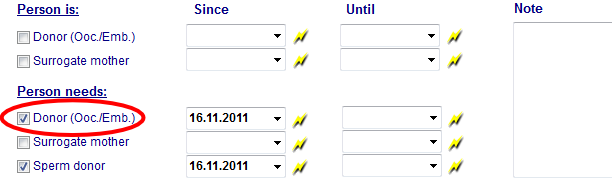
The option Person needs: Donor (Ooc./Emb.) needs to be checked for the recipient of the oocytes/embryos. These are the steps:
- Click on Demographics (female) then, double-click the green area on the right.
| |
- On the opened window Person and donor information, you need to check that the Person needs: Donor (Ooc./Emb.).
 |
Donor's cycle
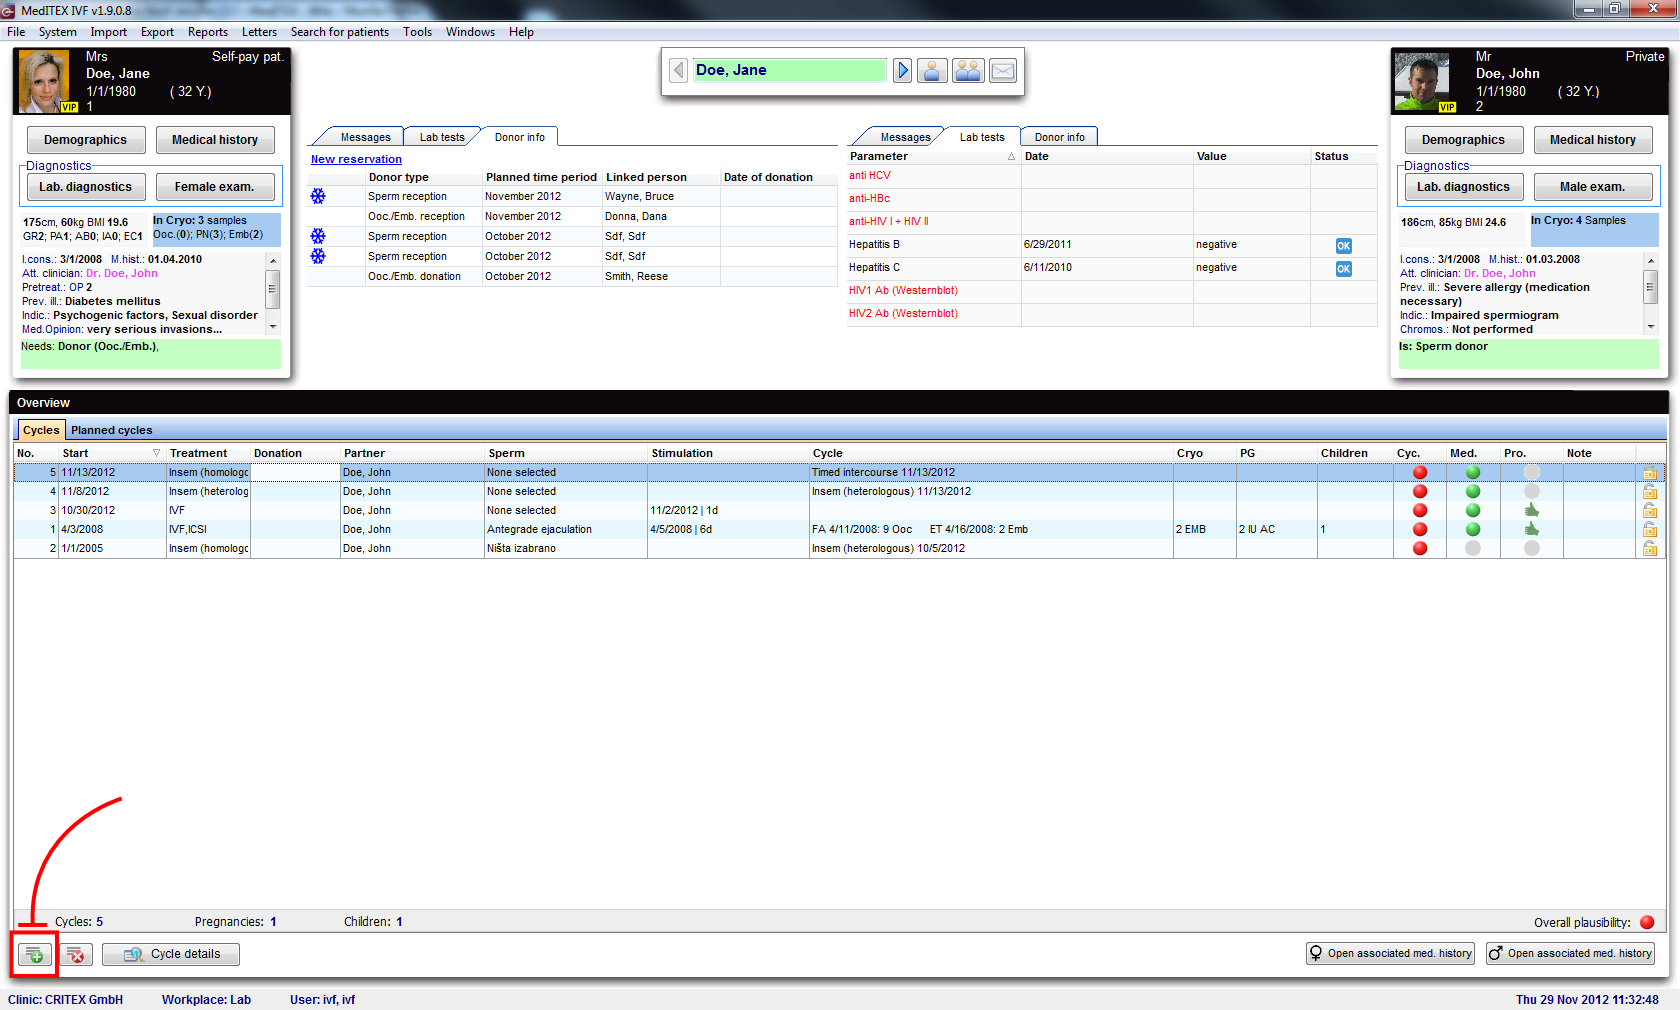
To create a cycle, click on the '+' button at the bottom left corner of the main patient's window.
 |
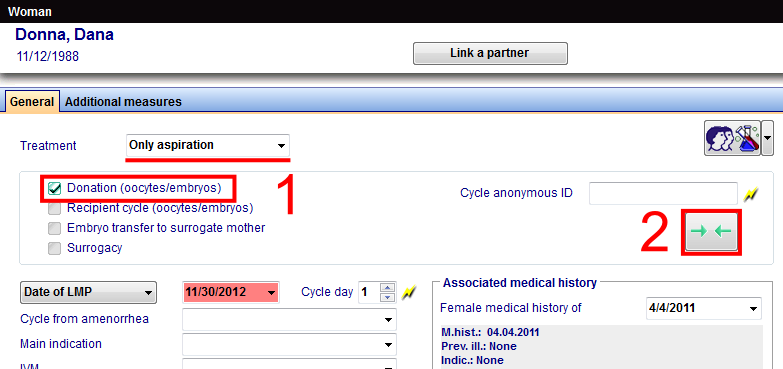
Create either Only aspiration or any IVF/ICSI cycles and check Donation (oocytes/embryos).
 |
After creating the cycle, switch to Aspiration and select the amount of oocytes collected.
In order to cryopreserve oocytes, change to Cryo/Donation. Switch to the Graphical representation and select the desired material (1). Right-click on it and choose Cryopreservation. The cryopreservation window will open. You must enter all information necessary and check For donation (2).
 |
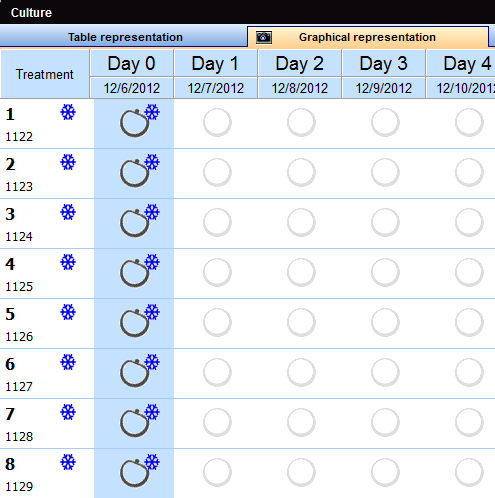
This is how Graphical representation will look after cryopreservation.
 |
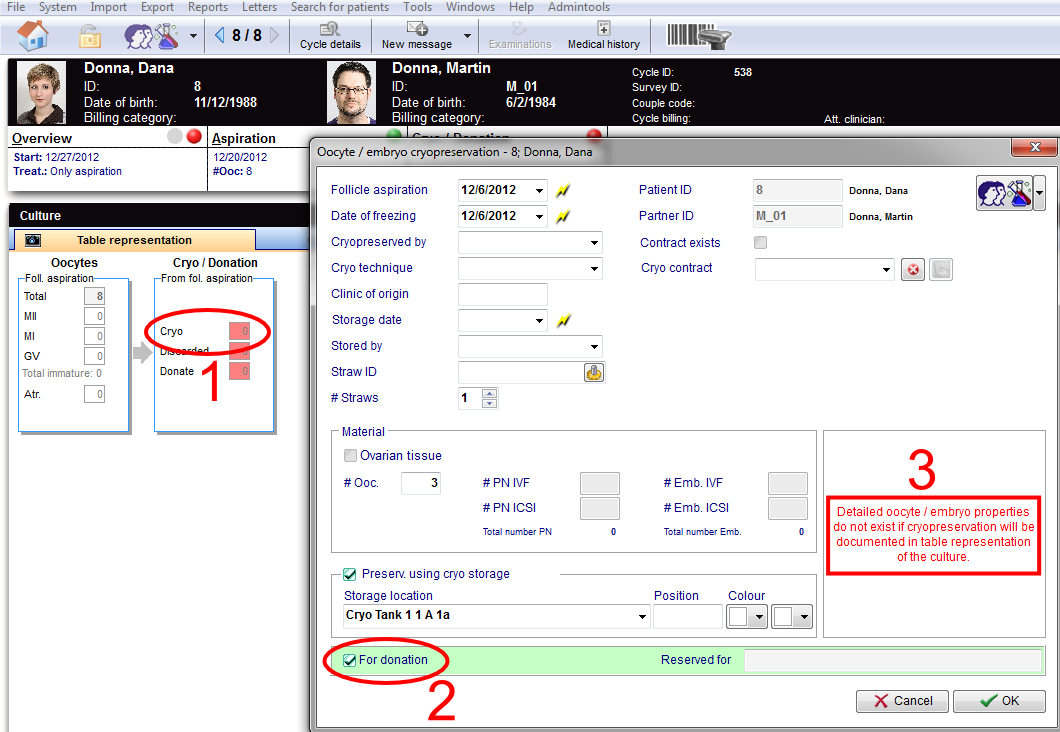
Another way of cryopreserving material is through the Table representation view. Double-click the red cell for Cryo (1). The cryopreservation window will open and you must enter all information necessary and check For donation (2).
Note: using this view, detailed properties will not be recorded for individual oocytes/embryos (3).
 |
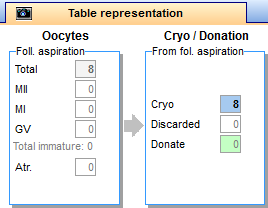
This is how the table will look if you cryopreserve all oocytes.
 |
Straw reservation
After the material is cryopreserved, we need to reserve straws so we can continue with the donation process.
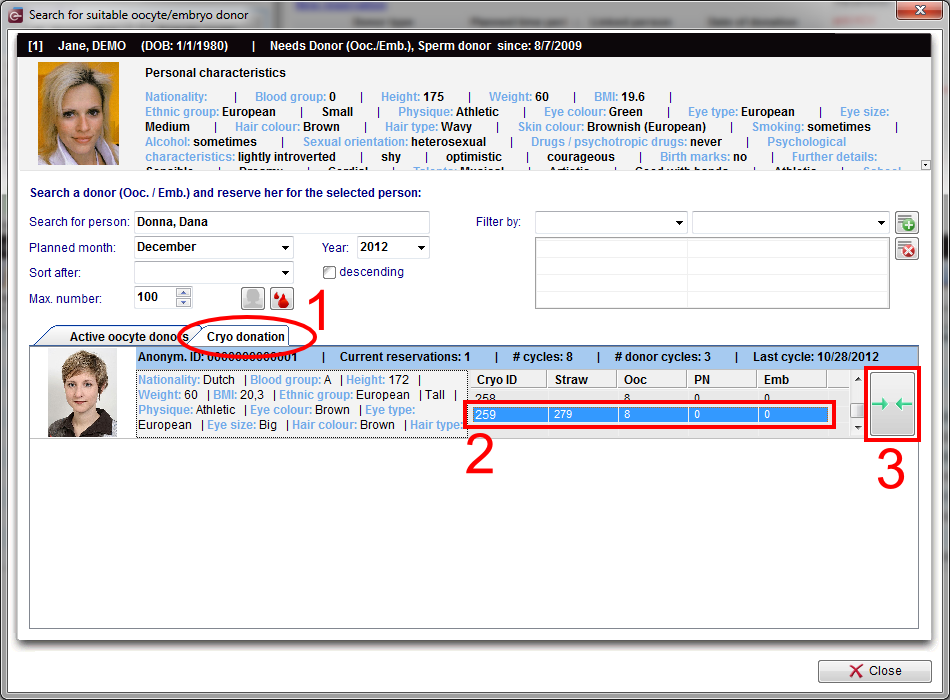
On the recipient’s main screen, open Matcher (Donor info -> New reservation). On the Cryo donation tab (1) search the donor you need and choose the straws you want to have reserved (2). Click on the matcher button (3).
 |
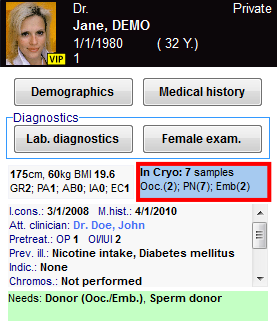
Now we are able to see the reserved straws in the recipient’s cryo area. From the patient’s main screen, double-click the blue area.
 |
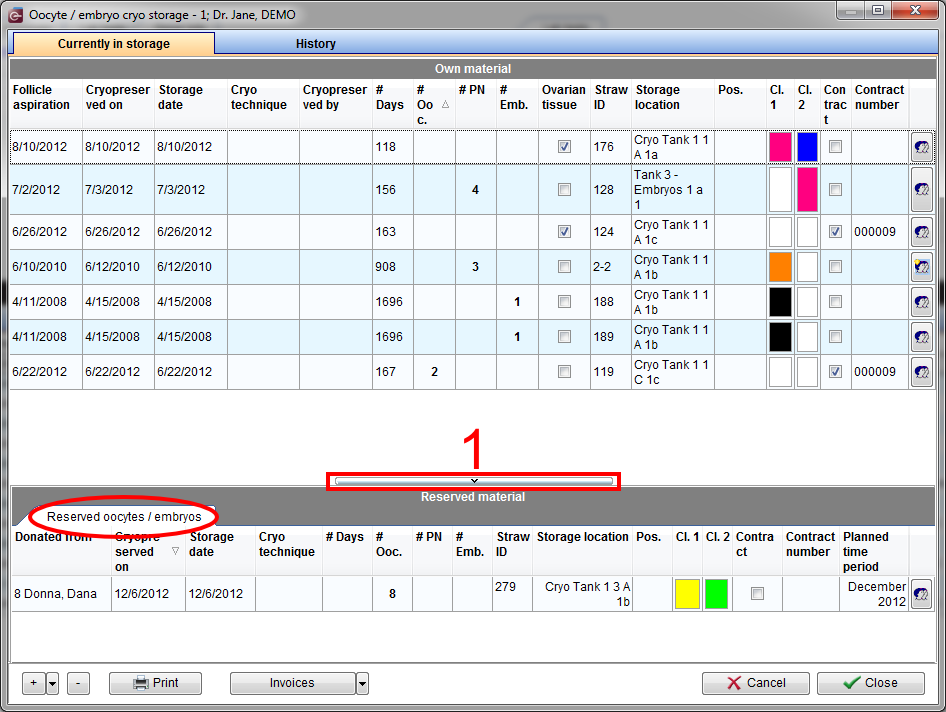
If the Reserved material area is not visible, click on the bar at the bottom of the window (1).
 |
Recipient's thawing cycle
Now we have to create a new cycle for the recipient.
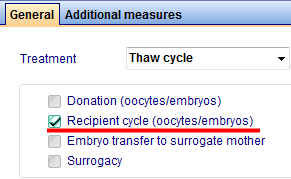
Again, click on the '+' button at the bottom left corner of the main patient's window. Select Thaw cycle and check Reception (oocytes/embryos).
 |
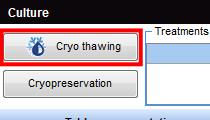
Now thaw the straw that we have reserved earlier. In order to do that, we need to open this newly created cycle, switch to Culture and then, Graphical representation. Click on Cryo thawing and three windows will open at once.
 |
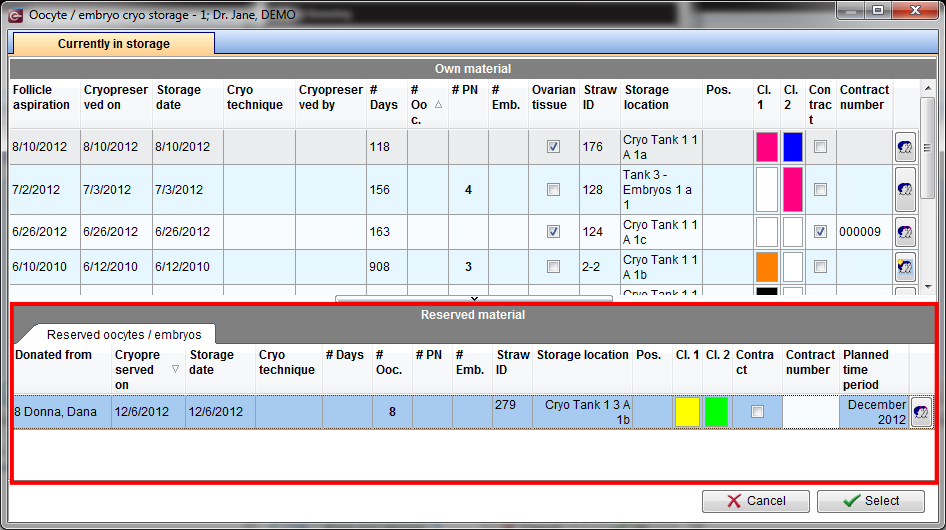
On the first window, select the reserved oocytes/embryos from the Reserved material area at the bottom and confirm by clicking on Select.
 |
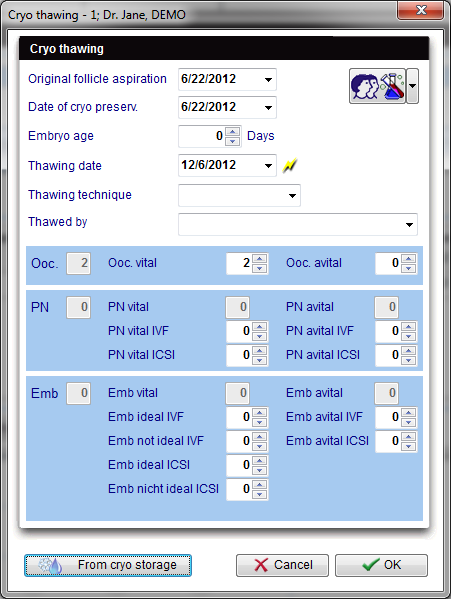
The next window will be updated with the information from the cryo storage from the previous window. Enter the remaining data and confirm clicking on OK.
 |
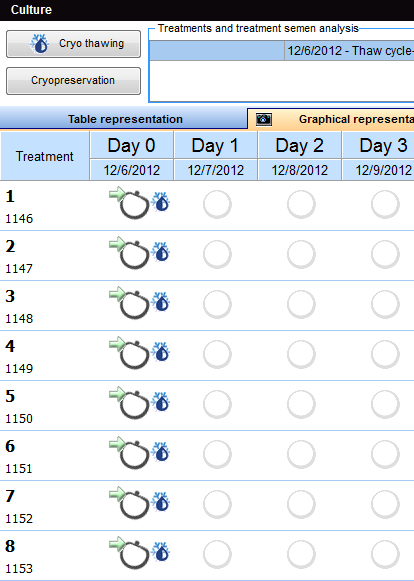
This last window shows the history of thawed materials for this patient. Close this window and the cells will appear in our cycle.
 |
If you want to use more straws (or decided to use straws from another donor), repeat these steps to thaw them in this cycle.
Cell tracking
| Cell tracking also works for thawed material. You can have more information here. |
| Back to the How to | Back to top |