Demographics
From MedITEX - Wiki
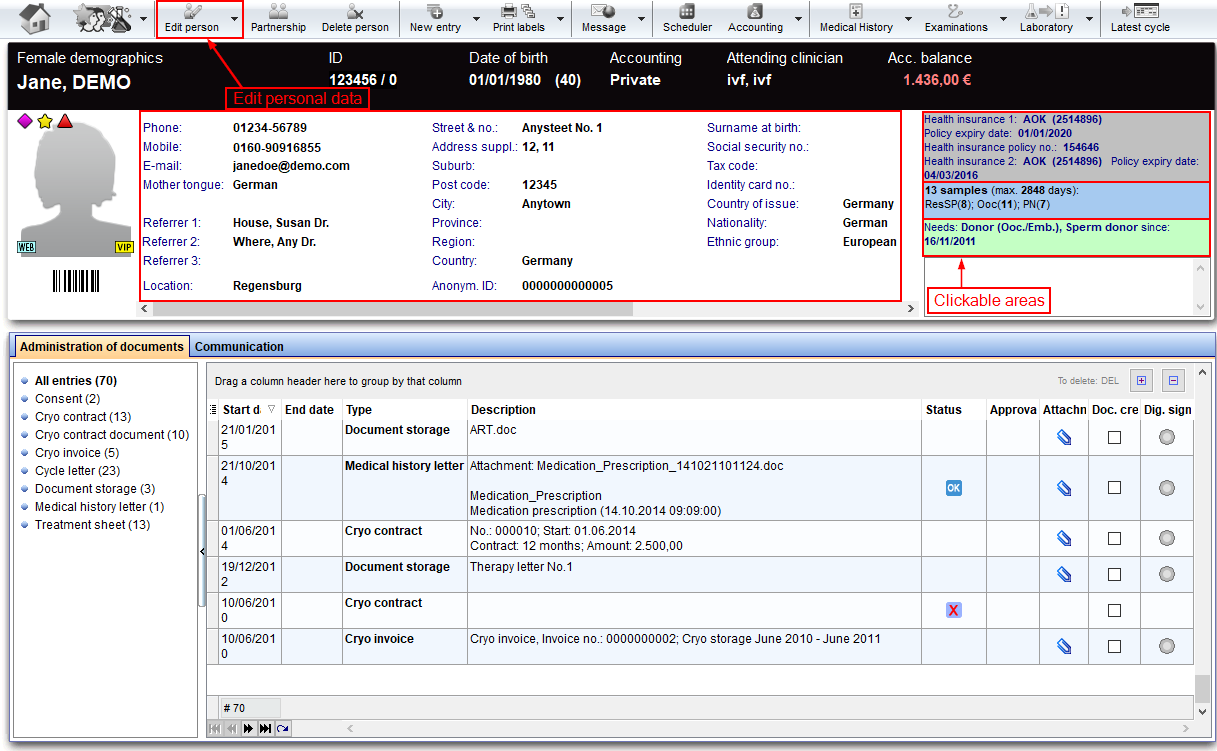
The Demographic page is divided in two main parts:
- The upper part contains patient's personal data, a summary on additional personal data (grey box), a summary related to cryostored materials (blue box) and a summary related to donor information (green box). The section related to donor information may not be available if donation is not allowed in the user country.
- The bottom part contains a section with the list of the documents archived (Administration of documents) and a section with the list of messages sent/received related to the selected patient (Communication). It is also possible to select the documents grouped by type simply selecting the type in the left column.
 |
At the top of the page, a black bar is shown with the following information:
|
Contents |
Buttons
Some buttons have special functionalities. Click on it to have more information.
Clickable Areas
These clickable areas have special functionalities. Click on it to have more information.
Tabs with lists on the bottom of the page
Administration of documents
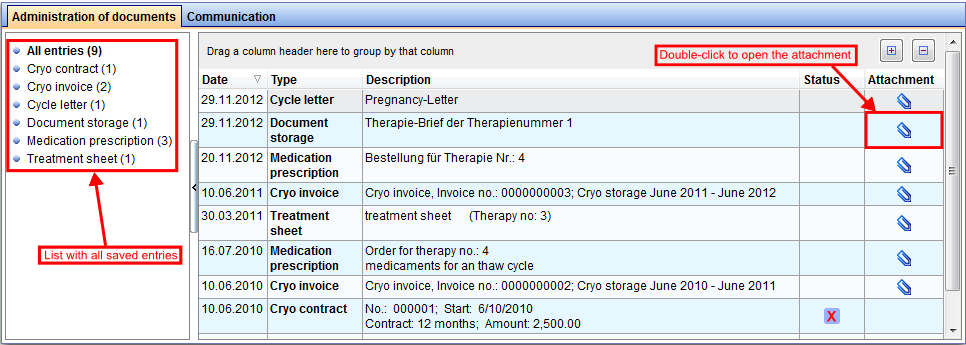
In this area you can find all kinds of documents of one patient. They are divided into different types:
- All entries
- Cryo contract
- Cryo invoice
- Cycle letter
- Document storage
- Medication prescription
- Treatment sheet
If you double-click a row at the right side, the document will be opened. You can also see the status and the document attached.
Communication
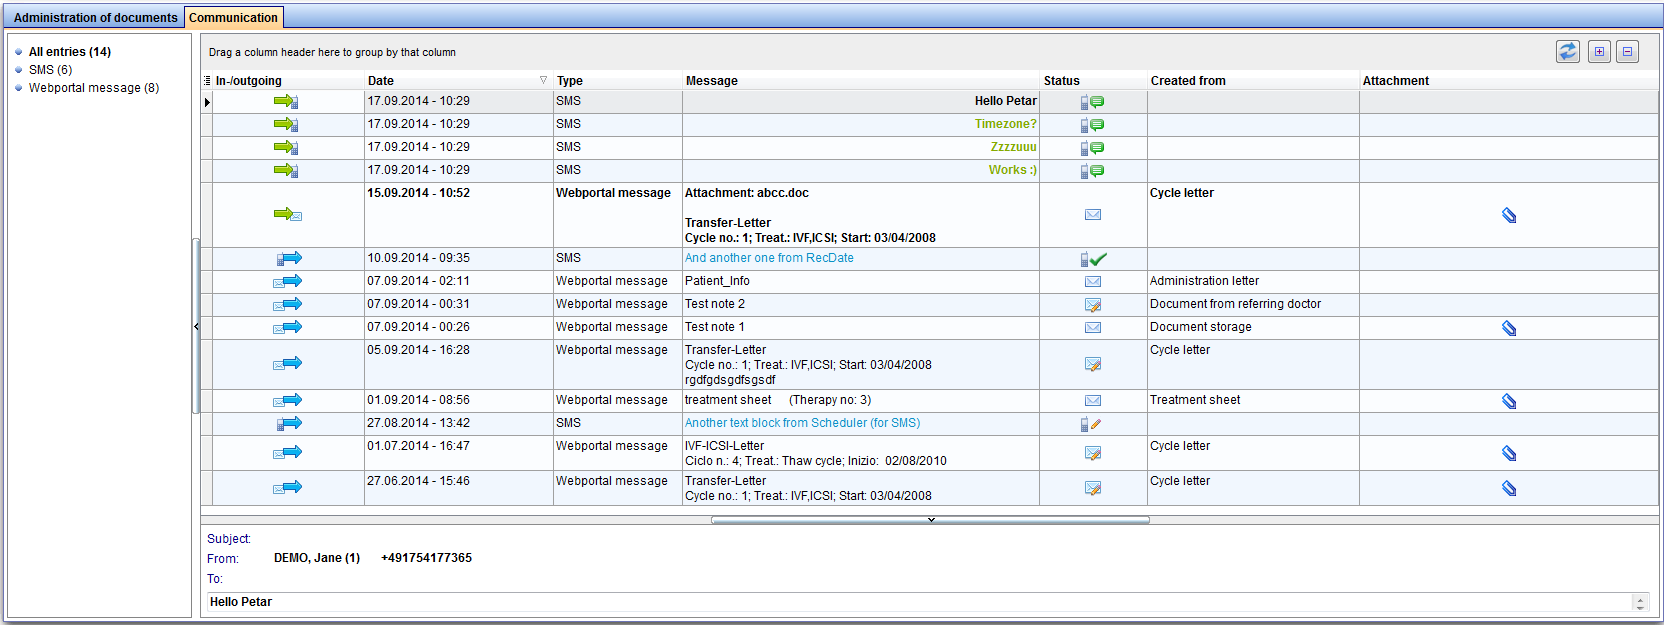
In this area you can find all sent SMS.
If you double-click a row, the SMS-document will be opened. You can also see the logging, date, type, subject, status, creator, attachment and the text of the SMS.
Edit person
Private details
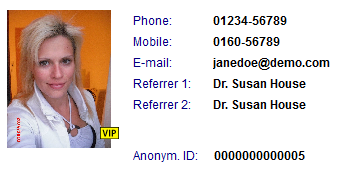
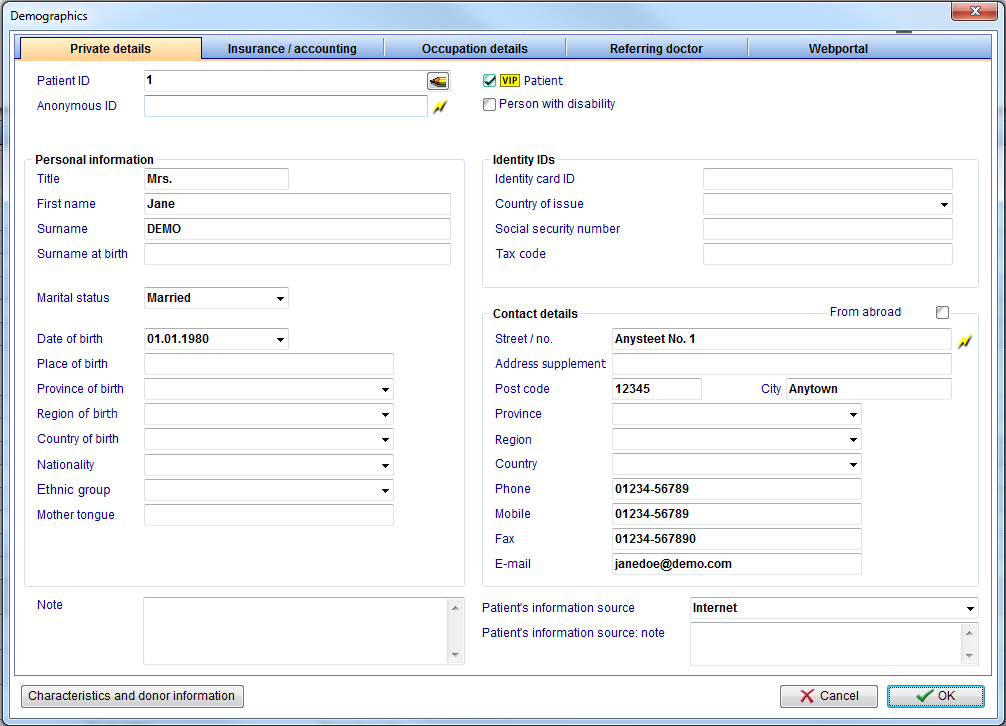
Enter personal contact details of the patient.
- Patient ID: if you click on
 at the end, a window will be opened and you can change the Patient ID manually. It is possible that you have no permission for changing. Permissions can be set by users with admin rights in the administration tool.
 - Anonym. ID: create an anonymous ID by clicking on
 .
.
- Title: enter the title of the patient.
- Firstname: set here the firstname of the patient.
- Surname: add the surname.
- Maiden name: the birth name can be entered here.
- Date of birth: insert the date of birth manually or choose it out of the calendar by clicking on the arrow.
- Nationality: select a nationality from the list provided.
- Place of birth: add the place of birth.
- Street / no.: insert the street and the house number.
- Postal code: postal code of the residence.
- City: residence of the patient.
- Province: select a province from the list. You can edit the options in the settings under system tables.
- Note: important notes and comments about the patient, e.g. intolerances, allergies, etc.
- Check the box VIP patient to assign special or important patients as a VIP. This information will appear in addition to the patient's name in the search window.
- You can edit the options for the information source of patient in the settings under system tables.
Insurance / accounting
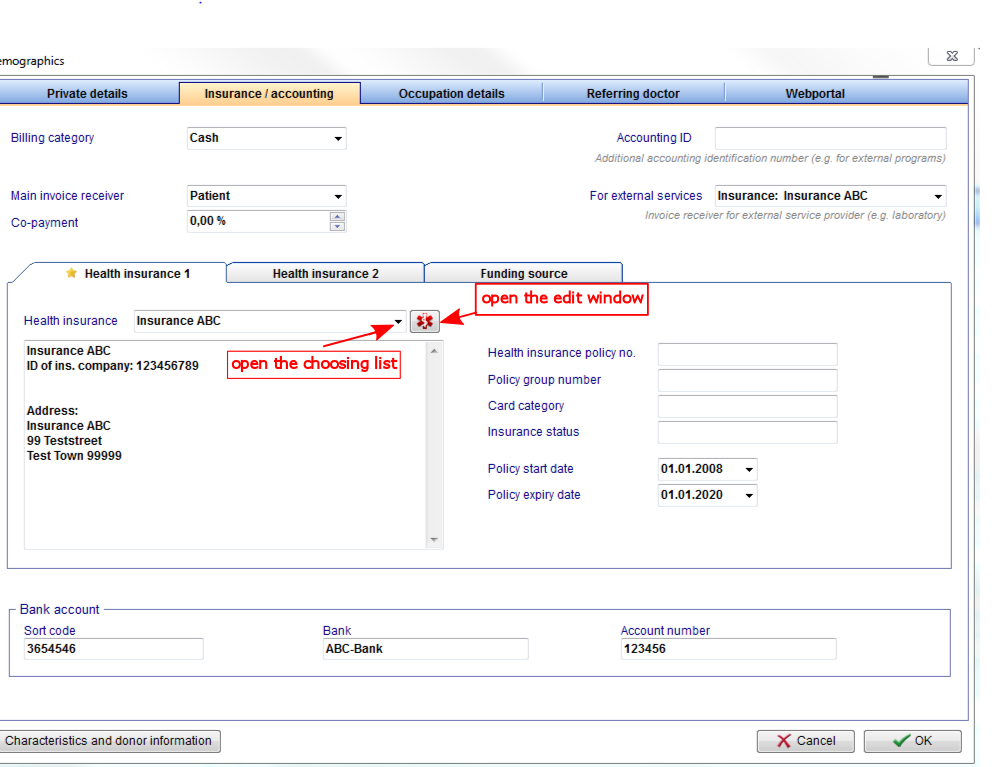
- Here you can find important data of the health insurance and the billing category of the patient.
Reffering doctor
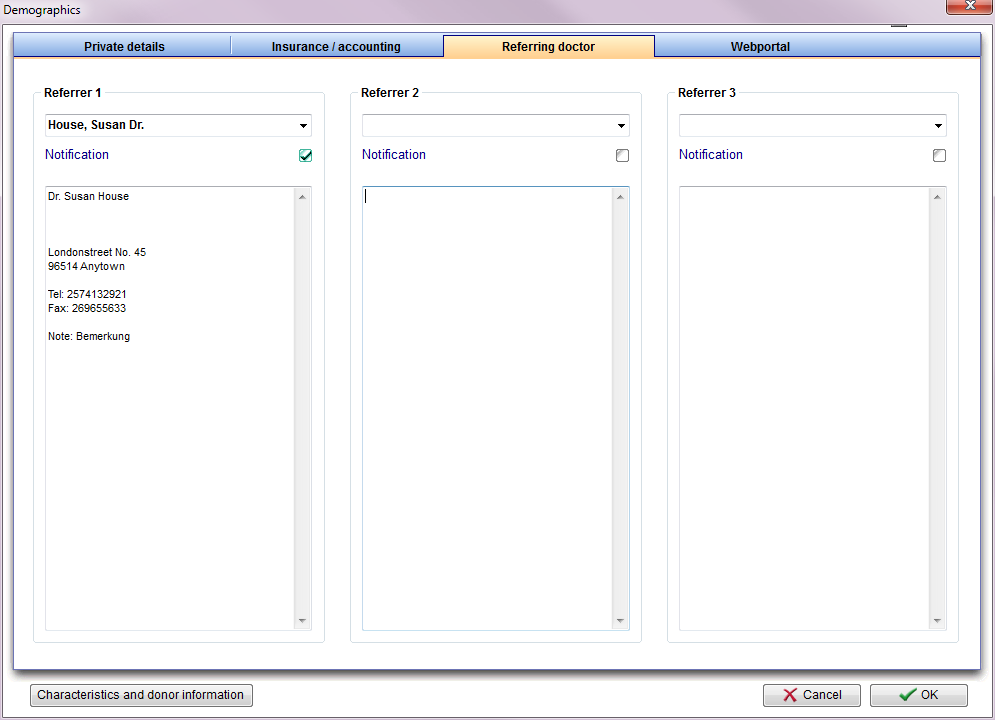
- Here the consulting doctor will be added.
- You can assign a maximum of three referrers to each patient. Referrers can be managed and added on the top menu under System -> Referrers.
- Check the box Notification if the doctor should be notified.
- New referrers can be selected from the list of available doctors by clicking on the arrow symbol.
- Linked referrers are visible on the main page.
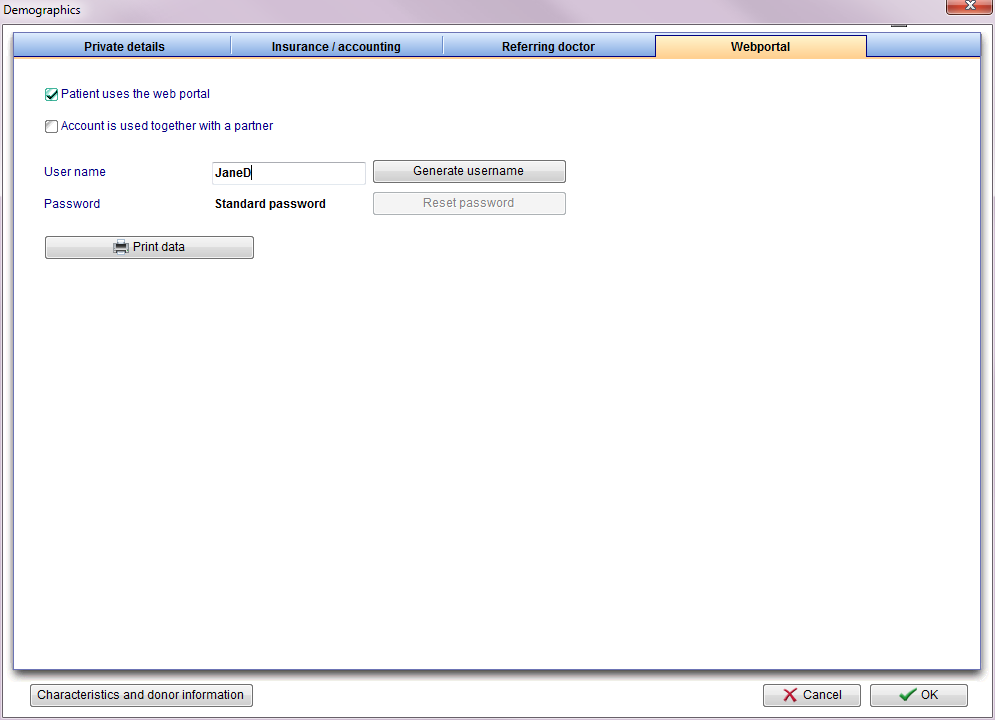
Webportal
Switch to characteristics and donor information
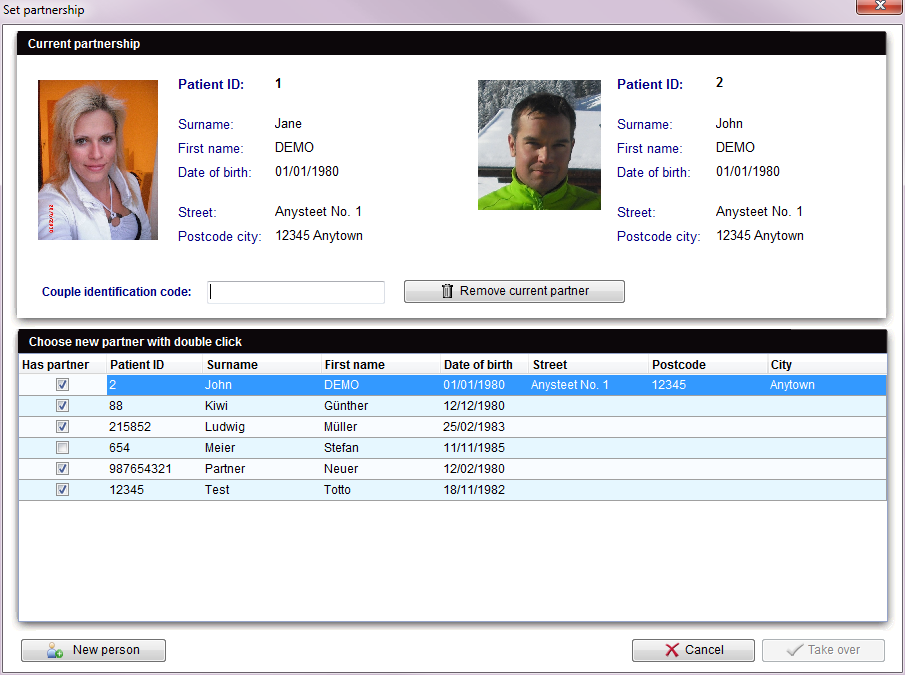
Set partnership
- This window displays all important information of the partnership.
- Here you can specify the couple identification code.
- In the list you can see which patients are present in your database and which status they have. (Has partners)
- You can reassign partnerships. To prevent accidental changes of current partnerships, a security message will be opened.
 |
New person: add a new patient in the database. |
| Back to the MedITEX IVF menu | Back to top |
