Working times editor
From MedITEX - Wiki
| Line 47: | Line 47: | ||
<tbody> | <tbody> | ||
<tr> | <tr> | ||
| − | <td><img src="/images/SettingWorkingTime1.png" alt="" /></td> | + | <td><img style="display: block; margin-left: auto; margin-right: auto;" src="/images/SettingWorkingTime1.png" alt="" /></td> |
<td> | <td> | ||
<ul> | <ul> | ||
| Line 58: | Line 58: | ||
</tr> | </tr> | ||
<tr> | <tr> | ||
| − | <td><img src="/images/SettingWorkingTime2.png" alt="" width="357" height="252" /></td> | + | <td><img style="display: block; margin-left: auto; margin-right: auto;" src="/images/SettingWorkingTime2.png" alt="" width="357" height="252" /></td> |
<td> | <td> | ||
<ul> | <ul> | ||
Latest revision as of 15:42, 14 July 2016
The working times editor in MedITEX Scheduler allows to define working times within a calendar.
Either from the tool bar (no resource will be selected as default):
| <img style="display: block; margin-left: auto; margin-right: auto;" src="/images/WorkingTimeToolBar.PNG" alt="" /> |
From the main menu (also no resource will be selected as default):
| <img style="display: block; margin-left: auto; margin-right: auto;" src="/images/DisplayWorkingTimes.png" alt="" /> |
Or from the scheduler settings by double-clicking on a resource from the list, or by using the “Edit working times” button:
| <img style="display: block; margin-left: auto; margin-right: auto;" src="/images/WorkingTimesAndConstraints.PNG" alt="" width="402" height="387" /> |
Using this option, the working times for the selected resource will immediately open.
When a resource has been (automatically or manually) selected, the working times scheduler for this resource is loaded. It will always display a whole week. When a resource does not have any defined working times, the general working time will be loaded.
|
|
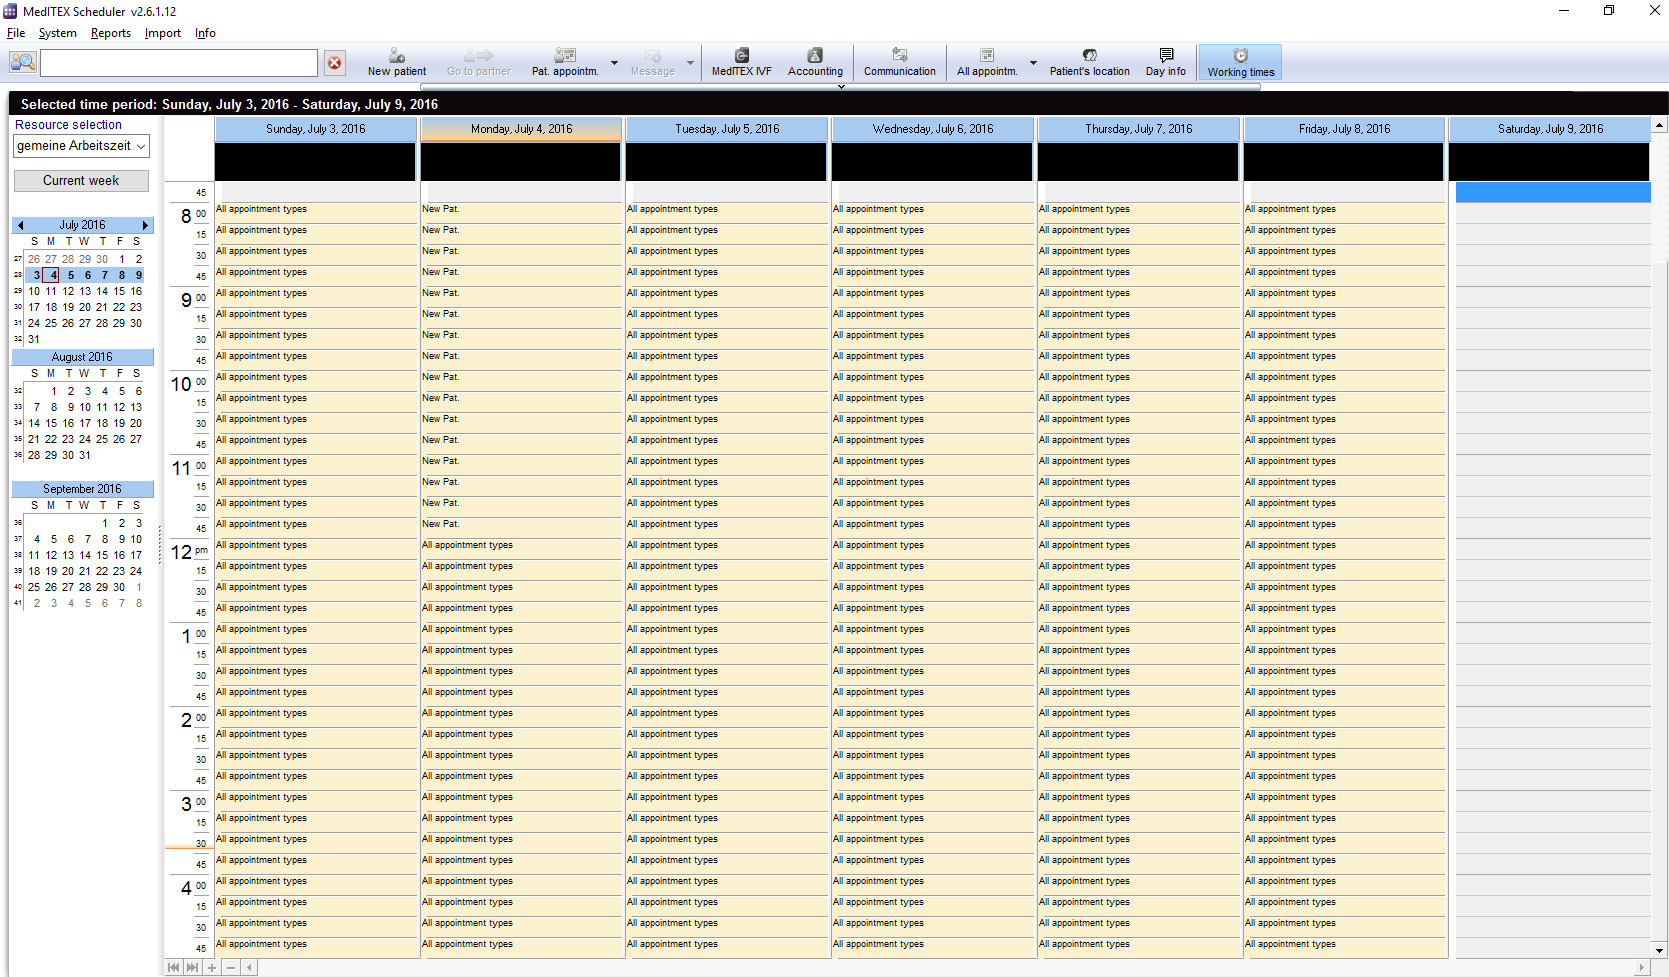
Within this view, a user can set/edit/delete working times by selecting a time range on any day and right-clicking on it. A context menu with different options will show up.
| <img style="display: block; margin-left: auto; margin-right: auto;" src="/images/SettingWorkingTime1.png" alt="" /> |
No working times are set: You can create new working time in the selected time range. |
| <img style="display: block; margin-left: auto; margin-right: auto;" src="/images/SettingWorkingTime2.png" alt="" width="357" height="252" /> |
Working times are already set: You can create new working time anyway, and overwrirte the old ones, or delete the current working time within the selected time range. |
Click on the options for further informations.
|
| <a href="/index.php?title=MedITEX_Scheduler_manual">Back to the MedITEX Scheduler</a> | <a href="#top">Back to top</a> |