Witnessing
From MedITEX - Wiki
Witnessing setup
To add a Witnessing document to a MedITEX action, follow these steps:
1. Open the Report Editor and build a query with the fields needed in the Witnessing template.
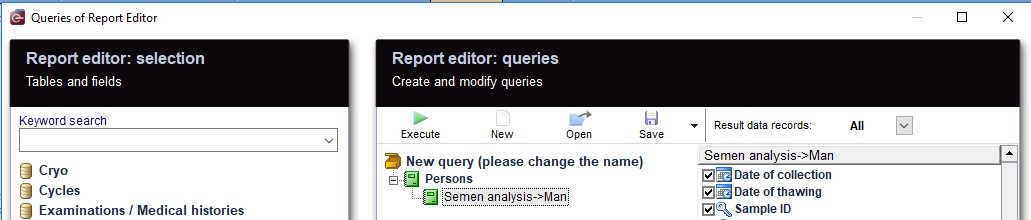 |
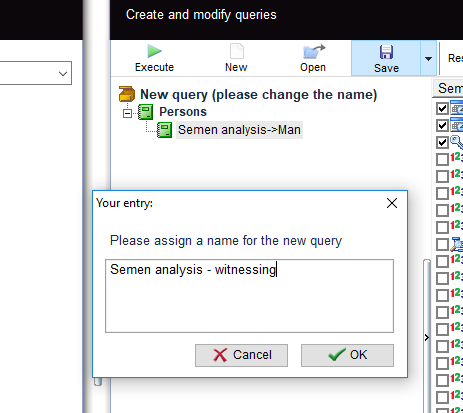
2. Save and execute the query.
 |
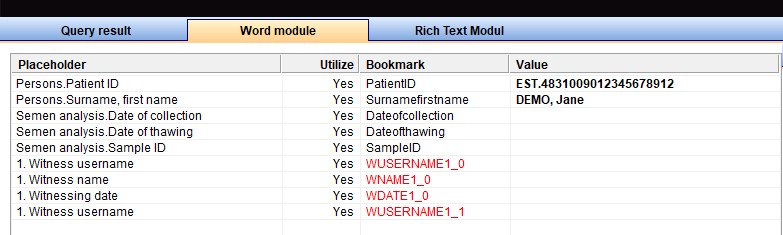
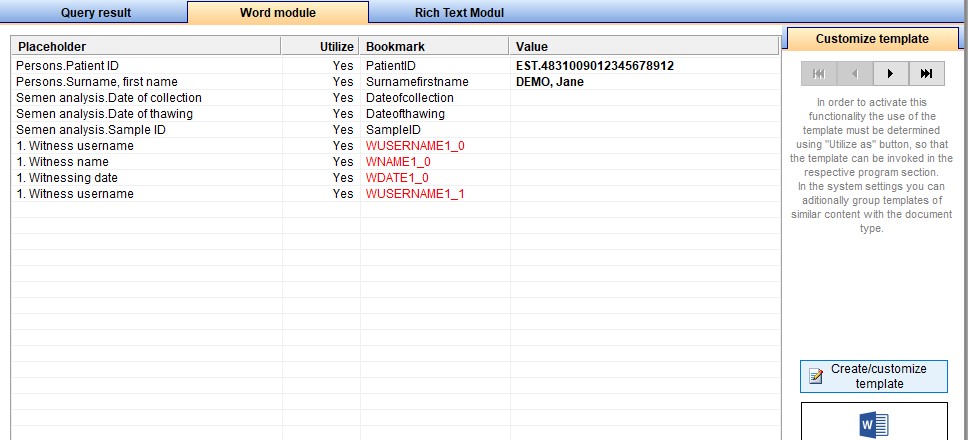
3. Under the Word module tab sheet, the Additional placeholders button displays a menu with Witnessing fields/bookmarks to choose from.
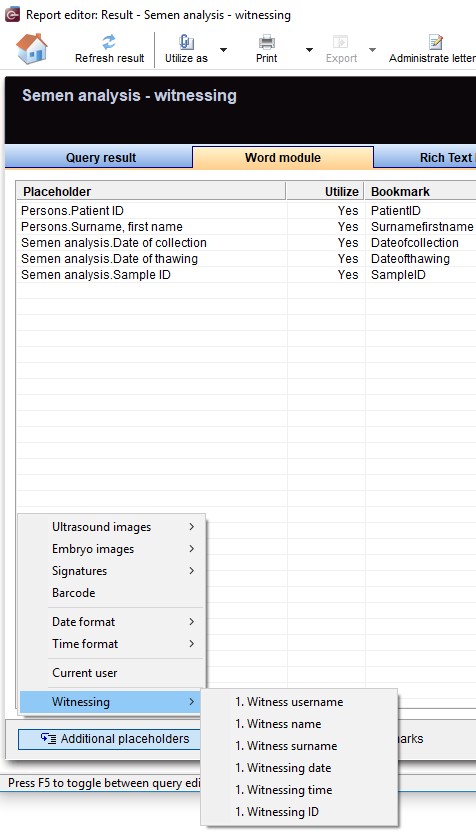 |
A field can be used multiple times.
Witnessing ID is the unique identifier of a Witnessing action and is automatically created, the user have the choice whether to use it or not.
 |
4. Choose the MedITEX action to which the Witnessing template should be assigned, under Utilize as menu.
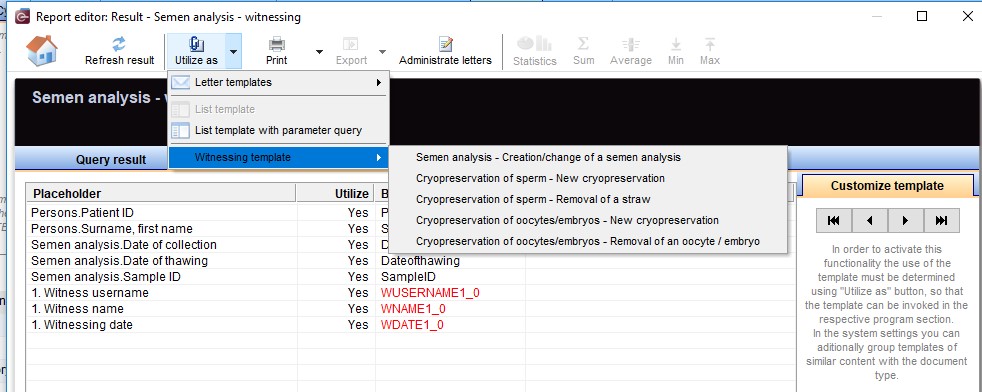 |
5. Create or customize the template by clicking on the Create/customize template button.
 |
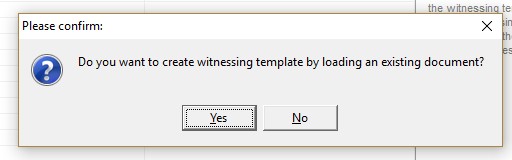
A confirmation window will then pop up, allowing the user to choose between loading an existing document, or creating a new one.
Finally, bookmarks are added to the document, and the user can proceed with customizing the template.
 |
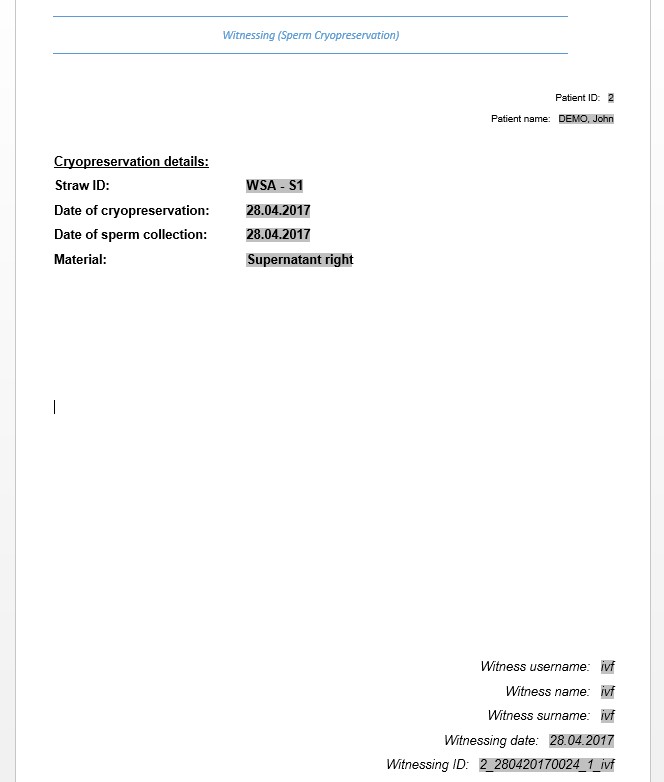
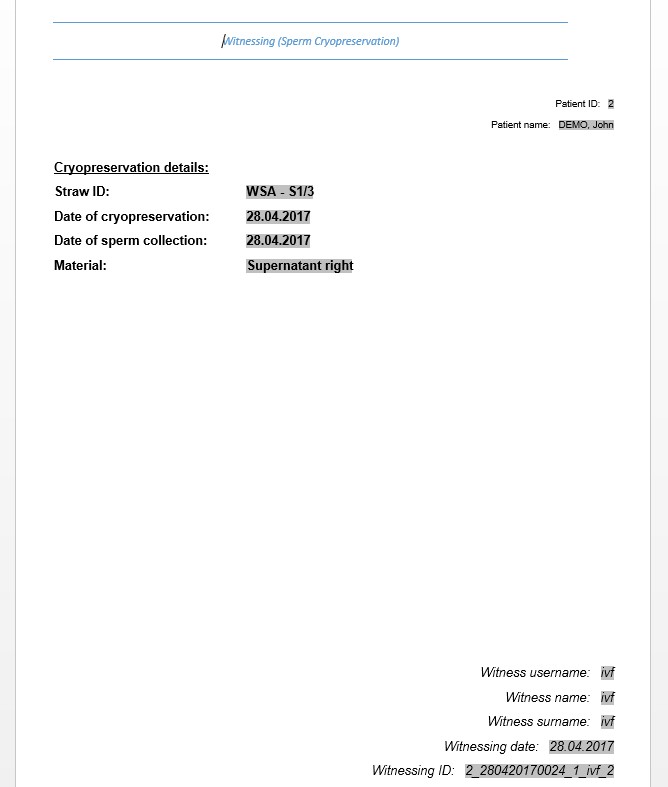
This is an example of a customised template:
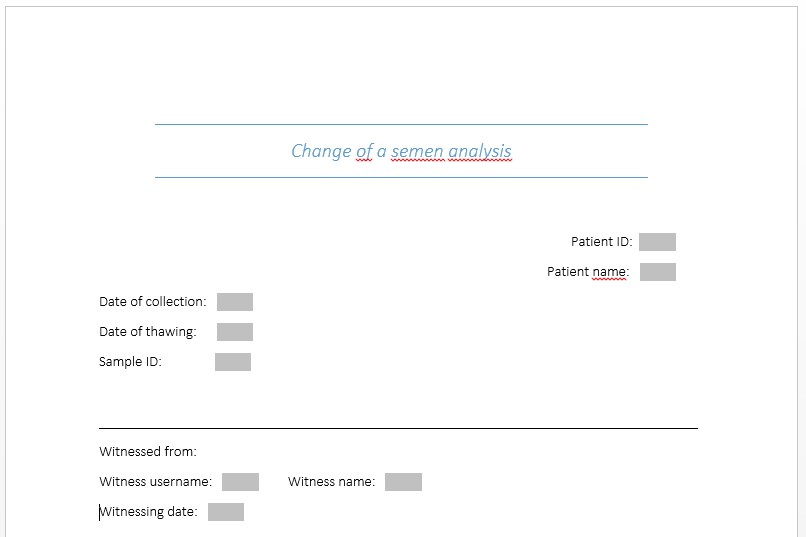 |
This template is saved in the following folder in File Storage: /CRITEX/MedITEX IVF/File_Storage/Witnessing
Witnessing process
Example: Witnessing action “Sperm cryo preservation”
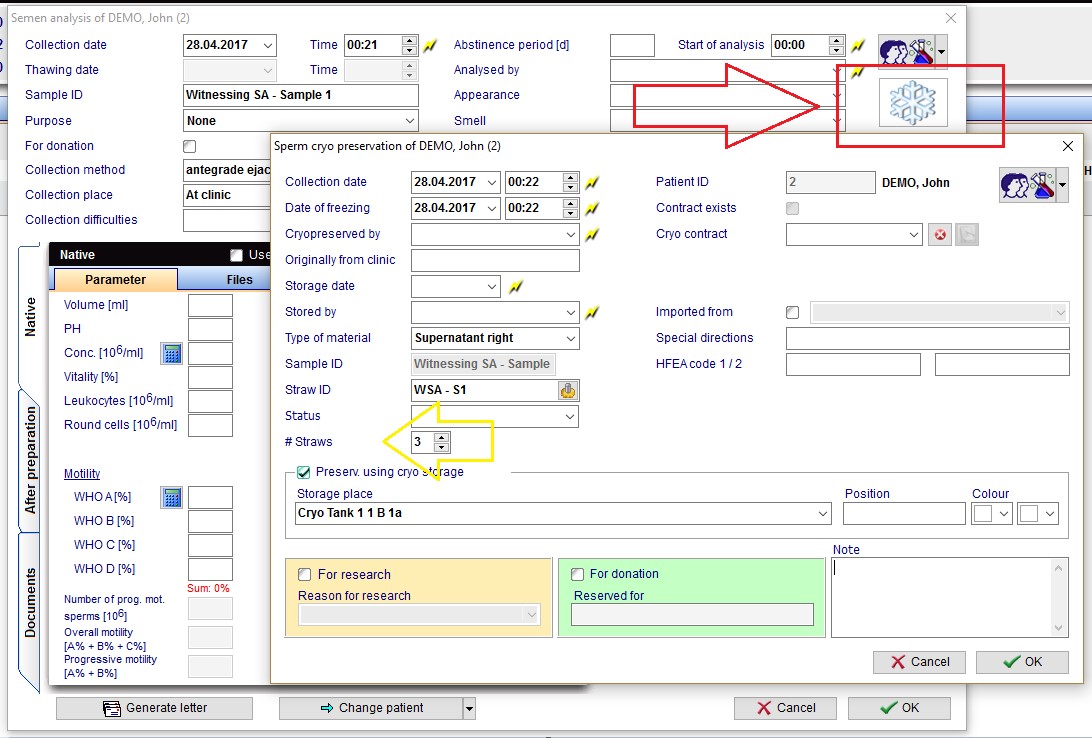 |
After clicking on OK, a Witnessing identification window pops up
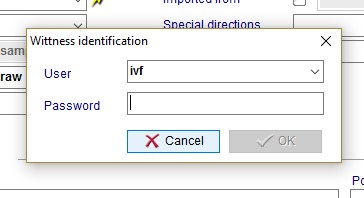 |
- Witness identity confirmation is done using Login/Password, as this was defined as Witness identification method in MedITEX System settings.
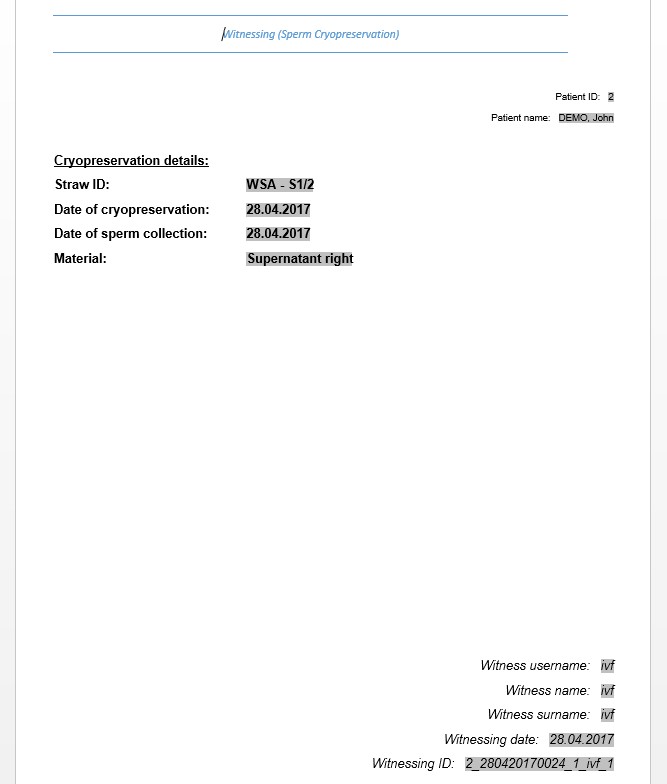
- Result: 3 witnessing actions, since 3 straws were cryopreserved:
 |
 |
 |