How to install MedITEX WebPortal2.0
From MedITEX - Wiki
MedITEX WebPortal2.0 instructions for clinical IT administrators
1. Right-click on the ZIP-file with WebPortal installation, choose “Extract All”, and save everything into a folder called “MediTEXWebPortal2.0”. In this manual, WebPortal will be created in CRITEX folder.
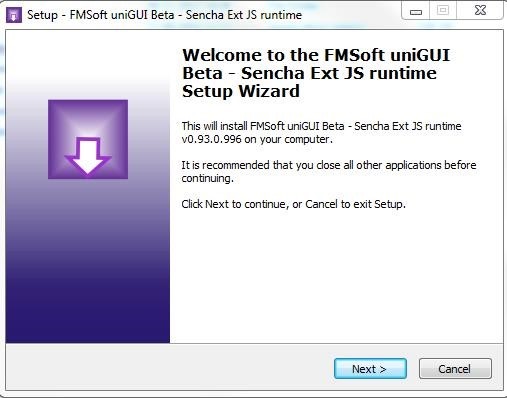
2. After extraction, right click on “FMsoft_uniGUI_Complete_runtime_*.exe” and choose “Run as administrator” to launch the installation.
 |
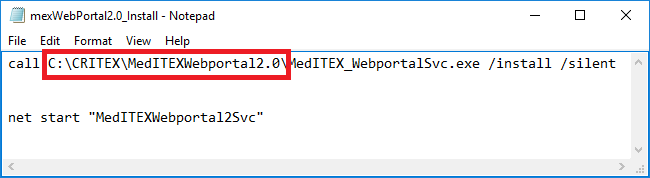
3. Right-click on “mexWebPortal_Install.bat” -> Edit.
If necessary, change the highlighted path, to the current path of the newly created WebPortal folder and save it.
 |
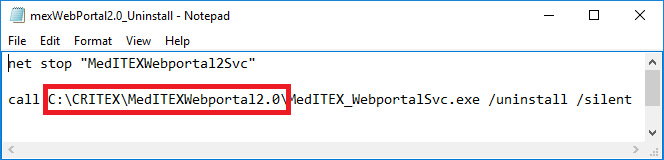
4. Right-click on “mexWebPortal_Uninstall.bat” -> Edit.
If necessary, change the highlighted path to the current path of the WebPortal folder and save it.
 |
5. Right-click on “MedITEX_Webportal.ini” -> Edit.
Adjust the configuration according to the instructions below:
| [DBConnection] |
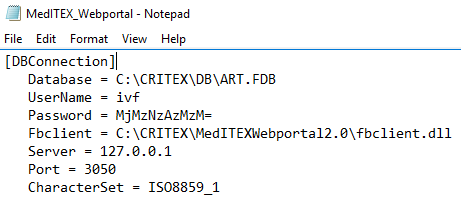 |
Hint: the port number defined in parameter Port, must be open on the firewall. If WebPortal is not installed directly in the same server as MedITEX, this port must be opened on both servers. |
| [Server] |
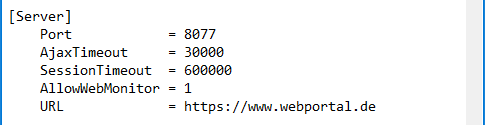 |
Please, do not modify the other fields in this section. |
|
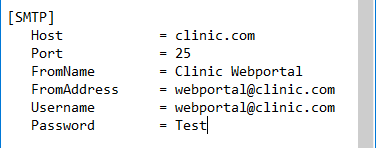
[SMTP] |
 |
|
This portion of the configuration corresponds to the email services provided by the portal.
|
|
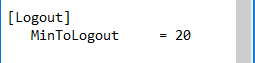
[Logout] |
 |
|
|
[CustomMeta] |
 |
|
Meta tags (<meta>) used for authenticating the portal. This field is optional. If more than one tag is being used, insert them after each other. For example: <meta name:”Key1”…/><meta name:”Key2”…/> |
|
[SSLManager] |
|
This portion of the configuration is used for inserting the certificates of the secure portal. If the SSL is being used, the portion below has to be uncommented. To uncomment the lines, remove the semi-colon from the beginning of the text. Create a folder called SSL under MedITEXWebPortal2.0 and put the SSL files under this folder. To know how to create a .pem file for SSL Certificate Installations, follow the instructions on the link below: |
 |
|