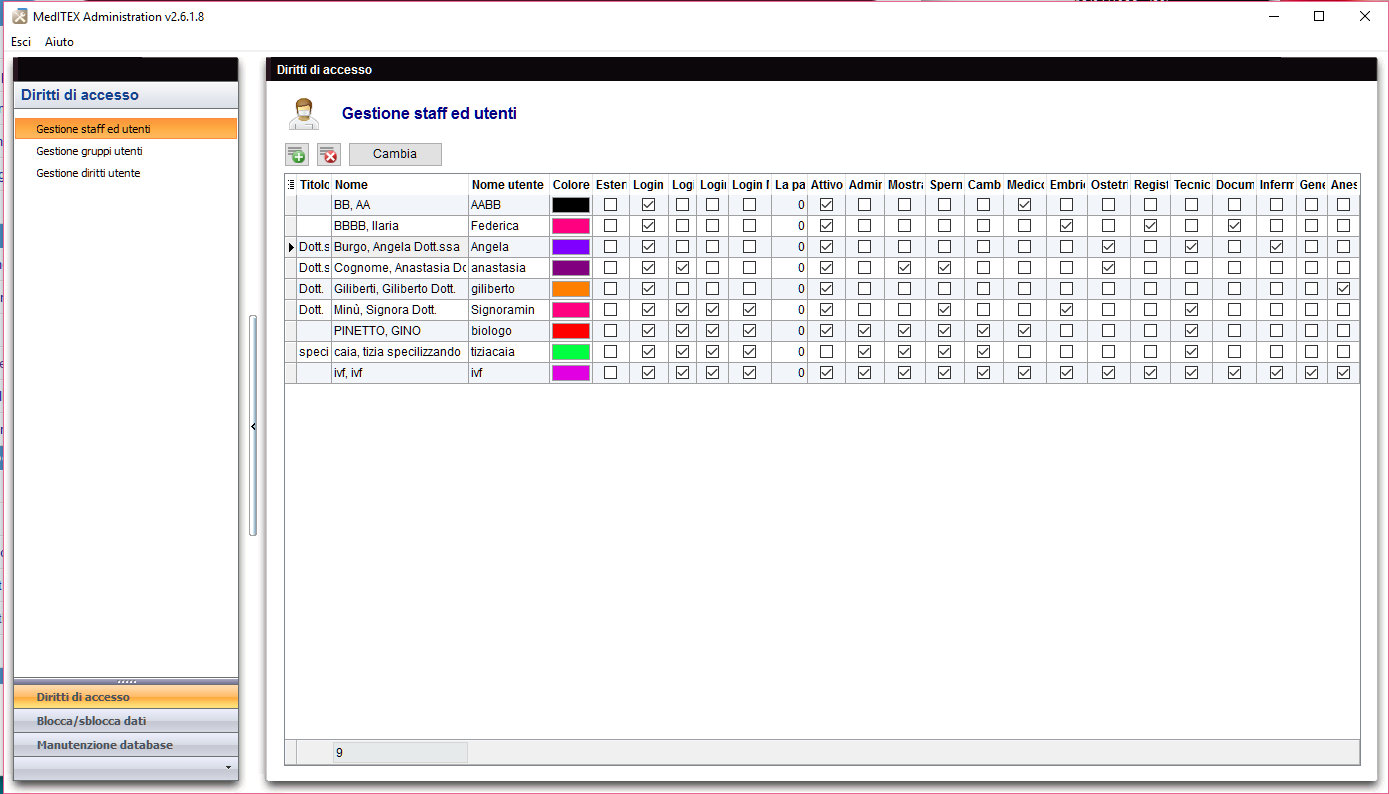
Gestione staff e utenti
From MedITEX - Wiki
 |
Contents |
Pulsanti
I pulsanti circondati dai puntini blu hanno funzionalità particolari. Cliccaci sopra per avere maggiori informazioni.
Inserimento nuovo utente / Cambia
Facendo doppio click sulla freccina a sinistra della lista, cliccando su "Nuovo utente" o su "Cambia" si aprirà una finestra da cui è possibile aggiungere o modificare informazioni sugli utenti.
Pulsanti
| Scegli colore: per aggiungere o cambiare l'etichetta di quell'utente. |
|
 |
Modifica password: questo pulsante è selezionabile solo se sono state mofidicate informazioni dell'utente. |
 |
Inserisci nome utente e password: questo pulsante è selezionabile solo se è stato aggiunto un nuovo utente. |
Tabs
 |
|
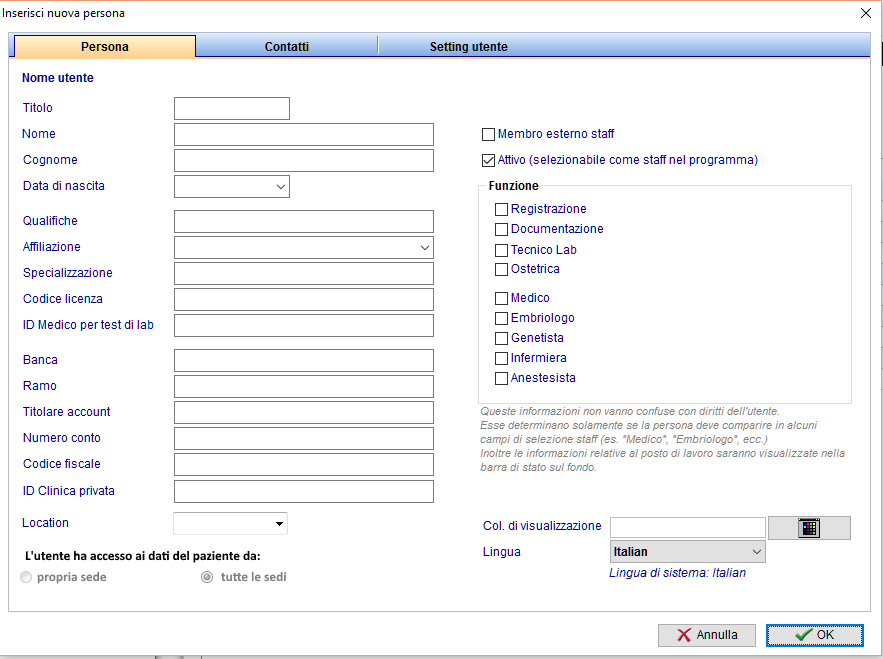
Nome utente: visualizza il nome utente durante la modifica di una persona. Se si aggiunge una nuova persona, questo campo sarà vuoto. Col. di visualizzazione: questo è il colore con cui sarà visualizzato l'utente in tutte le sezioni di MedITEX. Lingua: la lingua utilizzata dall'utente per MedITEX. Membro esterno <strong> staff : </strong>si seleziona questa opzione per membri esterni che lavorano per la clinica. L'utente ha User has access to patient data from: in case of multiple locations, allows users to see patient data from all locations, not only to the one he/she is allocated to. Active: this check box allows this person to be selectable throughout program forms. For example: if Dr. Johnson does not have this box checked, he will not be able to be selected for a treatment. Function: type of work done by this person. Location: in case of multiple locations, this setting identify which one this user is allocated to. Leave if blank if this user should be visible in alllocations. |
|
|
|
Rights: these are the permissions of this person.
|
 |
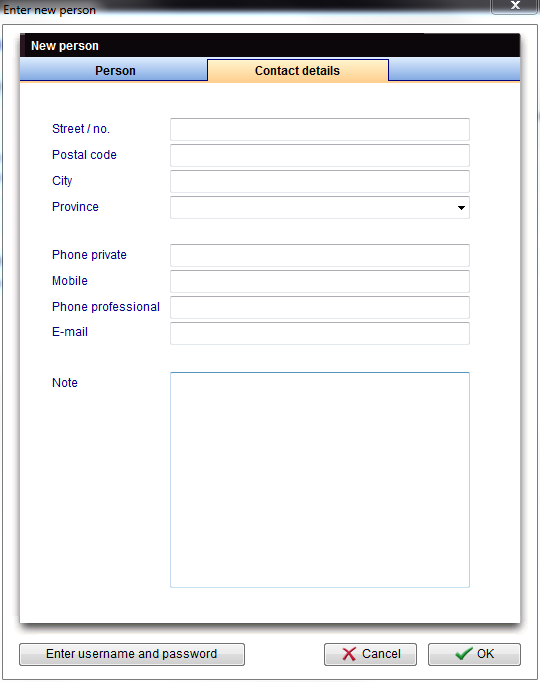
| Contact information about this person. |
| If you would like to get more information, please follow this link and check our How to page. |
| Back to MedITEX Administration manual |
Back to top |
