Witnessing
From MedITEX - Wiki
| Line 21: | Line 21: | ||
</tbody> | </tbody> | ||
</table> | </table> | ||
| − | <p>3. Under <strong>Word module</strong> | + | <p>3. Under the <strong>Word module</strong> tab sheet, the <strong>Additional placeholders</strong> button displays a menu with <strong>Witnessing</strong> fields/bookmarks to choose from.</p> |
<table border="0"> | <table border="0"> | ||
<tbody> | <tbody> | ||
| Line 32: | Line 32: | ||
</table> | </table> | ||
<p>A field can be used multiple times.</p> | <p>A field can be used multiple times.</p> | ||
| − | <p><strong>Witnessing ID</strong> is the unique identifier of a <strong>Witnessing action</strong> and is automatically created, the user have the choice | + | <p><strong>Witnessing ID</strong> is the unique identifier of a <strong>Witnessing action</strong> and is automatically created, the user have the choice whether to use it or not.</p> |
<table border="0"> | <table border="0"> | ||
<tbody> | <tbody> | ||
Revision as of 10:28, 28 January 2019
To add a Witness report to a MedITEX action, follow these steps:
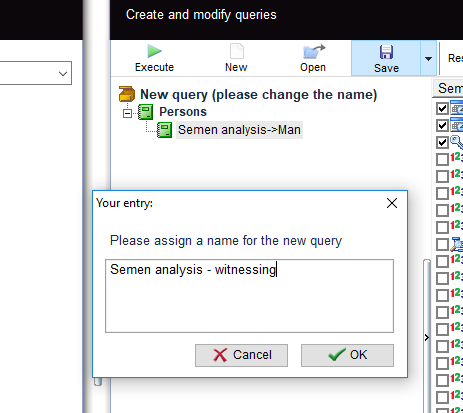
1. Open the Report Editor and build a query with the fields needed in the Witnessing template.
2. Save and execute the query.
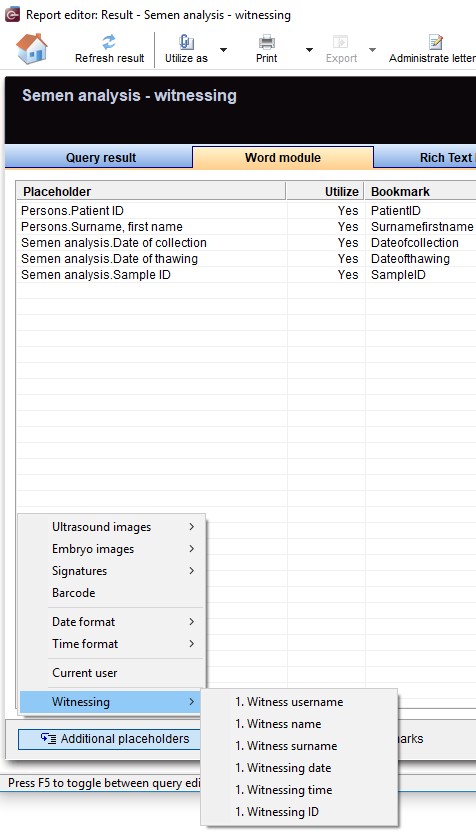
3. Under the Word module tab sheet, the Additional placeholders button displays a menu with Witnessing fields/bookmarks to choose from.
A field can be used multiple times.
Witnessing ID is the unique identifier of a Witnessing action and is automatically created, the user have the choice whether to use it or not.
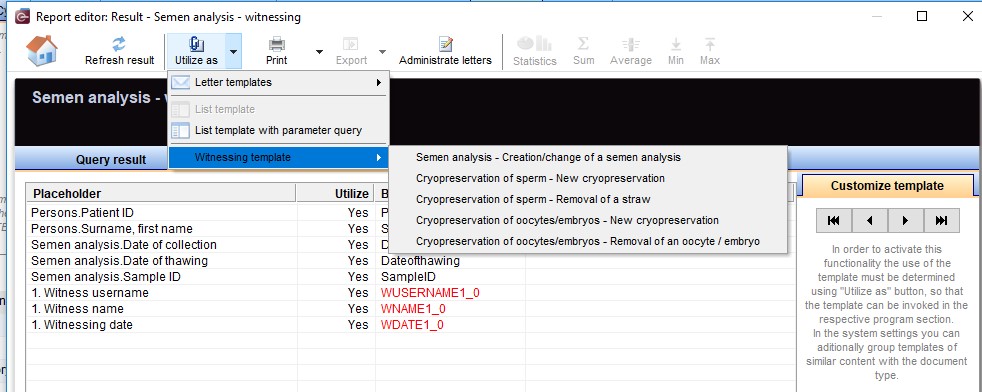
4. Choose the MedITEX action to which the Witnessing template should be assigned, under Utilize as menu.
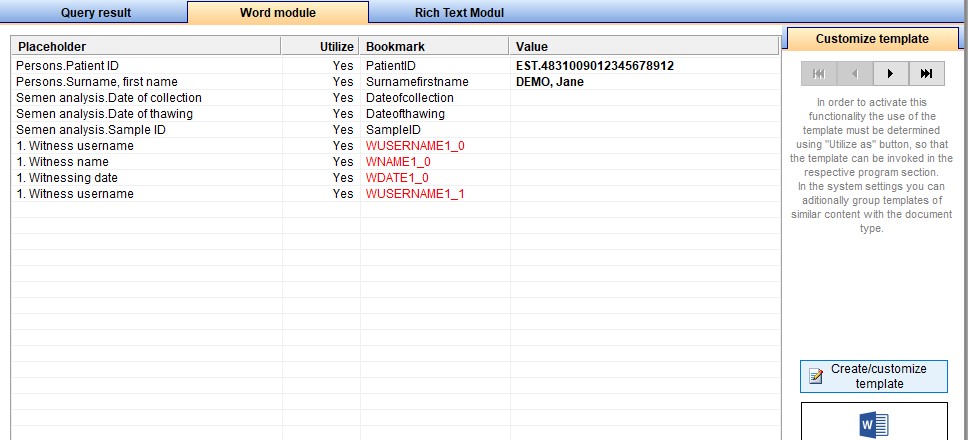
5. Create or customize the template by clicking on the Create/customize template button.
A confirmation window will then pop up, allowing the user to choose between loading an existing document, or creating a new one.
Finally, bookmarks are added to the document, and the user can proceed with customizing the template.
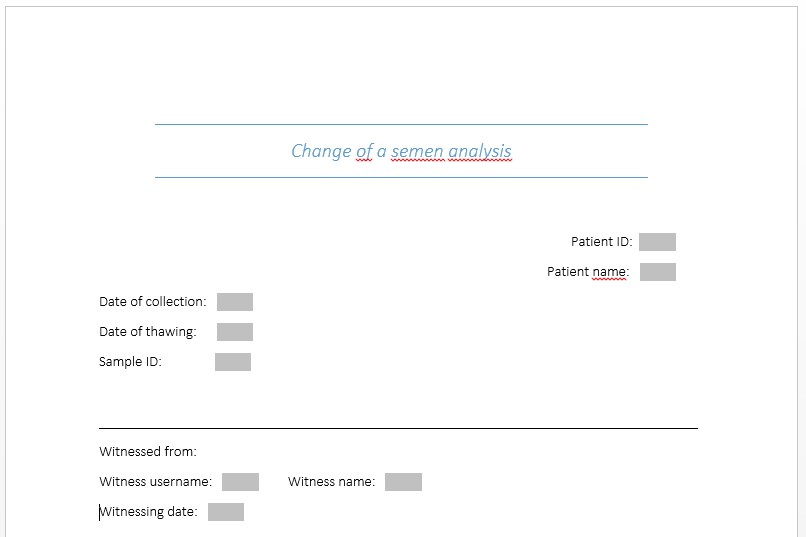
This is an example of a customised template:

