How to transfer ultrasound images via DICOM?
From MedITEX - Wiki
(Difference between revisions)
| Line 6: | Line 6: | ||
<td> | <td> | ||
<p>[[Image:SchedulerTreatments.png|none|740px|thumb|left|link=http://wiki.meditex-software.com/images/SchedulerTreatments| ]]</p> | <p>[[Image:SchedulerTreatments.png|none|740px|thumb|left|link=http://wiki.meditex-software.com/images/SchedulerTreatments| ]]</p> | ||
| + | </td> | ||
| + | </tr> | ||
| + | </tbody> | ||
| + | </table> | ||
| + | <p> </p> | ||
| + | <p>With a double-click on a row</p> | ||
| + | <table style="margin-left: auto; margin-right: auto;" border="0"> | ||
| + | <tbody> | ||
| + | <tr> | ||
| + | <td> | ||
| + | <p>[[Image:DICOMIdentifier.png|none|740px|thumb|left|link=http://wiki.meditex-software.com/images/DICOMIdentifier.png| ]]</p> | ||
</td> | </td> | ||
</tr> | </tr> | ||
</tbody> | </tbody> | ||
</table> | </table> | ||
Revision as of 13:29, 9 January 2014
First step is to set a DICOM flag for all examinations in MedITEX Scheduler where ultrasounds images will be made.
Therefore go to System -> Settings -> Treatments.
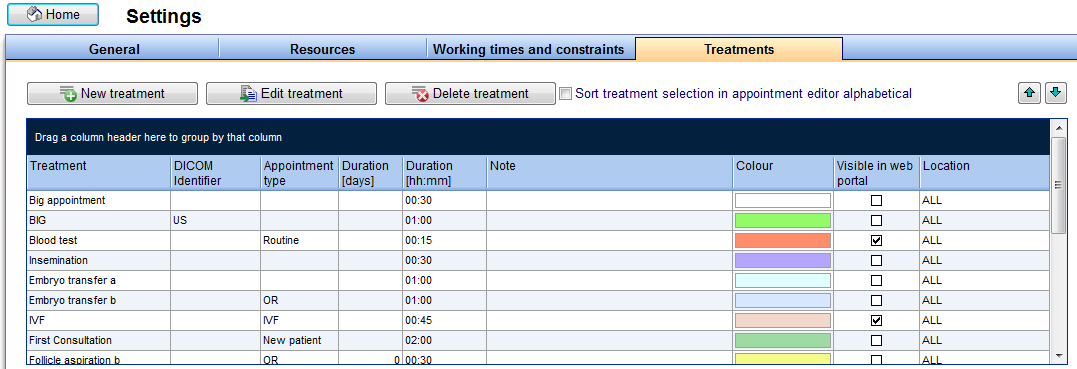 |
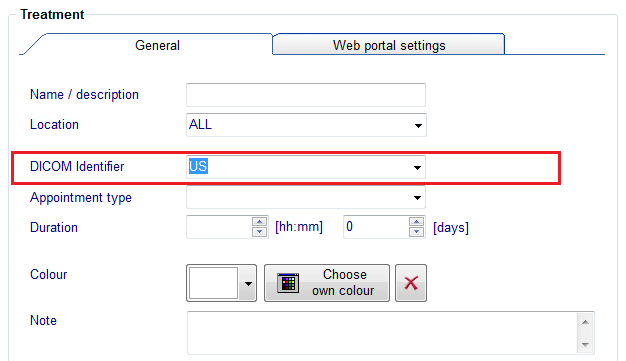
With a double-click on a row
 |