How to edit the patient data?
From MedITEX - Wiki
(Difference between revisions)
| Line 20: | Line 20: | ||
<p> </p> | <p> </p> | ||
<p>The second way to edit patient data:</p> | <p>The second way to edit patient data:</p> | ||
| + | <table border="0"> | ||
| + | <tbody> | ||
| + | <tr> | ||
| + | <td>[[Image:Patient.png|none|740px|thumb|left|link=http://wiki.meditex-software.com/images/Patient.png| ]]</td> | ||
| + | </tr> | ||
| + | </tbody> | ||
| + | </table> | ||
<p>Open the appointment editor and click on the little loupe. The patient editor will be opened.</p> | <p>Open the appointment editor and click on the little loupe. The patient editor will be opened.</p> | ||
<p> </p> | <p> </p> | ||
Revision as of 15:16, 14 November 2012
In order to edit patient data, follow these steps:
From the menu bar, open an empty patient mask.
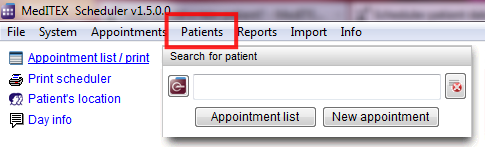 |
To edit information about an existing patient, use the search box to find the desired patient.
You can immediately begin with the editing of data.
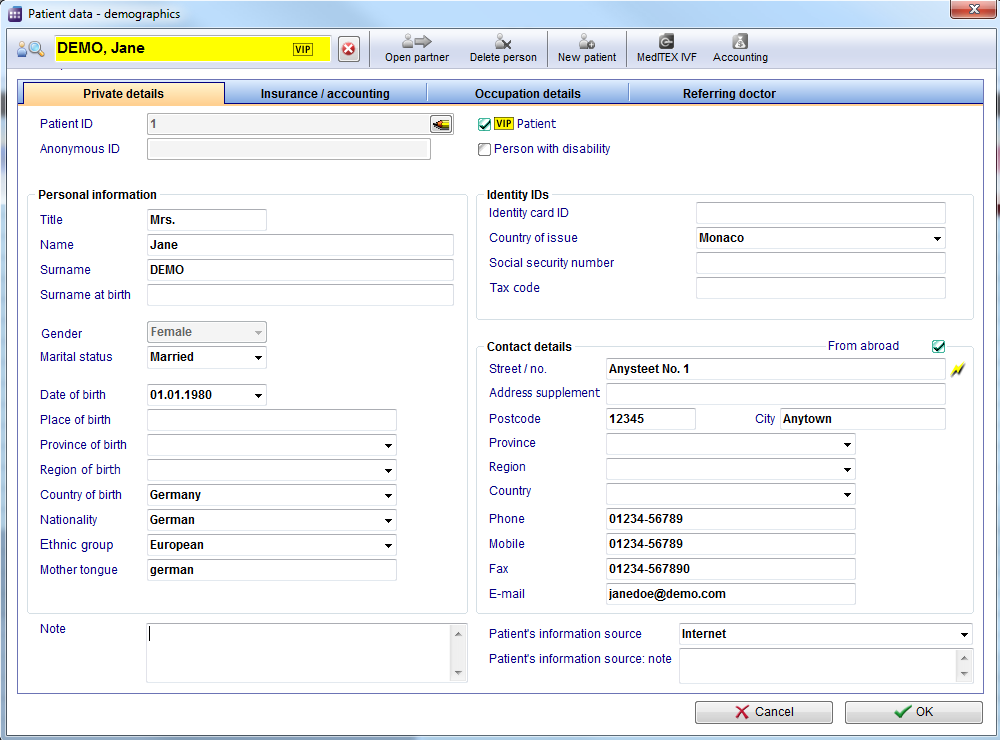 |
The second way to edit patient data:
 |
Open the appointment editor and click on the little loupe. The patient editor will be opened.
Click OK to save changes.
| <a href="/index.php?title=MedITEX_Scheduler_how_to...">Back to How to...</a> | <a href="#top">Back to top</a> |