How to add an item / field to the cycle summary?
From MedITEX - Wiki
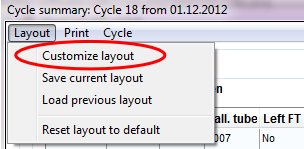
This functionality is accessible at the menu bar. Go to Reports -> Cycle summary.
Contents |
Click on Customize layout to open the small Customize window additionally. If this window is open, you can change the content of the mean window.
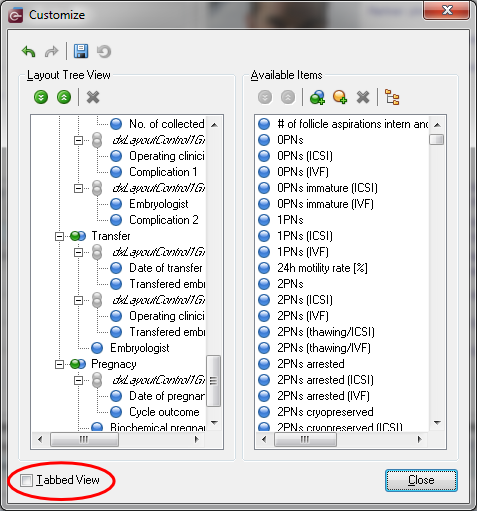
In the example we use the window view of the customization interface.
|
|
 |
| Undo: undoes the last procedure. |
|
| Redo: redoes the last procedure. |
|
| Store Layout: saves the layout after it has been customized. |
|
| Restore Layout: after saving the layout, clicking on this button will restore it to the previous state. |
|
| Collapse All: hides the hierarchy of the tree. |
|
| Expand All: shows the hierarchy of the tree. |
|
| Delete: this button is only active if you create a new group or auxiliary item. It deletes these newly created groups/items. |
|
| Add Group: adds a new group. The use of this functionality is not advisable. Instead, use the already available groups. |
|
| Add Auxiliary Item: adds a new auxiliary item. The use of this functionality is not advisable. Instead, use the already available items. | |
| View as Tree / Plain List: changes the layout of the Available Items. |
Add single items
For the beginning it will be easier to find items with the tree view:
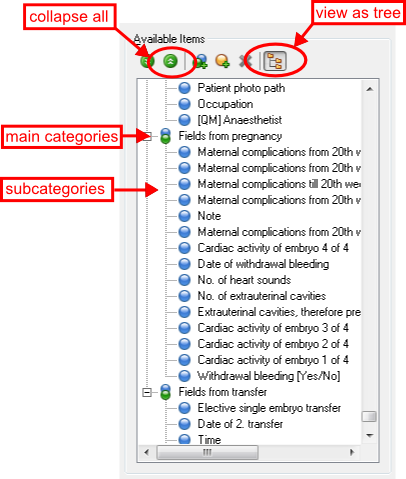 |
The items will be ordered after their area (pregnancy, transfer,...) .
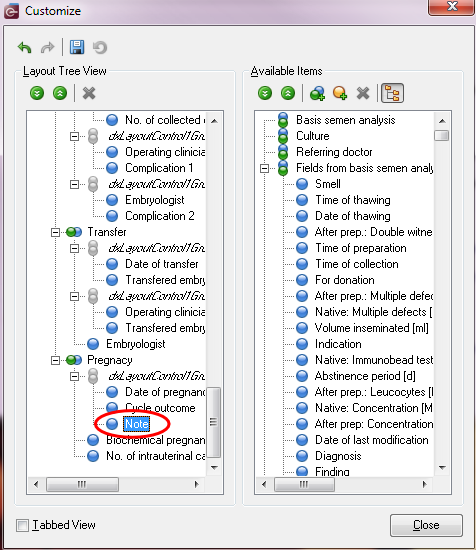
Follow these steps: 1. Use Collapse all. 2. Select the wished main category. 3. Select an item from the subcategory. |
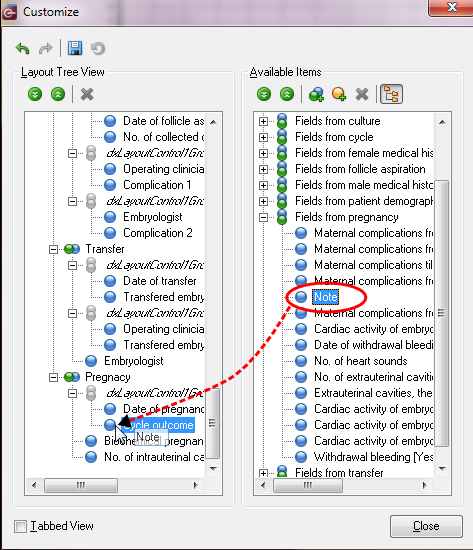 |
In this example we will add the field Note from Fields from pregnancy, to Pregnancy on the left side.
However only in the correct department it will make sense! |
 |
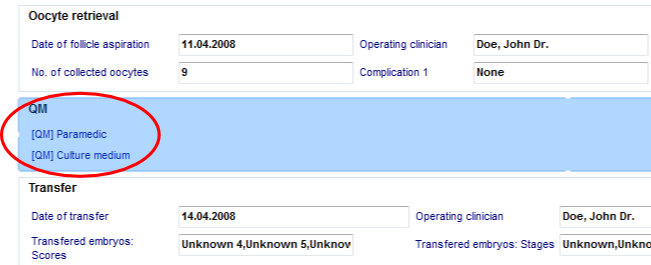
Here you can see the result:
Click here, for more informations about the changing of positions. |
 |
|
| Remove items also with drag and drop. You can set the to be cleared item at any place of the available item list. The next time you open that window , the relevant fields will be on the right place. Click here for further informations. |
Add auxiliary items
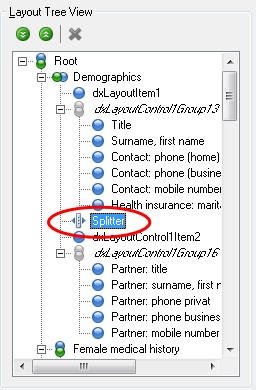
You have also the possibility to add auxiliary items ![]() with a new name.
with a new name.
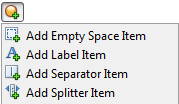 |
Select one of the four options from the drop-down list. 1. Select the item -> it will be added to the available item list. 2. Pull it with drag and drop on the left side and the wished place.
Take a look at the following example. |
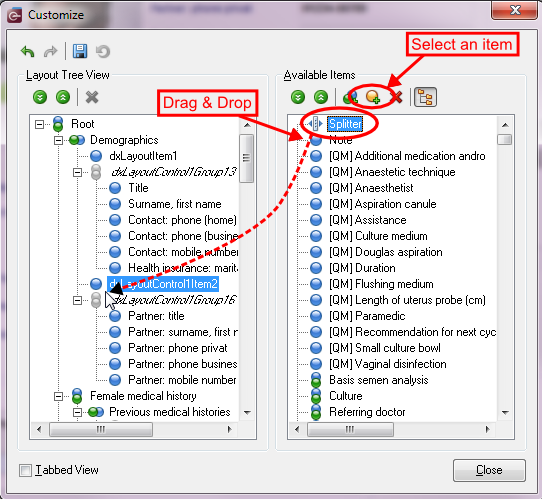 |
In this example we will add a splitter item.
If you cannot find the correct place in the layout tree, add the item and change the position later in the cycle summary window. To do this: click on it and set it on the right place. |
 |
 |
Add groups
You have also the possibility to add groups ![]() with a new name.
with a new name.
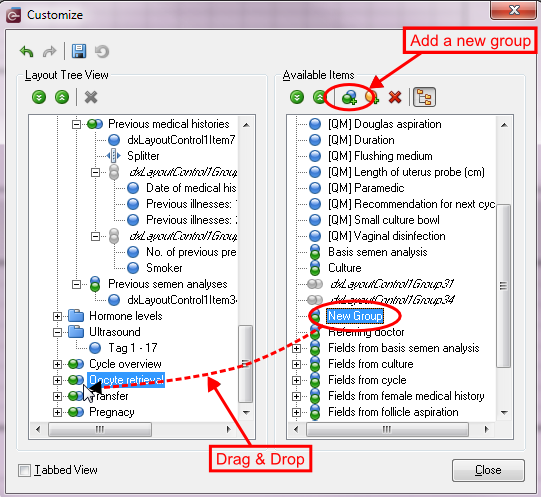 |
In this example we will add a new group.
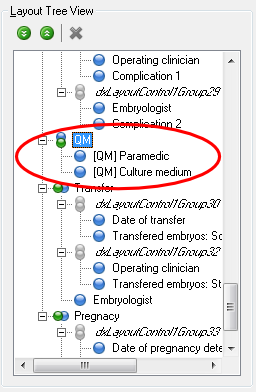
You can rename each item / group with one click on it, or with a right click and choose rename. We rename the new group to QM and add two QM items under it out of the list on the right side. |
 |
 |
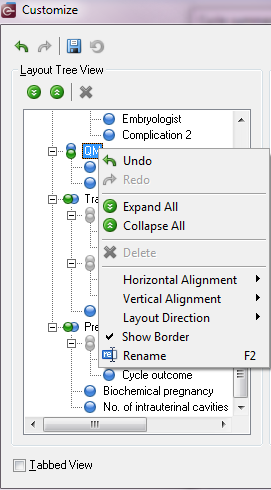 |
Layout Tree View With a right click you can:
|
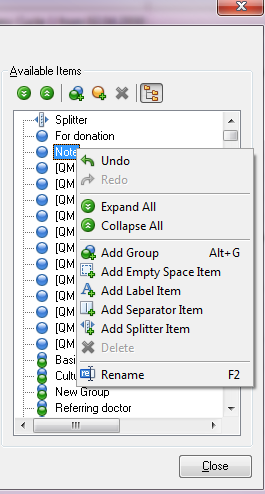 |
Available Items
With a right click you can:
|
Save current layout
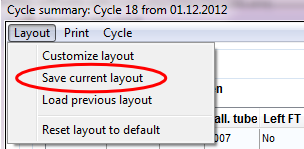 |
If you like to keep this settings for the next time, you have to save all before you leave the cycle summary. |
| Back to How to | Back to top |