Clinic
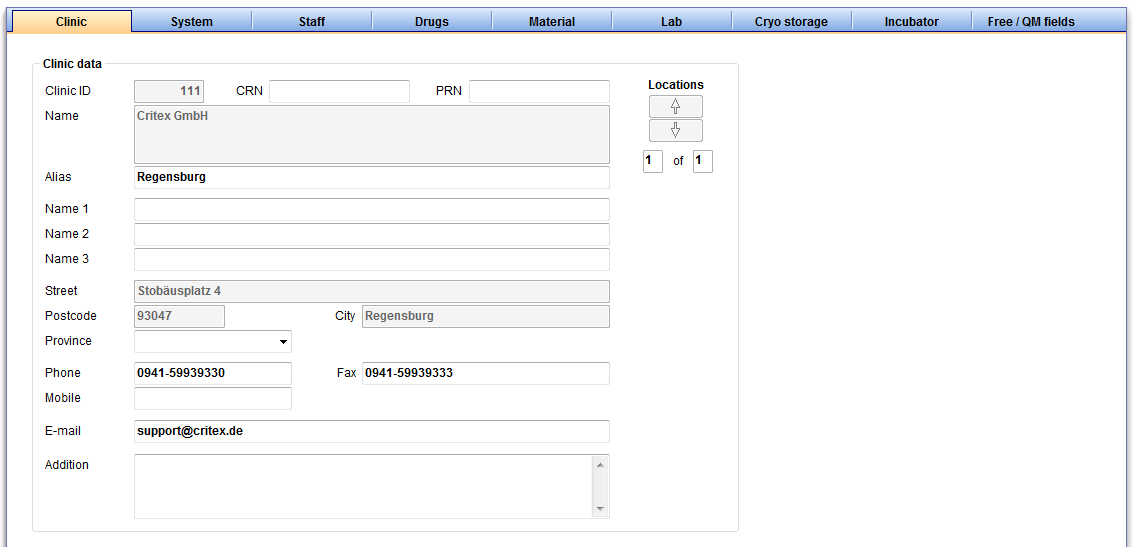
Here you can enter the contact details about your clinic and see your clinic ID.
Enter and edit the alias of your clinic, as well as the names of the main clinican and other data.
If there are several clinics, you can switch with the "location" button between them.
System
General
 |
|
 |
- Here you can define which file paths are used for the interfaces of accounting and laboratory programs and where the program manages file storage and digital documents.
- In order to change file paths, click the directory symbol on the right side of the respective row. A dialog window will open in which you can change the file path accordingly.
|
 |
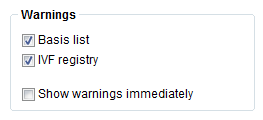
- You can set the relevant warnings for your clinic (for example “Basis list”). Warnings defined by German IVF Registry (DIR) are relevant only for clinics based in Germany.
- In the area "Warnings" you can individually choose the field catalogs that are relevant to your center. MedITEX IVF can then selectively indicate erroneous entries or missing information with red warnings.
- As MedITEX IVF proves the data in real time, warnings are immediately shown when switching to another input mask. Deselecting the box “Show warnings immediately” can disable this option.
|
Functions
Presentation options
Interfaces
!!! Only change the interface settings if you are sure in the changes you want to make. Otherwise there may be functionality errors or complete failure of certain functions. !!!
System tables
Moreover, you can define the parameters for the logos, pictures and templates used in letters that you can create with the report editor.
Staff
Drugs
Material
Lab
Cryo storage
Incubator
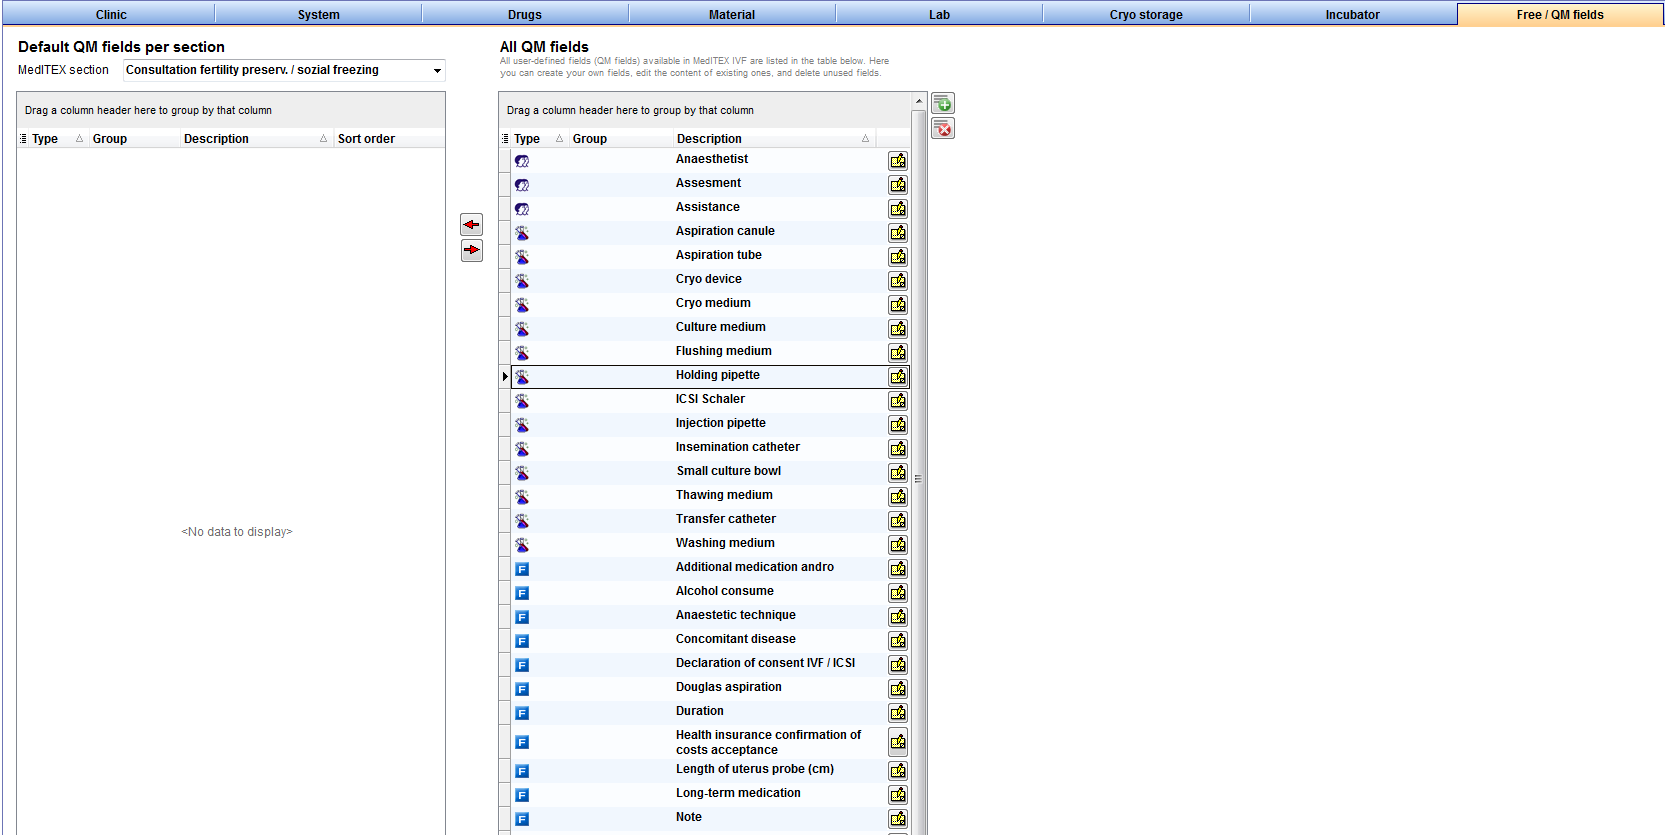
Free / QM fields
Report editor
System


