Schermate di Scheduler
From MedITEX - Wiki
Torna alla home page del Manuale di MedITEX Scheduler
Ci sono diversi modi per visualizzare il calendario di scheduler. Ciascun untente può definire indipendentemente dagli altri l'ordine delle risorse visualizzate e quali risorse debbano essere visualizzate o meno. E' anche possibile salvare diverse modalità di visualizzazione al fine di utilizzarle nella selezione rapida delle risorse. All'avvio di MedITEX Scheduler le risorse saranno sempre mostrate nella visualizzazione giornaliera che può essere facilmente modificata selezionando più giorni nel calendario mensile a sinistra o utilizzando i tasti "S" (settimana lavorativa) o "N" (griglia oraria).
Contents |
Scheduler views
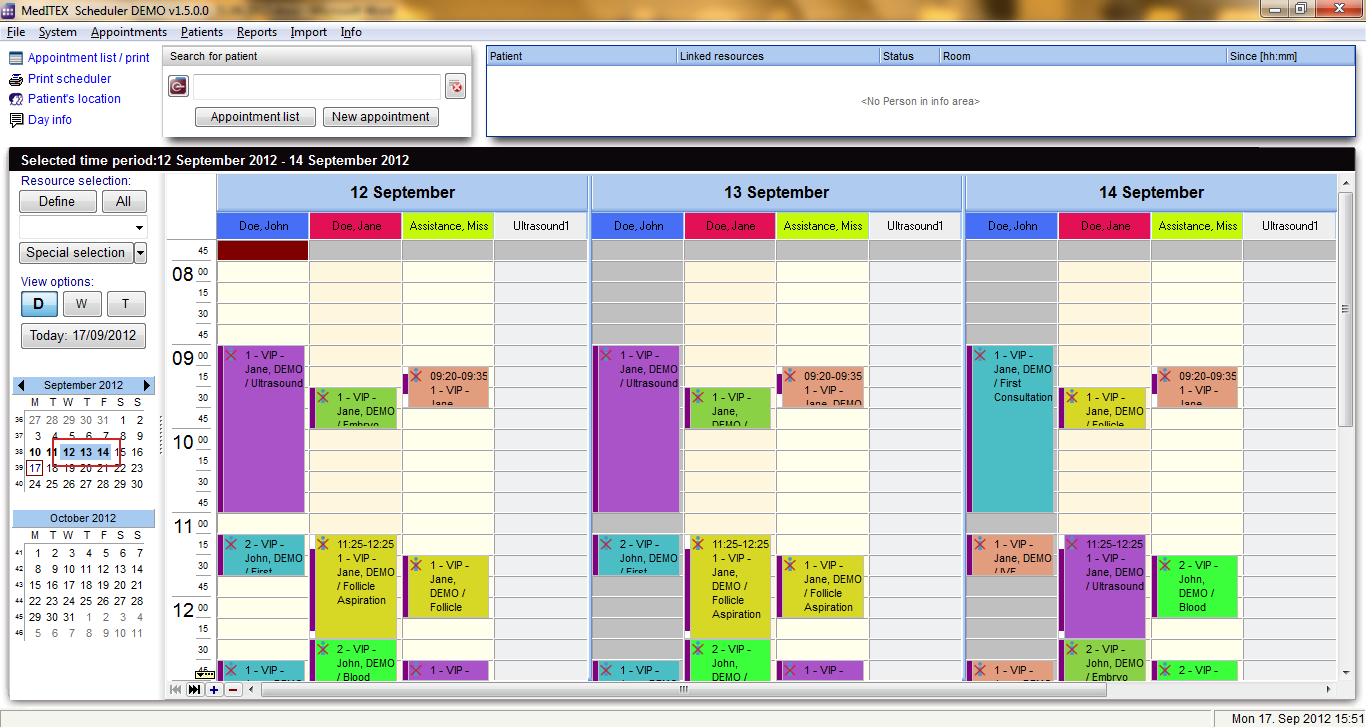
Use the buttons “D”, “W” and “T” to change the view of the scheduler in day, work week or time grid view.
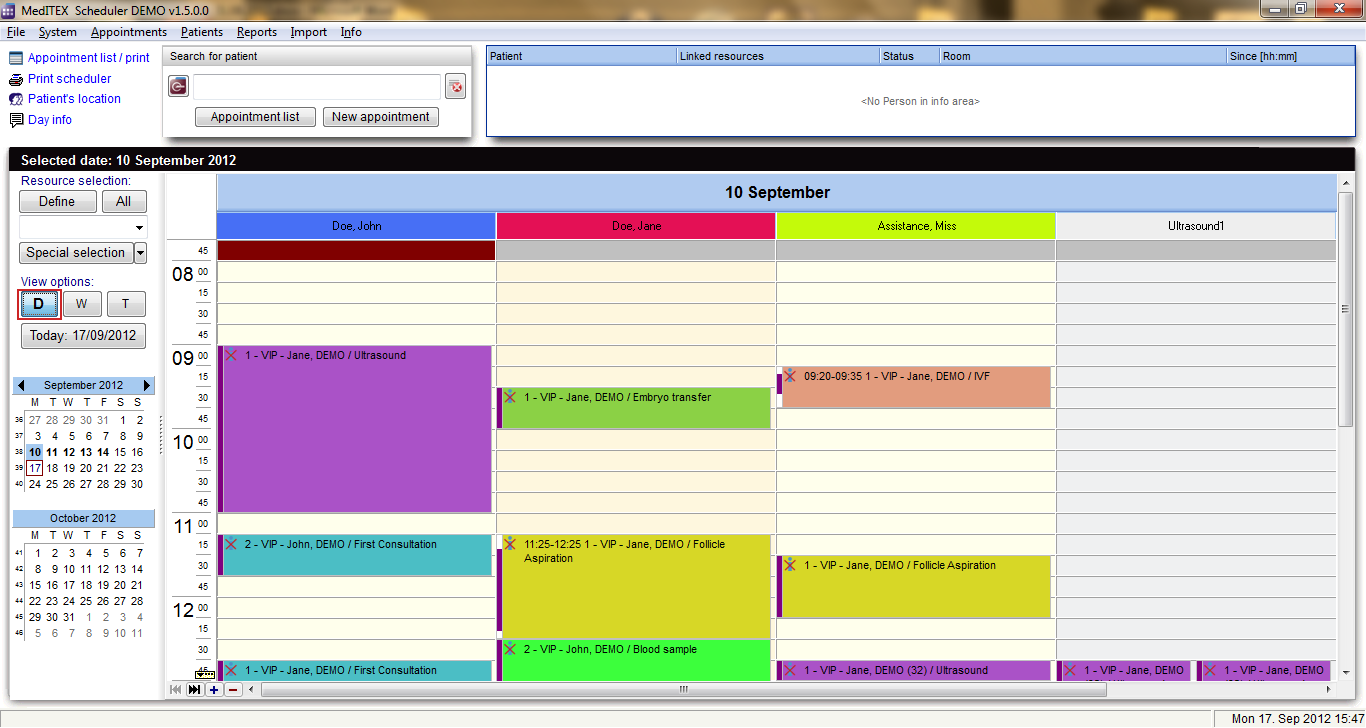
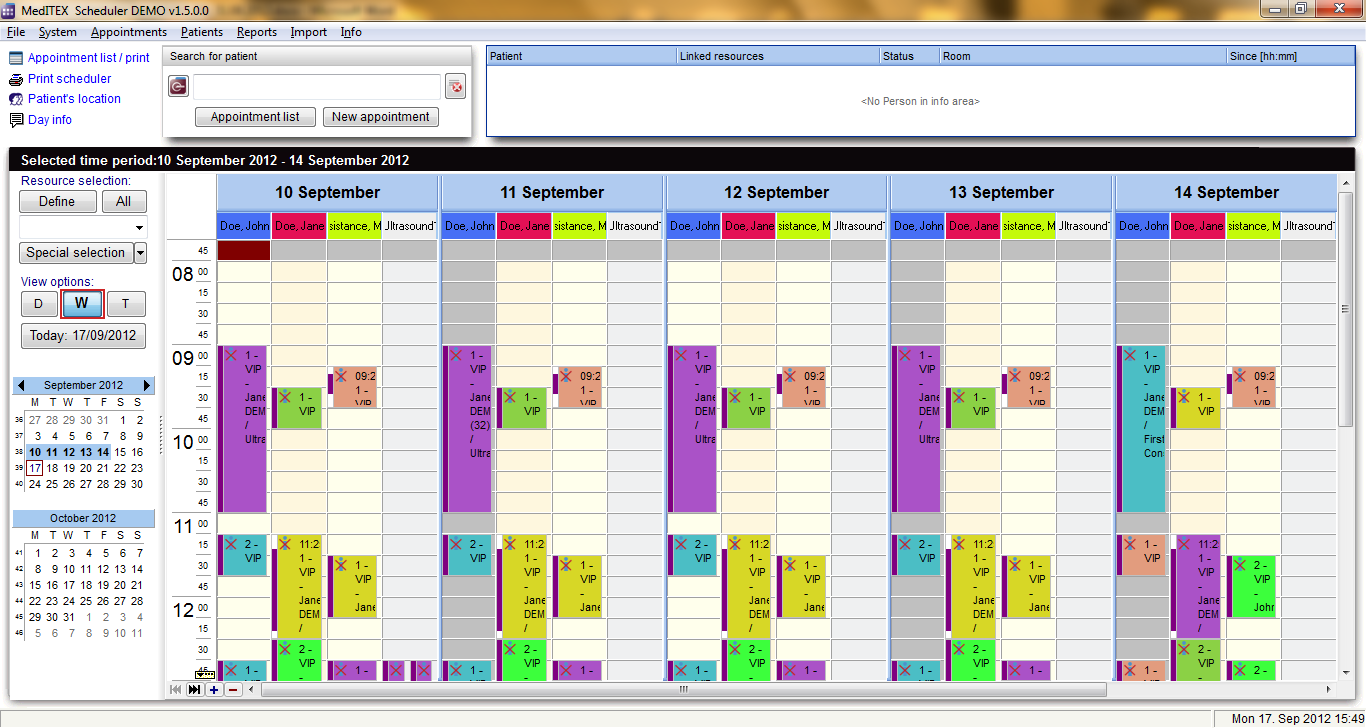
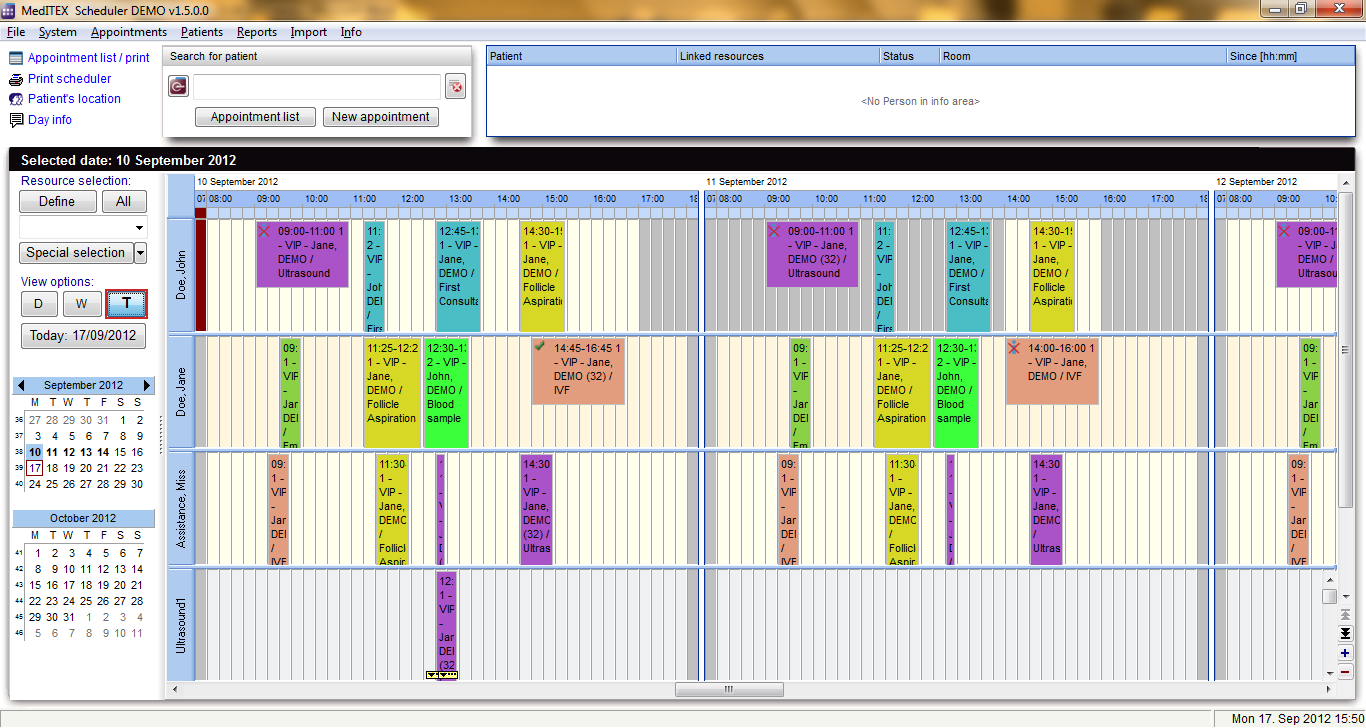
If “Day view” is active, it is possible to select several days in the months navigation.
Number of displayed resources
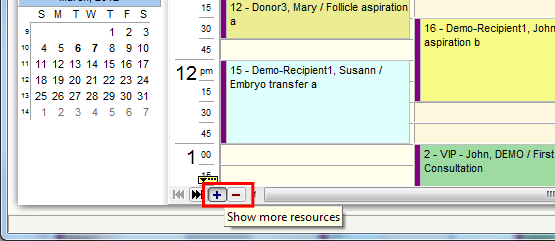
When you start MedITEX Scheduler and you have more than three resources defined, the scheduler will usually display 4 resources. In the bottom of the scheduler you will find small navigation buttons. With “+” you can increase the number of the resources in your view, and with “–“ decrease it.
Display order of resources
|
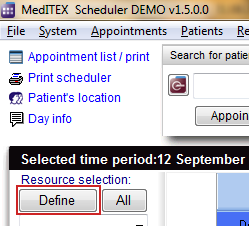
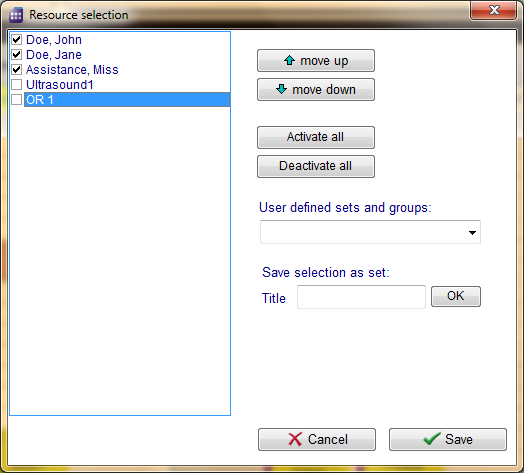
With a click on the button “Define” you can open a list with all existing and active resources, which were defined in the settings. In this list it is possible to vary the order of resources by moving the selected resource it up or down using the corresponding buttons on the right side. This order will be saved for each user individually. So if you quit the scheduler and log in again you will see the order as you have defined it.
|
|
Quick selection of different sets of resources
All groups that contain at least one resource are listed in the drop-down box beneath “Resource selection”. If you select one of these groups, all resources belonging to this group will immediately be displayed in the calendar.


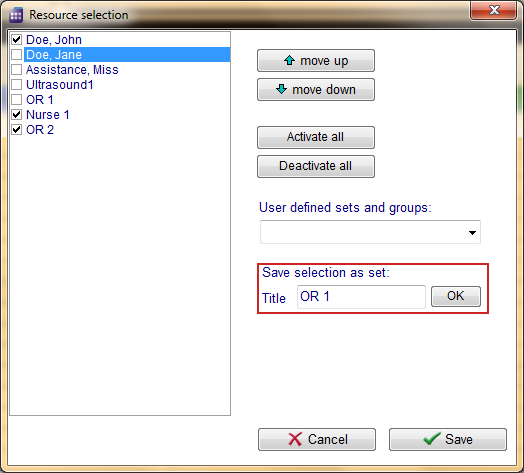
Besides selecting groups of resources defined in scheduler settings, you can also define your own sets of resources: by using the “Resource selection” view (accessible over “Define” button), you can create your own combination of resources for the quick selection, which you have to save as set by giving a name in the field “Title” and clicking on “OK”. These sets will be saved individually for each user.
In the following example the three resources “Doe, John”, “OR 2” and “Nurse 1” are selected and saved as a set named “OR 1”.
These own defined sets will be shown in the drop down list for the quick selection, together with predefined resource groups.

