Cycle Overview
From MedITEX - Wiki
Contents |
Top part
 |
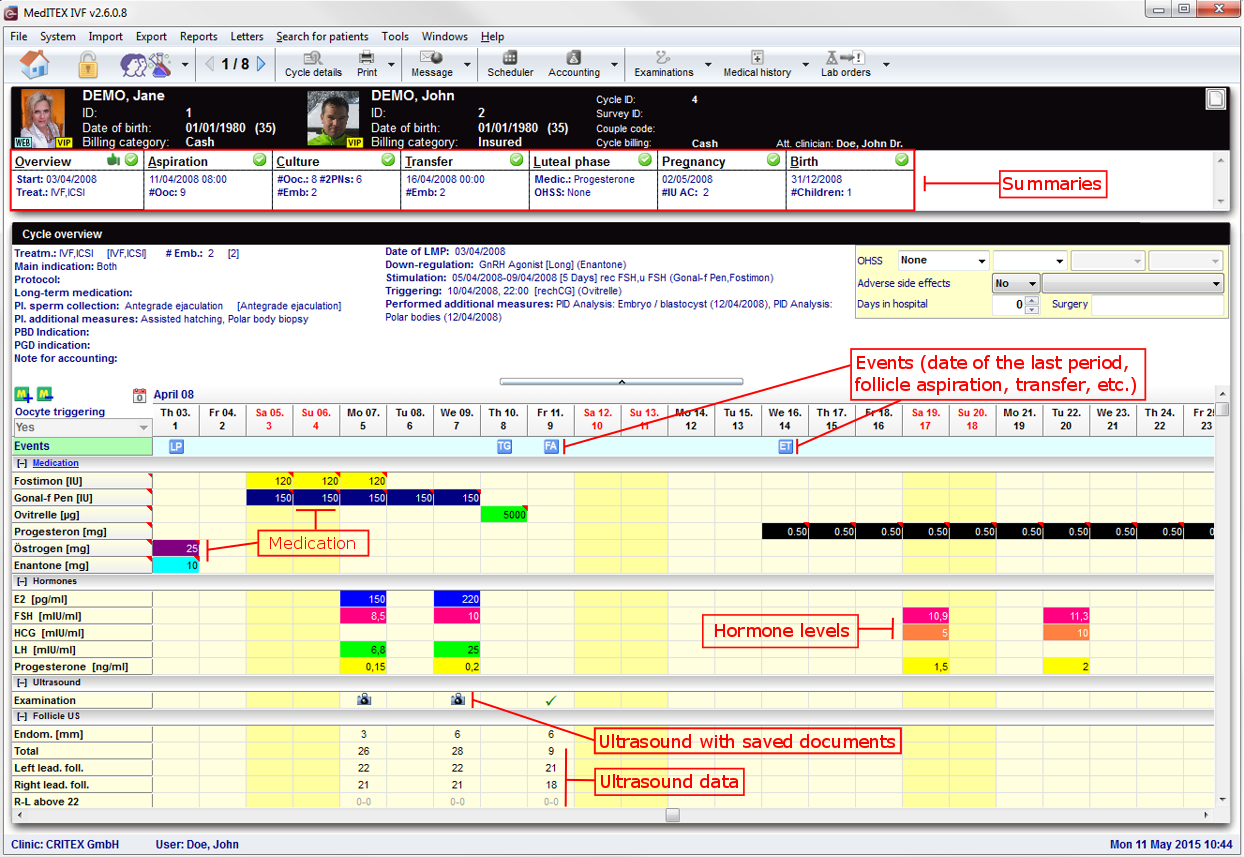
The top part of the Cycle overview displays important information about this cycle, such as: type of treatment, number of embryos planned, etc. The left section displays information contained in the Cycle details and if you click on this section, Cycle details will open. The right section contains information that is retrieved from the cycle in course, for example, it displays the date of the last menstrual period, the date of the triggering and the medication used, etc.
| One important information about this section is the use of brackets []. Information displayed inside brackets represent what procedure took place. For example, from the image above, the treatment that was planned when creating this cycle was IVF,ICSI and, right next to it, the brackets information shows that what was planned actually happened. Another example is the Pl. sperm collection that initially, was Antegrade ejaculation but in fact, Electrostimulation was used. |
Bottom section
The bottom section of the Overview tab presents the calendar and the action taken on each day. Entries in the calendar are devided in 5 groups:
 |
|
|
Some cells might display a red triangle on the top right corner. This indicates that it contains extra information. Put the move over that cell to view such data. Example:In order to edit this information, double-click the cell (in case of Hormones and Ultrasound ) or click on Medication on the left column (under Events). |
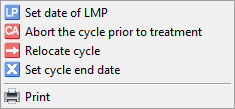
Events
 |
|
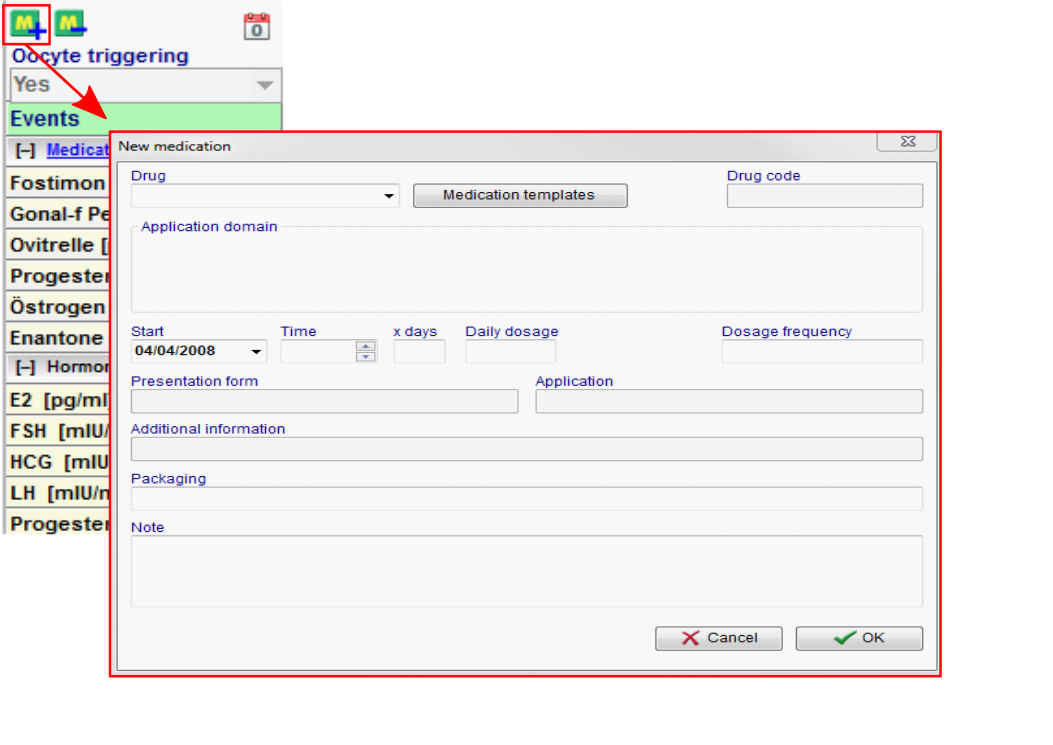
Medication
MedITEX IVF provides you with a list of all main drugs that are used in reproductive-medical treatments. Additional drugs can be individually defined in the system settings.
|
To extend the time of taking drugs do the following:
- select the last medication field
-
concurrently press the "Strg button" on your keyboard and click with your mouse on the required date in your calendar.
Hormones
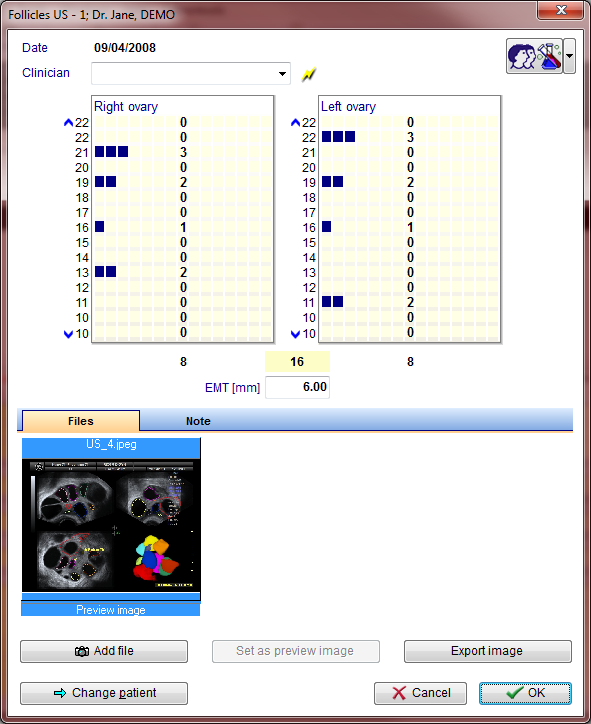
Ultrasound
| Back to the MedITEX IVF menu | Back to top |


