How to add a new resource?
From MedITEX - Wiki
(Difference between revisions)
| Line 13: | Line 13: | ||
<tr> | <tr> | ||
<td> | <td> | ||
| − | <p> [[Image:Settings_Resource2Red.png|none| | + | <p> [[Image:Settings_Resource2Red.png|none|740px|thumb|left|link=http://wiki.meditex-software.com/images/Settings_Resource2Red.png]]</p> |
</td> | </td> | ||
</tr> | </tr> | ||
| Line 26: | Line 26: | ||
<tr> | <tr> | ||
<td> | <td> | ||
| − | <p>[[Image:Cal.png|none| | + | <p>[[Image:Cal.png|none|740px|thumb|left|link=http://wiki.meditex-software.com/images/Cal.png]]</p> |
</td> | </td> | ||
</tr> | </tr> | ||
Revision as of 09:50, 13 November 2012
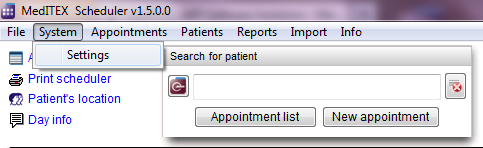 |
New resources can be added in the settings. For that you go System -> Settings -> Resources -> Resources.
|
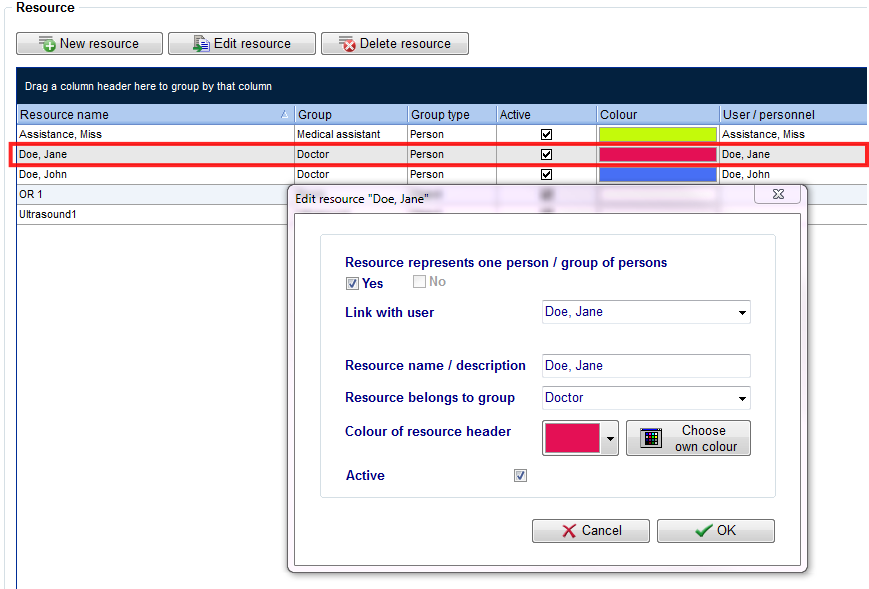 |
| By double-clicking a line - or by clicking on the button "Edit resource" - the editor window for the selected resource will appear |
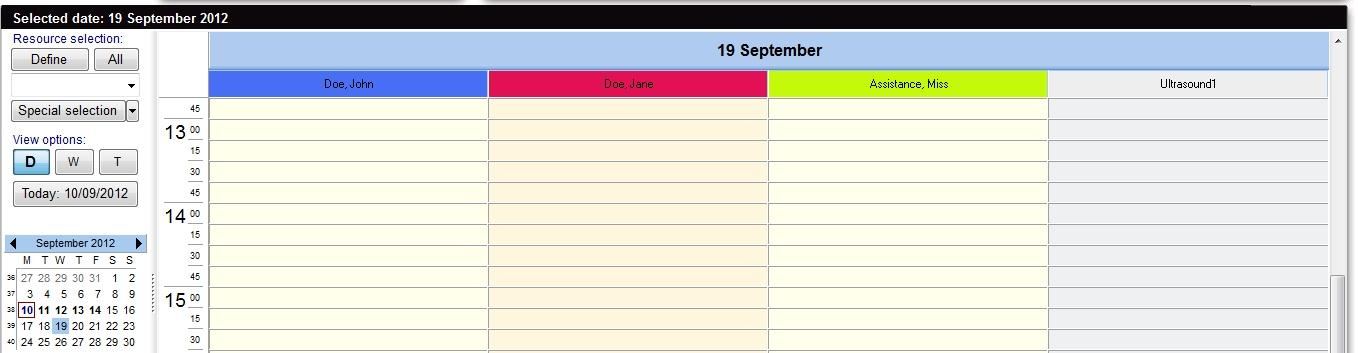 |
| A view of the main scheduler window. On the left, the time scale is set to time interval of 15 minutes. On the right all resources are displayed side by side, in one day. Every user can reorder the resources individually. |
With the button "New resource" a new resource can be added.
<a href="/index.php?title=Welcome_to_MedITEX_Scheduler#Resources">Click here</a> to obtain more information about resources.