Scheduler Views
From MedITEX - Wiki
| Line 52: | Line 52: | ||
</tbody> | </tbody> | ||
</table> | </table> | ||
| + | <p> </p> | ||
| + | <h2>Number of displayed resources</h2> | ||
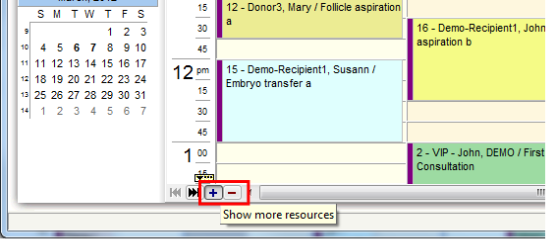
| + | <p>When you start MedITEX Scheduler and you have more than three resources defined, the scheduler will usually display 4 resources. In the bottom of the scheduler you will find small navigation buttons. With “+” you can increase the number of the resources in your view, and with “–“ decrease it.</p> | ||
| + | <p> </p> | ||
| + | <p>[[Image:MainWindowN.png|none|750px|thumb|left|link=http://wiki.meditex-software.com/images/MainWindowN.png|Change here the visible resources]]</p> | ||
| + | <p> </p> | ||
Revision as of 10:41, 5 November 2012
There are several possibilities to view the scheduler’s calendar. Each user can determine independently from others the order of displayed resources, and which ones should be shown at all. It is also possible to save different presentations in order to use these definitions in the resource quick selection. Upon start of MedITEX Scheduler the resources will always be displayed in the “Day view” which can easily be changed by selecting more days in the months navigation on the left, or by using the buttons “W” for work week view or “T” for time grid view.
Scheduler views
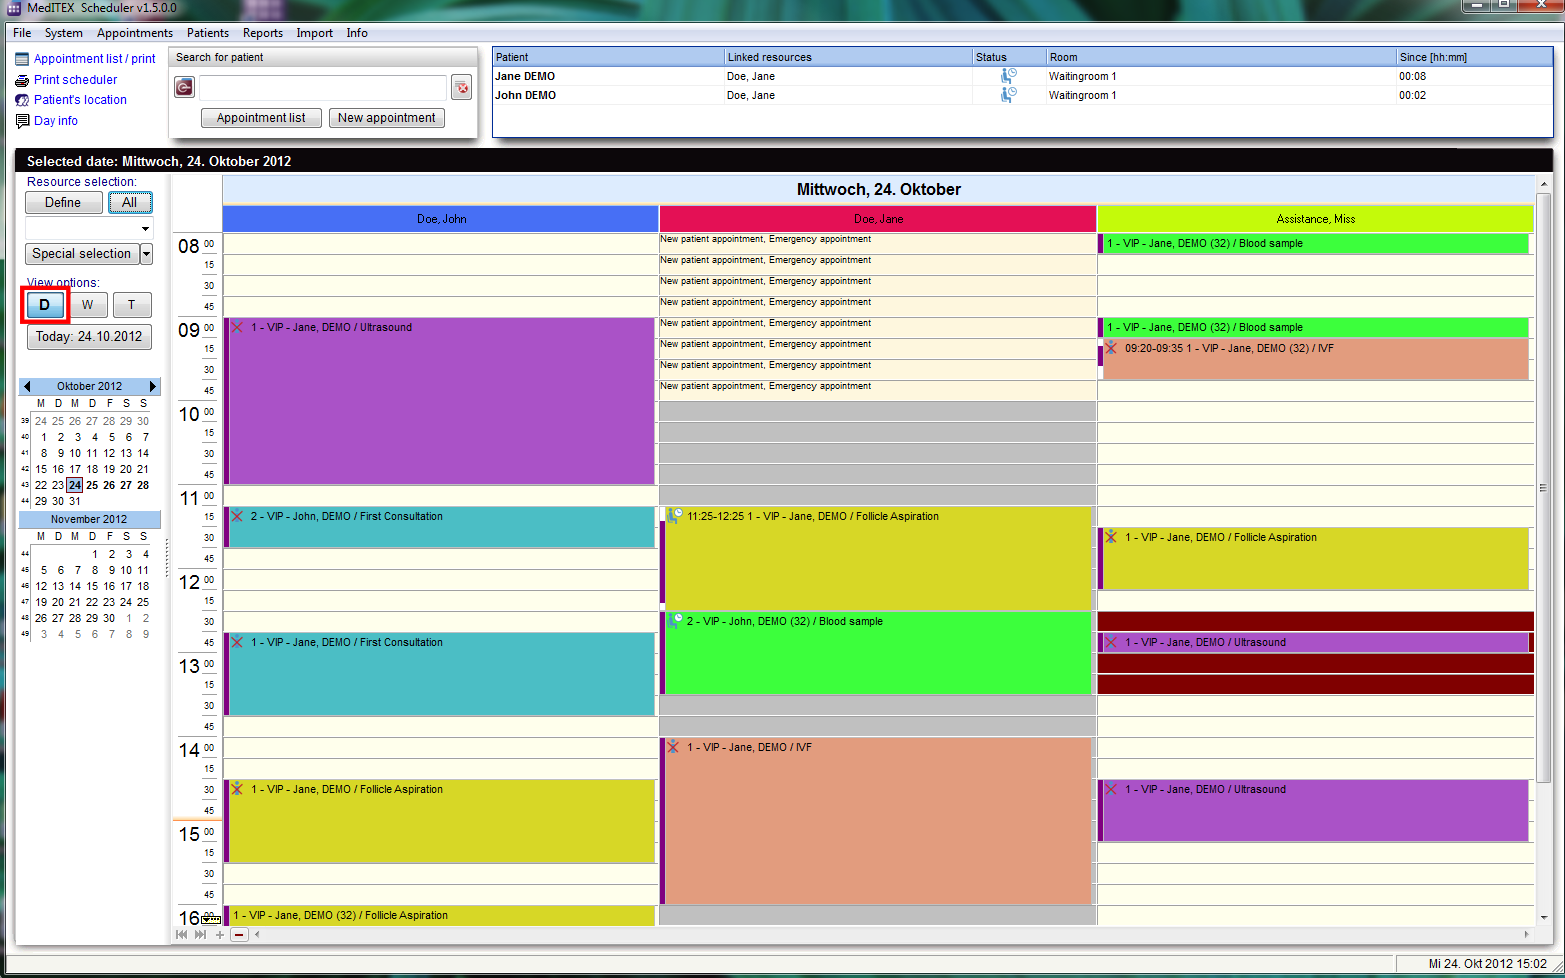
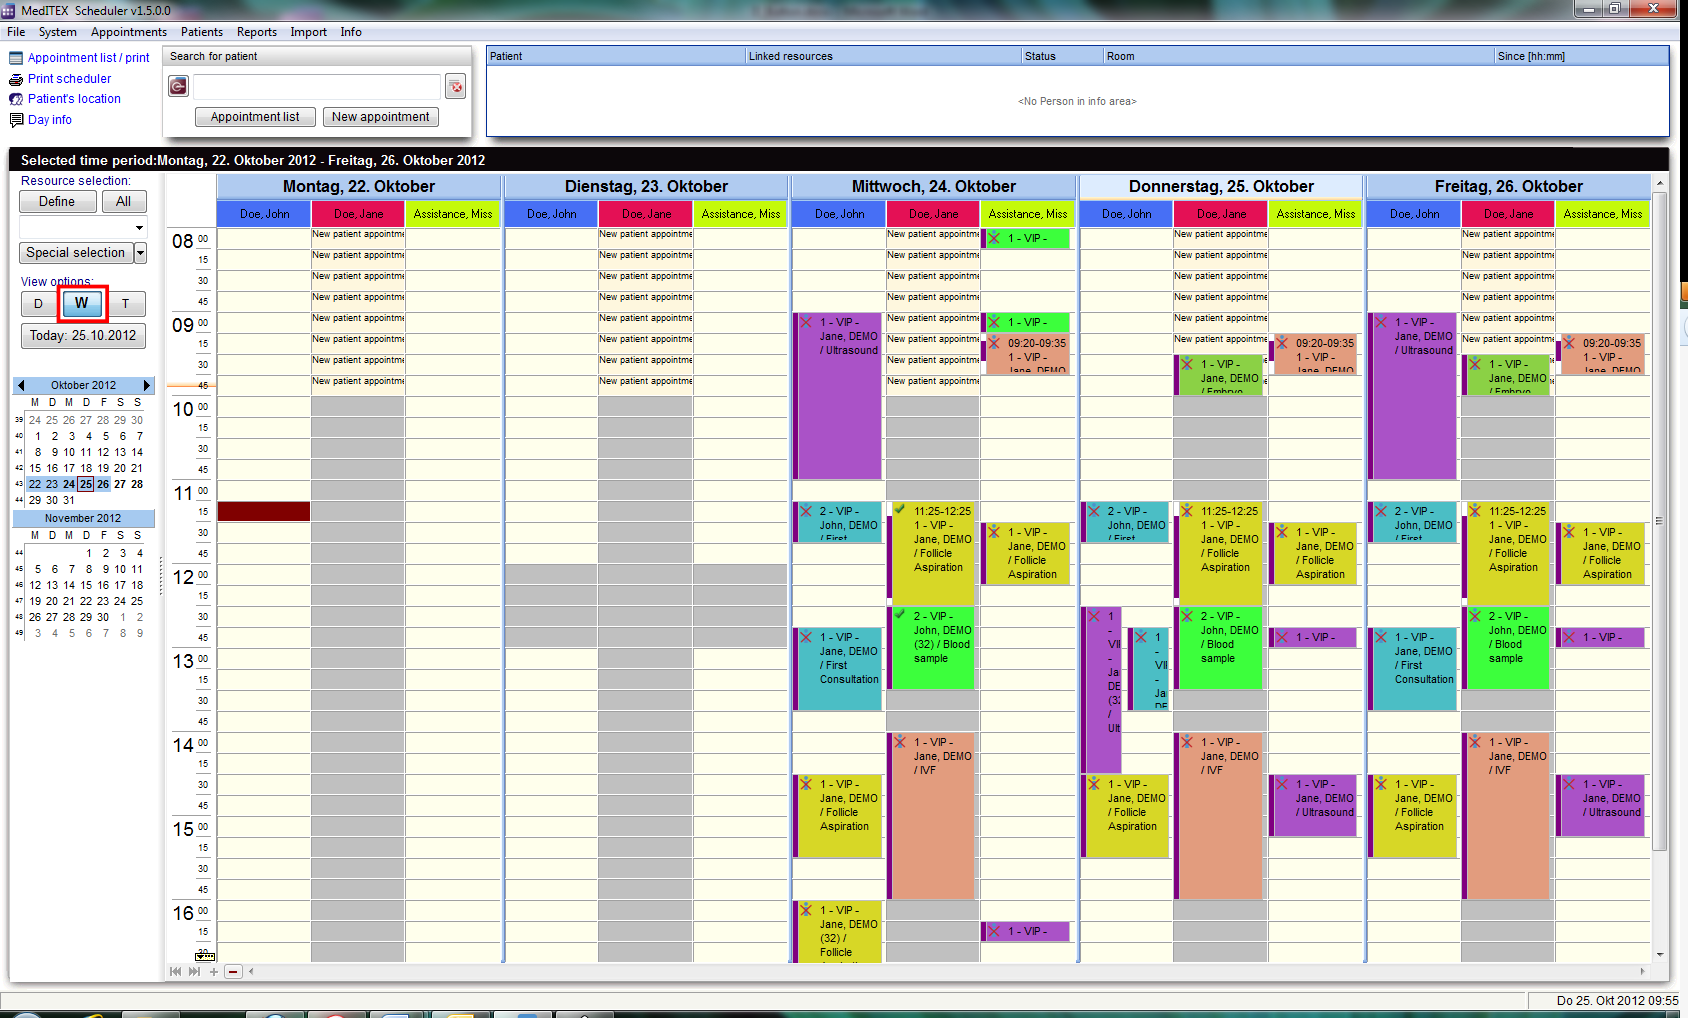
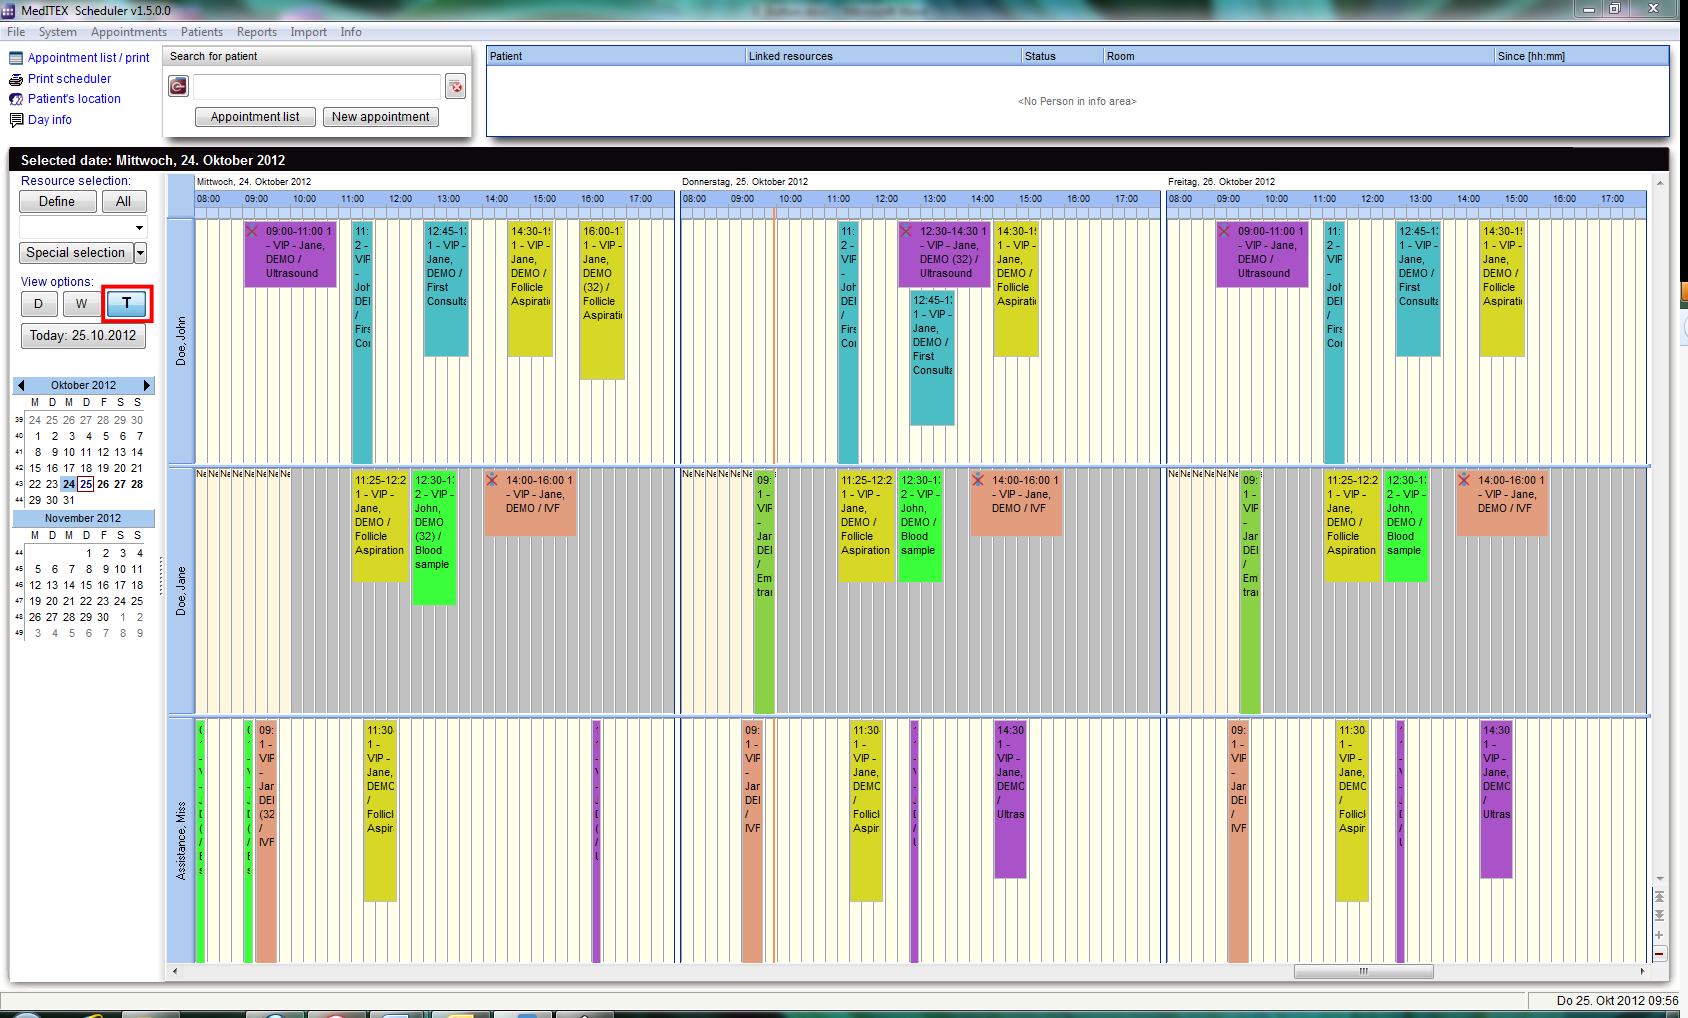
Use the buttons “D”, “W” and “T” to change the view of the scheduler in day, work week or time grid view.
| View of a day. |
| View of a work week. |
| View in a time grid. |
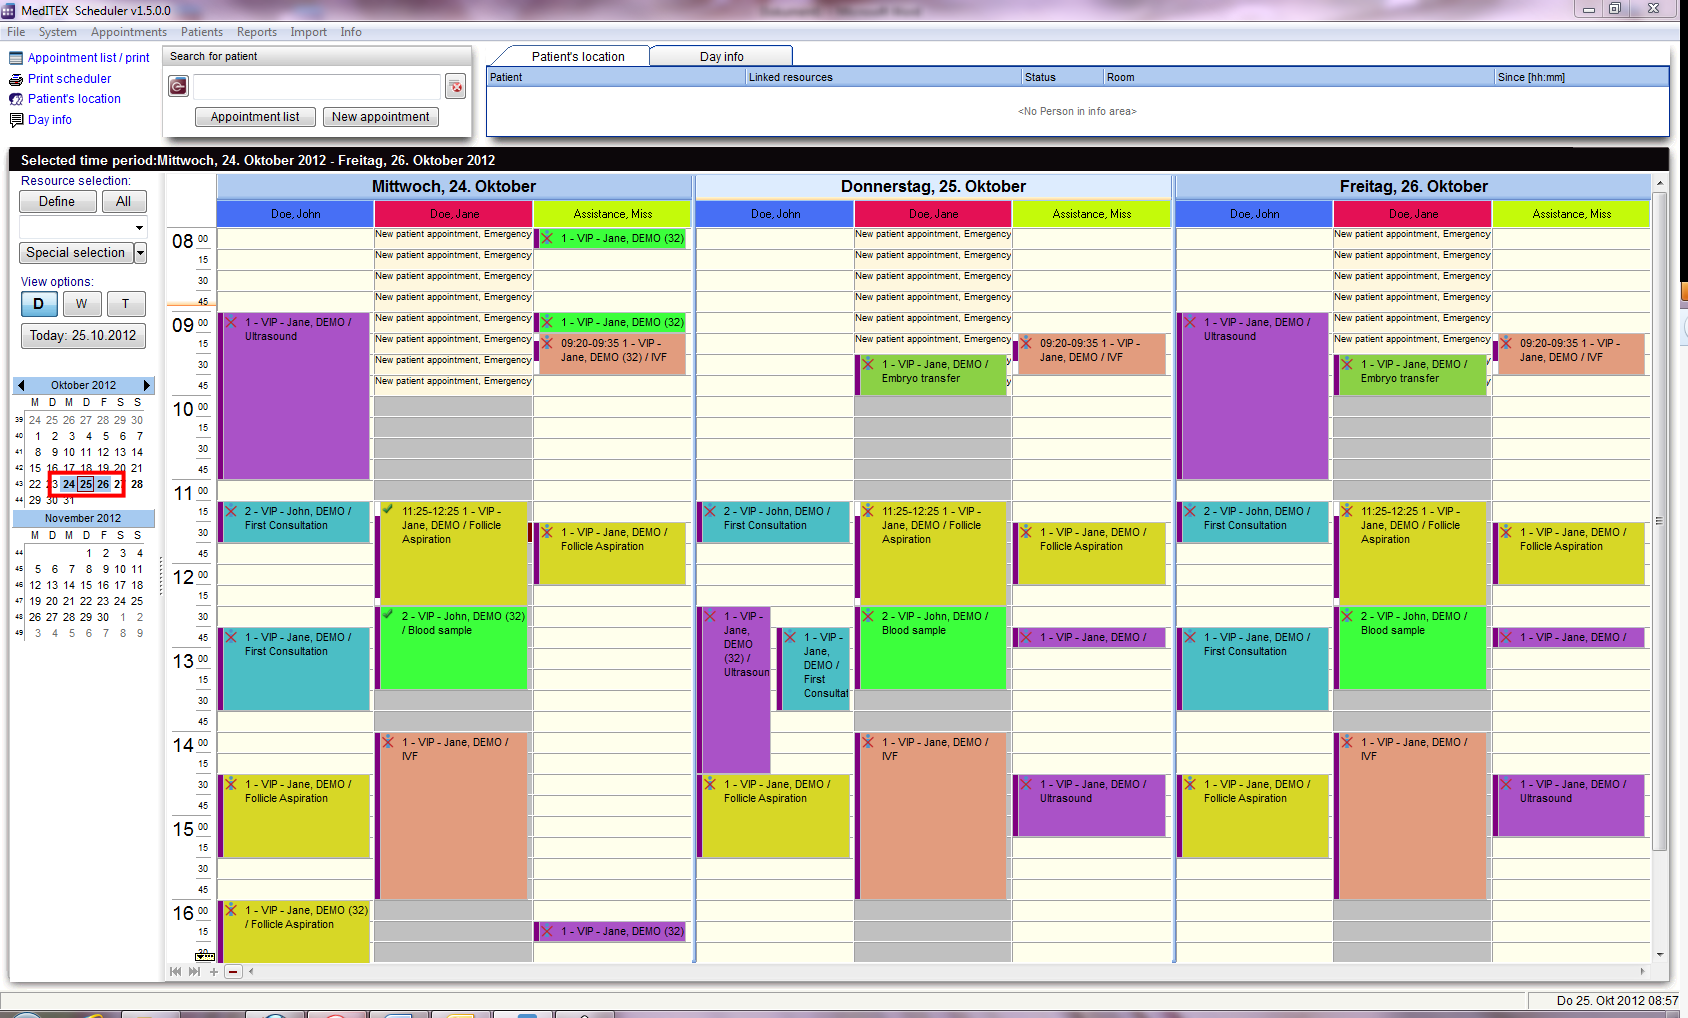
If “Day view” is active, it is possible to select several days in the months navigation.
| View of several days. |
Number of displayed resources
When you start MedITEX Scheduler and you have more than three resources defined, the scheduler will usually display 4 resources. In the bottom of the scheduler you will find small navigation buttons. With “+” you can increase the number of the resources in your view, and with “–“ decrease it.
