Quaderno / screenshots
From MedITEX - Wiki
(Difference between revisions)
| Line 44: | Line 44: | ||
<p> </p> | <p> </p> | ||
<p><strong>Screenshot</strong>:</p> | <p><strong>Screenshot</strong>:</p> | ||
| − | <p> | + | <p>Selezionando l'opzione <strong>Utilizza tasti screenshot</strong> nelle <a href="/index.php?title=MedITEX_IVF_Impostazioni#Generale_2">Impostazioni</a>, sarà possibile utilizzare la combinazione di tasti <strong>ALT + Stamp</strong> per effettuare uno screenshot e aprire il Quaderno.</p> |
<p> </p> | <p> </p> | ||
<table border="0" width="419" height="24"> | <table border="0" width="419" height="24"> | ||
| Line 50: | Line 50: | ||
<tr> | <tr> | ||
<td><img style="display: block; margin-left: auto; margin-right: auto;" src="/images/hint48.png" alt="" width="48" height="48" /></td> | <td><img style="display: block; margin-left: auto; margin-right: auto;" src="/images/hint48.png" alt="" width="48" height="48" /></td> | ||
| − | <td> | + | <td>Un numero indefinito di <strong>screenshots</strong> possono essere inseriti in una pagina del <strong>quaderno</strong>.</td> |
</tr> | </tr> | ||
</tbody> | </tbody> | ||
| Line 57: | Line 57: | ||
<tbody> | <tbody> | ||
<tr> | <tr> | ||
| − | <td style="text-align: right;"><a href="/index.php?title= | + | <td style="text-align: right;"><a href="/index.php?title=Manuale_MedITEX">Torna al manuale MedITEX IVF</a></td> |
<td style="text-align: right;"><a href="#top">Back to top</a></td> | <td style="text-align: right;"><a href="#top">Back to top</a></td> | ||
</tr> | </tr> | ||
Revision as of 10:19, 2 May 2016
|
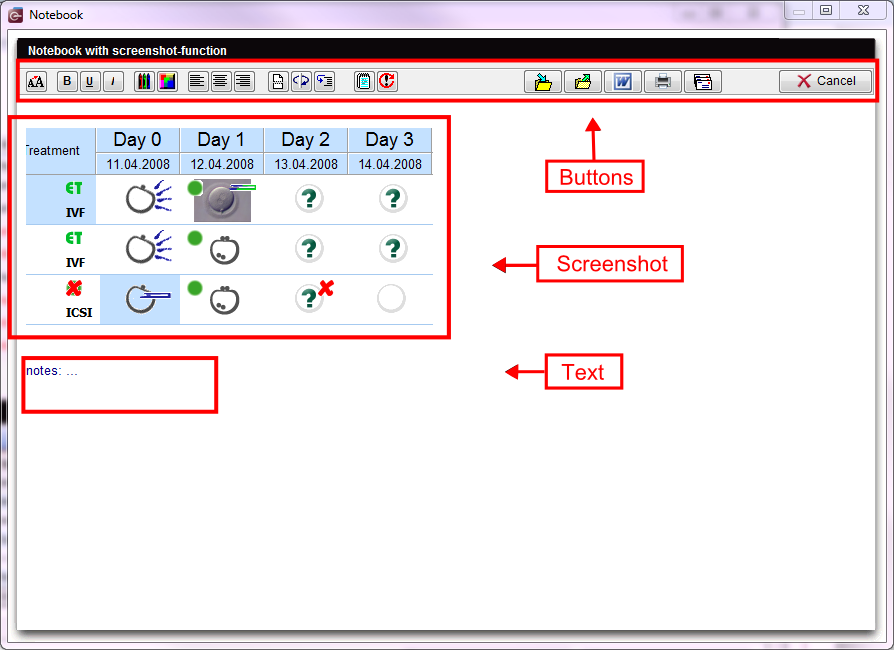
Pulsanti:
|
Pulsanti importanti:
I pulsanti elencati di seguito hanno importanti funzionalità:
- Salva: salvare documenti per uso futuro;
- Apri: Aprire documenti salvati;
- Modifica su file Word: aprire il testo corrente in MS Word;
- Email a hotline: invia lo screenshot a MedITEX hotline. Il programma email installato nel PC verrà aperto automaticamente.
Screenshot:
Selezionando l'opzione Utilizza tasti screenshot nelle <a href="/index.php?title=MedITEX_IVF_Impostazioni#Generale_2">Impostazioni</a>, sarà possibile utilizzare la combinazione di tasti ALT + Stamp per effettuare uno screenshot e aprire il Quaderno.
| <img style="display: block; margin-left: auto; margin-right: auto;" src="/images/hint48.png" alt="" width="48" height="48" /> | Un numero indefinito di screenshots possono essere inseriti in una pagina del quaderno. |
| <a href="/index.php?title=Manuale_MedITEX">Torna al manuale MedITEX IVF</a> | <a href="#top">Back to top</a> |
