How to edit the patient data?
From MedITEX - Wiki
(Difference between revisions)
| Line 1: | Line 1: | ||
| − | <p><span id="result_box" lang="en"><span class="hps">In order to ed</span>it <span class="hps">patient data</ | + | <p><strong><span id="result_box" lang="en"><span class="hps">In order to ed</span>it <span class="hps">patient data</span>, <span class="hps">f</span><span class="hps">ollow these steps:</span></span></strong></p> |
<p>From the menu bar, open an empty patient mask.</p> | <p>From the menu bar, open an empty patient mask.</p> | ||
<table style="margin-left: auto; margin-right: auto;" border="0"> | <table style="margin-left: auto; margin-right: auto;" border="0"> | ||
Revision as of 15:08, 28 November 2012
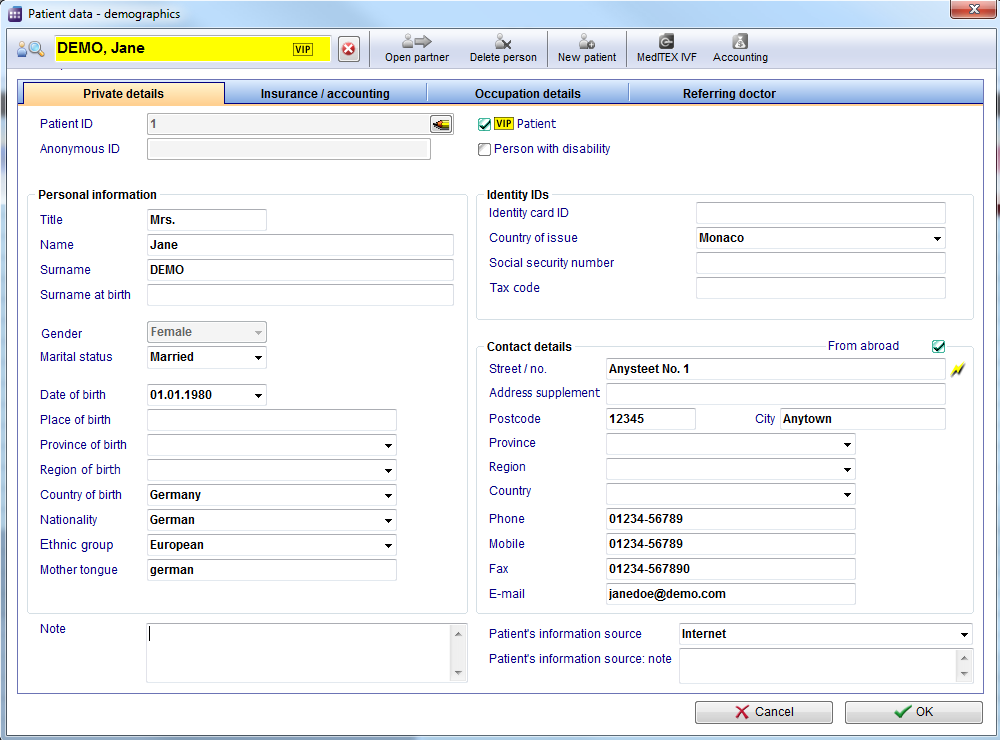
In order to edit patient data, follow these steps:
From the menu bar, open an empty patient mask.
| <img src="/images/Patients1Red.png" alt="" width="485" height="147" /> |
To edit information about an existing patient, use the search box to find the desired patient.
You can immediately begin with the editing of data.
The second way to edit patient data:
Open the appointment editor and click on the little loupe. The patient editor will be opened.
Click OK to save changes.
| <img src="/images/Patient.png" alt="" width="239" height="108" /> |
| <a href="/index.php?title=MedITEX_Scheduler_how_to...">Back to How to...</a> | <a href="#top">Back to top</a> |
