How to print the schedule?
From MedITEX - Wiki
(Difference between revisions)
| Line 9: | Line 9: | ||
<p> </p> | <p> </p> | ||
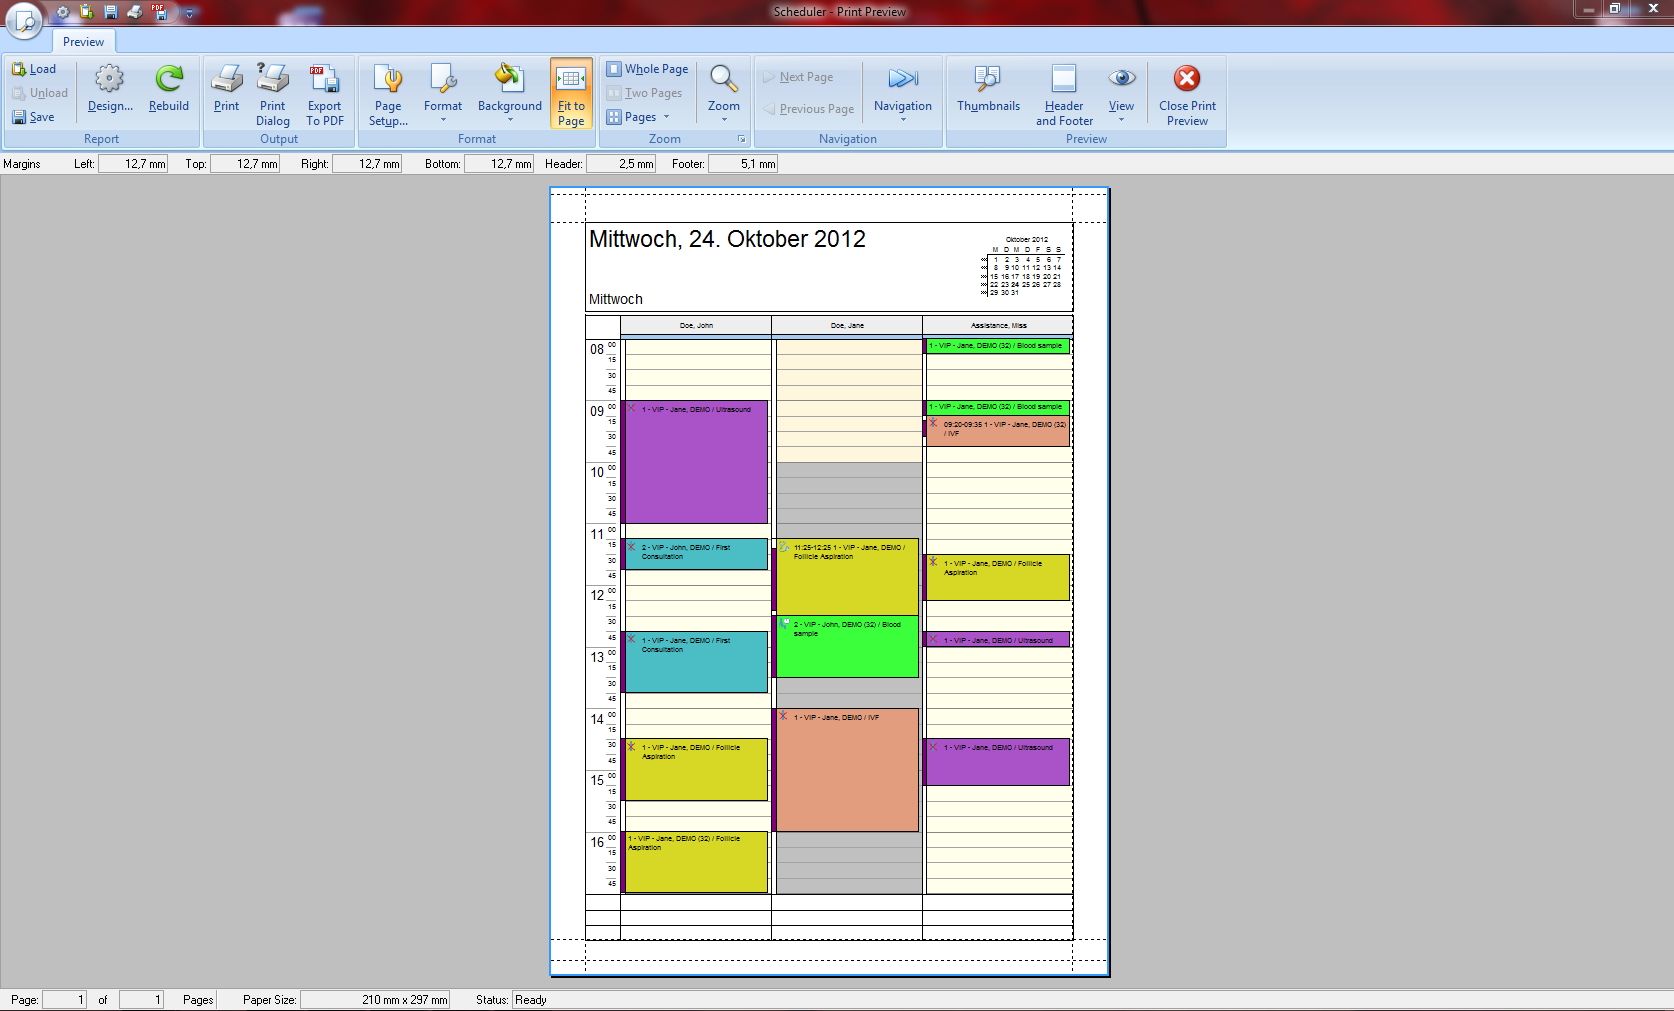
<p><span id="result_box" lang="en"><span class="hps"> </span><span>This opens the Printing Preview. Choose the desired options and print.</span></span></p> | <p><span id="result_box" lang="en"><span class="hps"> </span><span>This opens the Printing Preview. Choose the desired options and print.</span></span></p> | ||
| + | <table border="0"> | ||
| + | <tbody> | ||
| + | <tr> | ||
| + | <td>[[Image:PrintScheduler.png|none|765px|thumb|left|link=http://wiki.meditex-software.com/images/PrintScheduler.png| ]]</td> | ||
| + | </tr> | ||
| + | </tbody> | ||
| + | </table> | ||
<table style="float: right;" border="0"> | <table style="float: right;" border="0"> | ||
<tbody> | <tbody> | ||
Revision as of 13:33, 15 November 2012
At the Supporting links area, click on "Print scheduler" or go to Appointments -> Print scheduler.
| <img src="/images/GoToPatient.png" alt="" width="483" height="274" /> |
This opens the Printing Preview. Choose the desired options and print.
| <a href="/index.php?title=MedITEX_Scheduler_how_to...">Back to How to...</a> | <a href="#top">Back to top</a> |
