MedITEX IVF Settings
From MedITEX - Wiki
 |
Contents |
Clinic
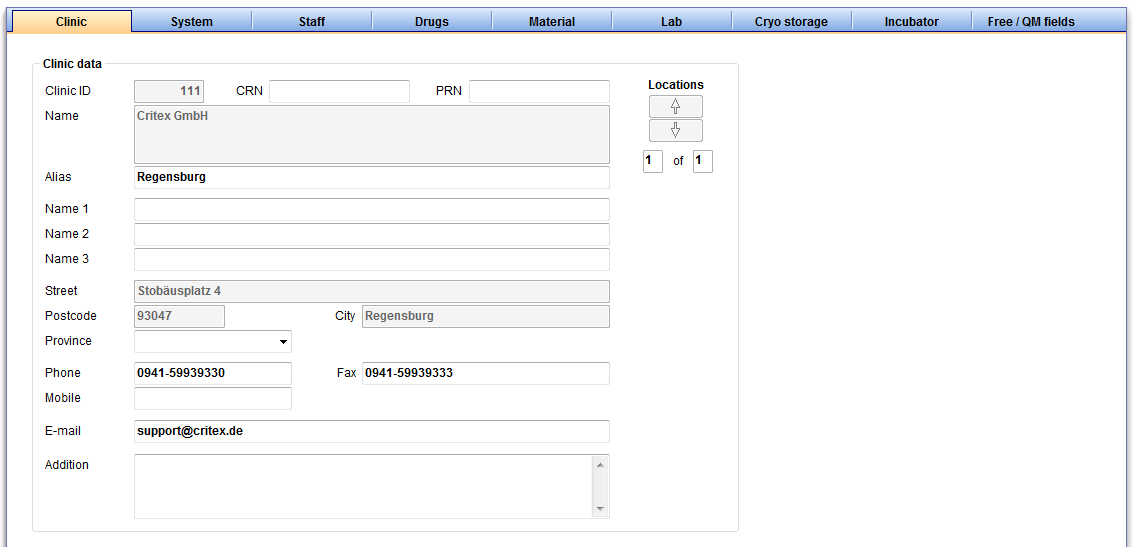 |
Here you can enter the contact details about your clinic and see your clinic ID.
Enter and edit the alias of your clinic, as well as the names of the main clinican and other data.
If there are several clinics, you can switch with the "location" button between them.
System
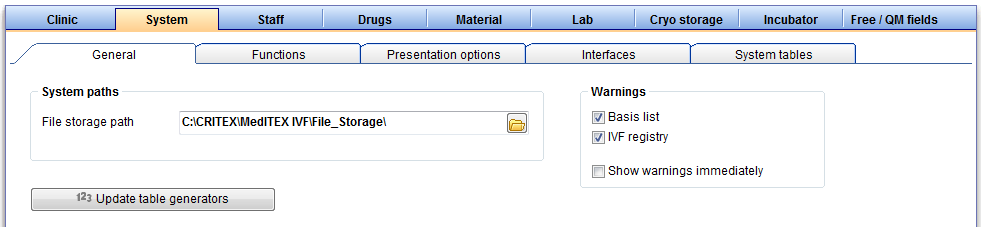 |
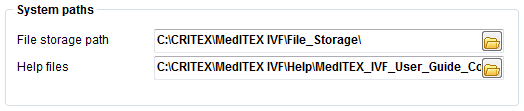
General
 |
|
 |
|
!!! Only change the warning settings if you are sure in what you are doing. Otherwise, incorrect entries may go unnoticed. !!!
Functions
General
 |
|
|
|
 |
|
 |
|
 |
|
| |
|
 |
|
 |

Report editor
Semen analysis
Cycle
Cryo contracts and accounting
Donation / surrogate motherhood
Presentation options
Interfaces
!!! Only change the interface settings if you are sure in the changes you want to make. Otherwise there may be functionality errors or complete failure of certain functions. !!!
System tables
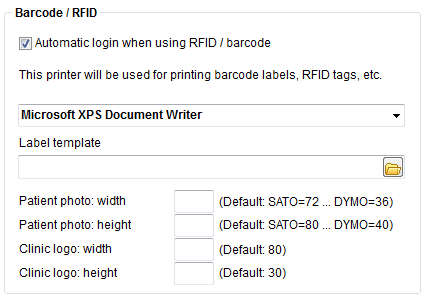
Moreover, you can define the parameters for the logos, pictures and templates used in letters that you can create with the report editor.
Staff
 |
Drugs
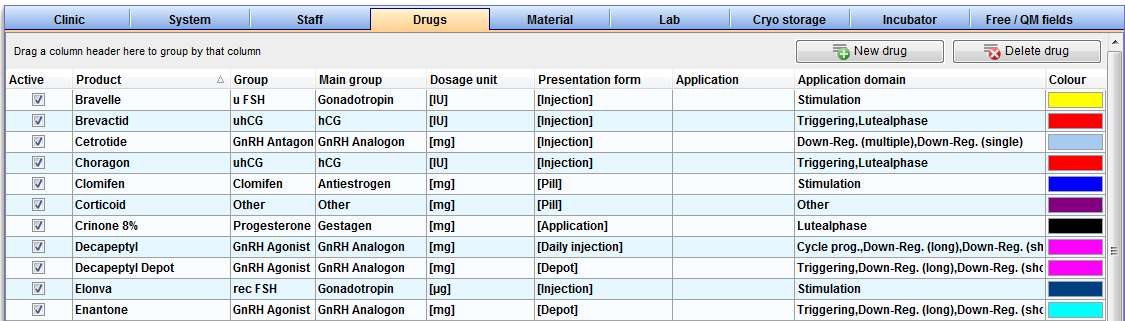 |
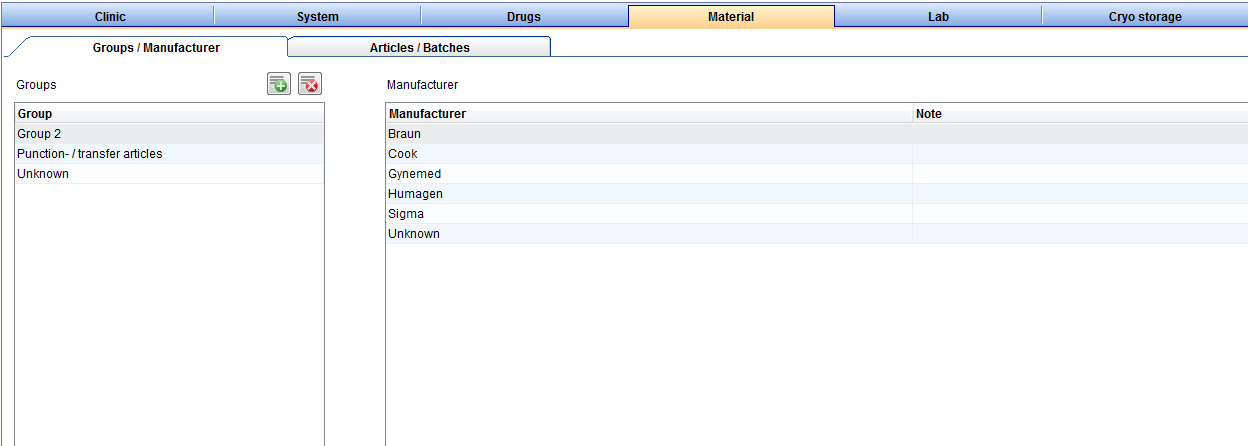
Material
In the section “Material” you can enter data concerning material groups, manufacturers and products. You can also create different batches and "activate" them for a certain period of time.
Articles / Batches
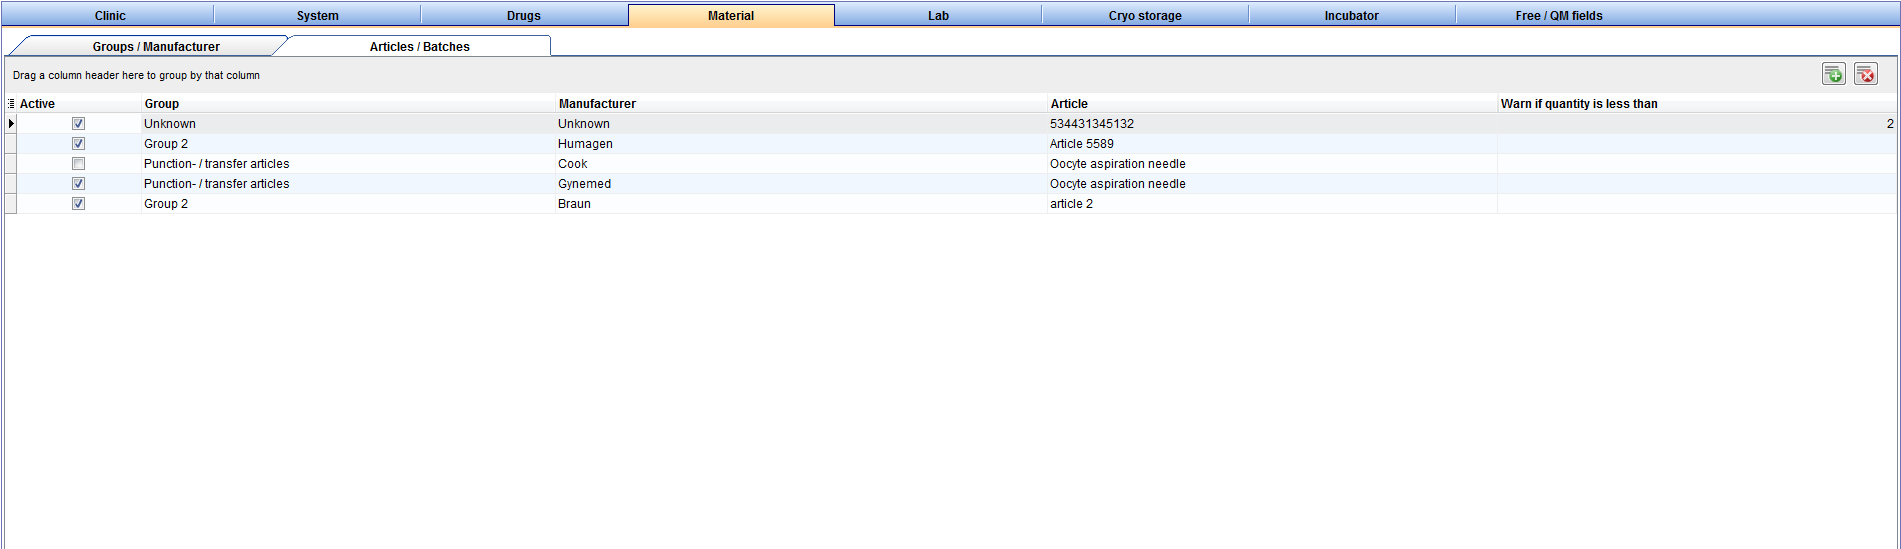 |
Now select the tab "Articles / Batches" to add the needed materials to the list and make them available for the creation of QM fields.
Press the symbol on the top right to add a new article.
In the new window you can choose the material group and the manufacturer. If the necessary information is not available in the pull-down menu, you have the option to quickly create a new manufacturer or group in this window. To do this, press the symbol.
Now you can enter the article name and tick the box "Article can be used".
As soon as you confirm by clicking “OK” a new window will open in which you can add a corresponding batch:
Manufacturer
 |
Follow the same steps when creating a new manufacturer. Click the tab “Manufacturer” to see a list of all existing manufacturers. Press the symbol again to create a new manufacturer. Enter the name of the manufacturer in the new window and confirm by clicking "OK".
The new manufacturer will now be displayed in the list:
Groups
At this tab you can create a new material group, for example probes. Here you can see a list of all existing groups.
 |
| Press this button on the top right to create a new group. | |
| Delete a group with this button. |
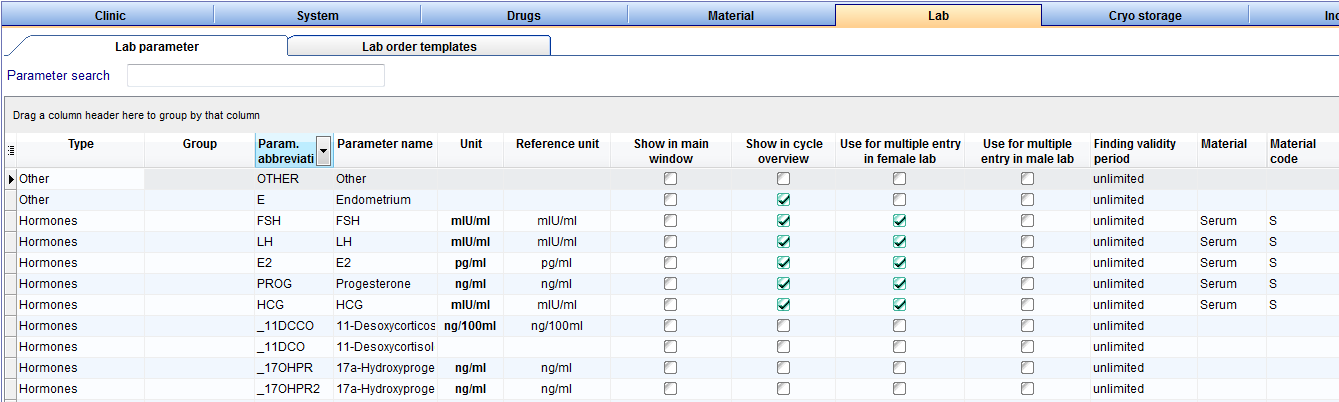
Lab
 |
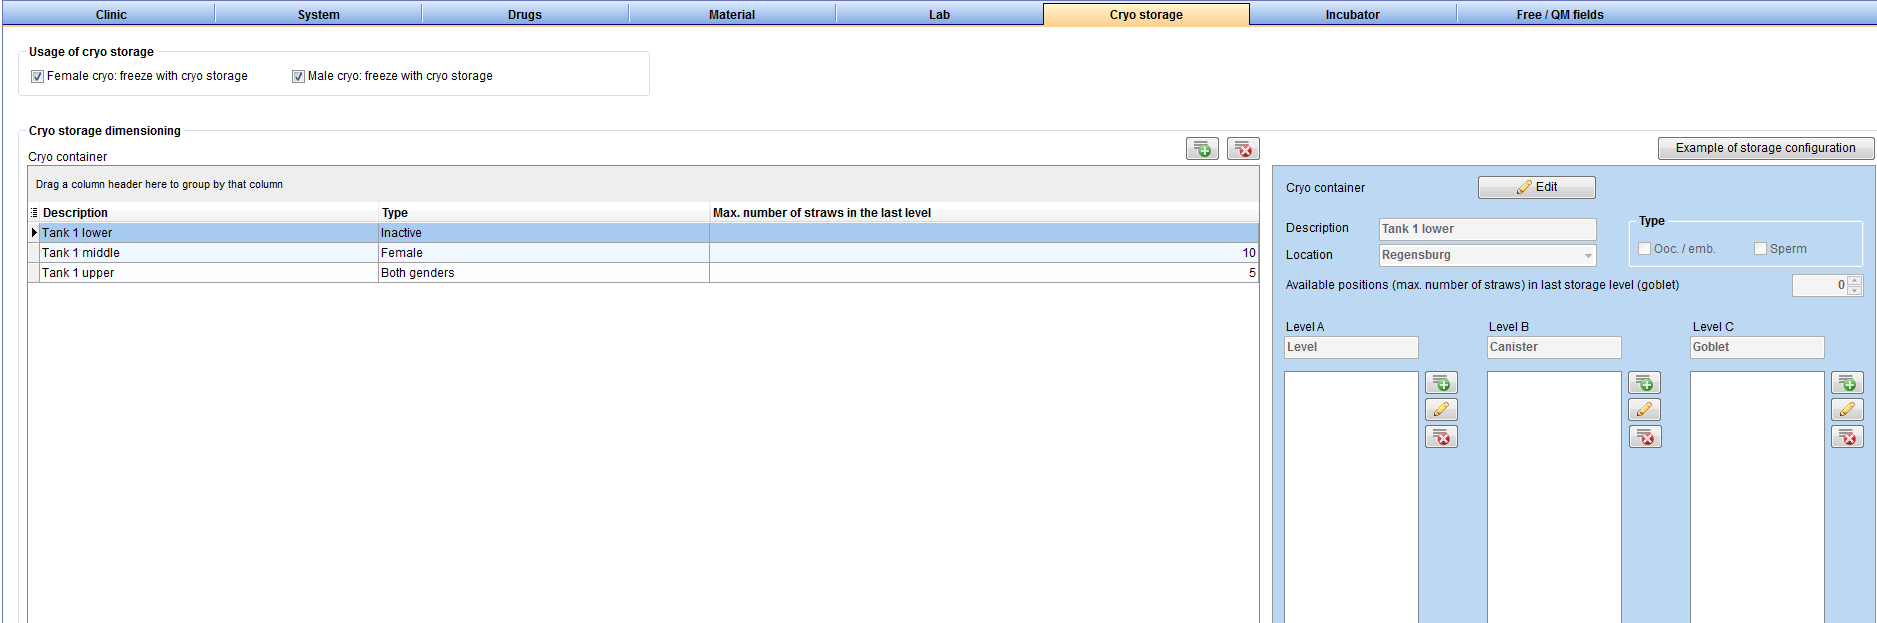
Cryo storage
 |
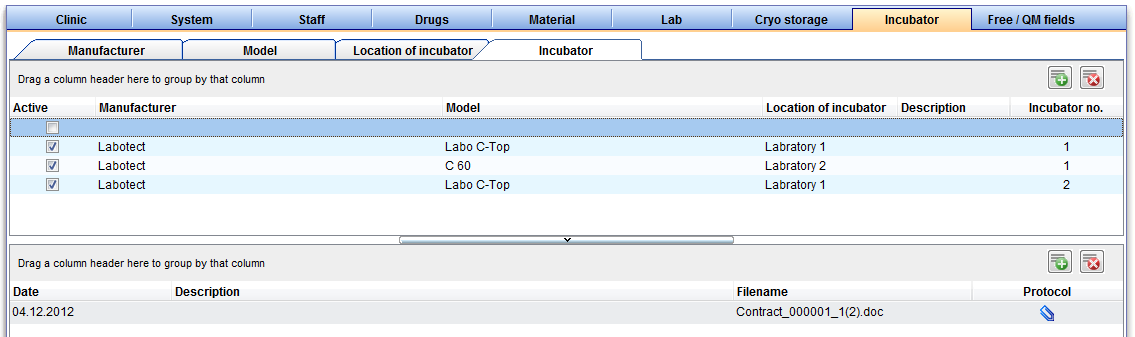
Incubator
 |
Free / QM fields
 |