Come utilizzare MedITEX WebPortal
From MedITEX - Wiki
This page provides a detailed documentation as well as instructions on how to use MedITEX WebPortal.
In the following page, screenshots for both Desktop version and Mobile version will be displayed in every section.
Contents |
Log in
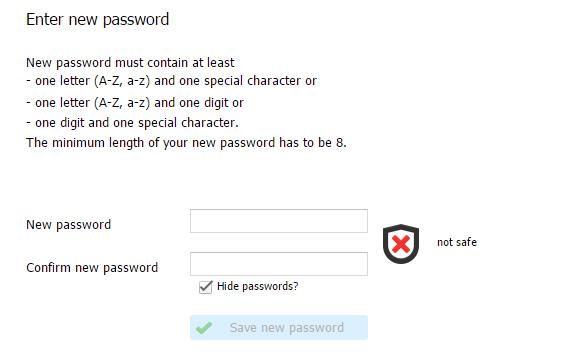
First log in
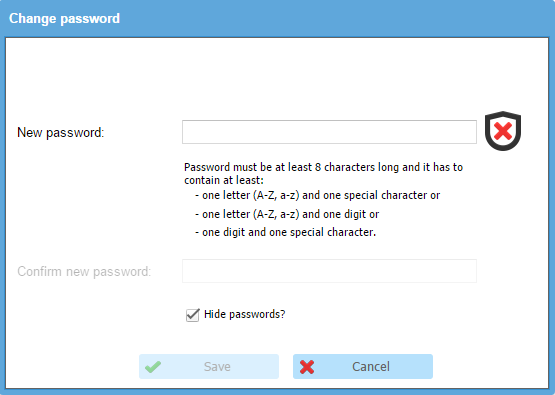
If you are using the webportal for the first time, you have to use the standard password that have you received from the clinic.
Afterwards you will be asked to change this password before you can continue.
If you want to see your new password in plaintext you can uncheck 'Hide passwords?'.
 |
 |
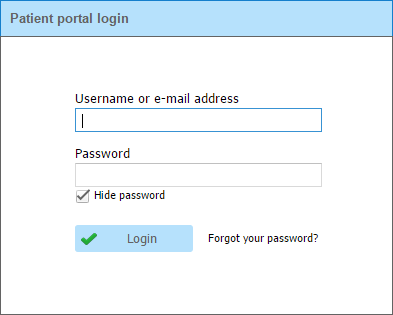
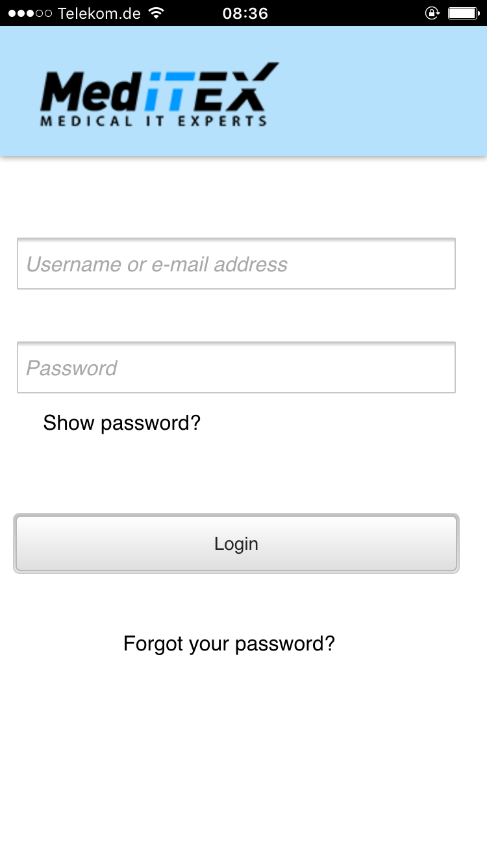
General log in
Type in either your username or your email address associated with your webportal account and your password.
If you want to see your password in plaintext you can uncheck 'Hide password'.
 |
 |
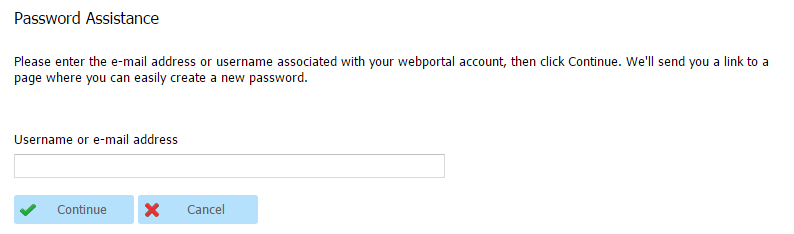
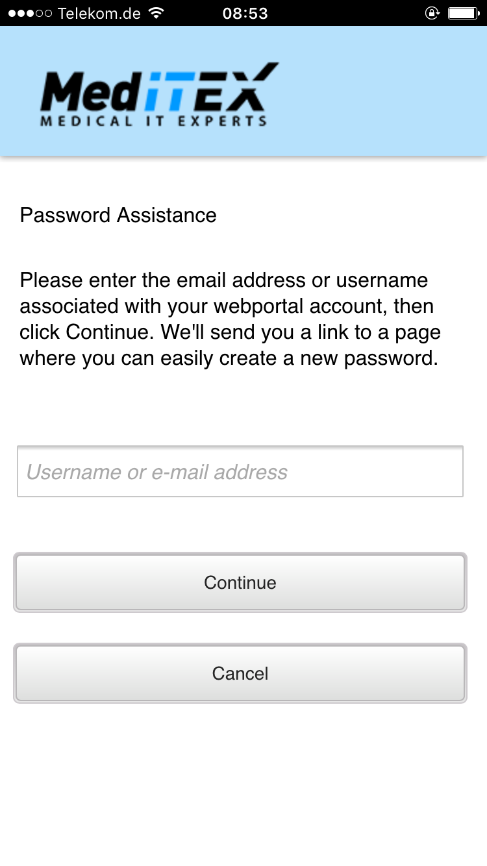
Forgot your password?
If you forgot your password you can click on “Forgot your password?” on the log in page.
You will be redirected to this page where you can type in your username or email address associated with your webportal account.
 |
 |
After clicking 'Continue' you will receive an email with a link to the page where you can easily create a new password.
 |
 |
After saving the new password, you can log in.
If you don’t have an associated email address you cannot use this functionality. Please contact the clinic to reset your password.
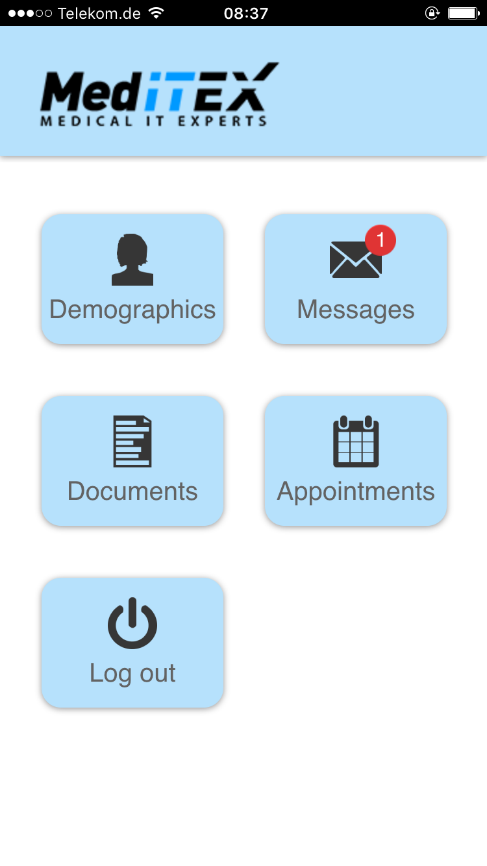
The navigation shows you the different available areas that you can choose. The red bullet on 'Messages' shows you the number of unread messages.
 |
 |
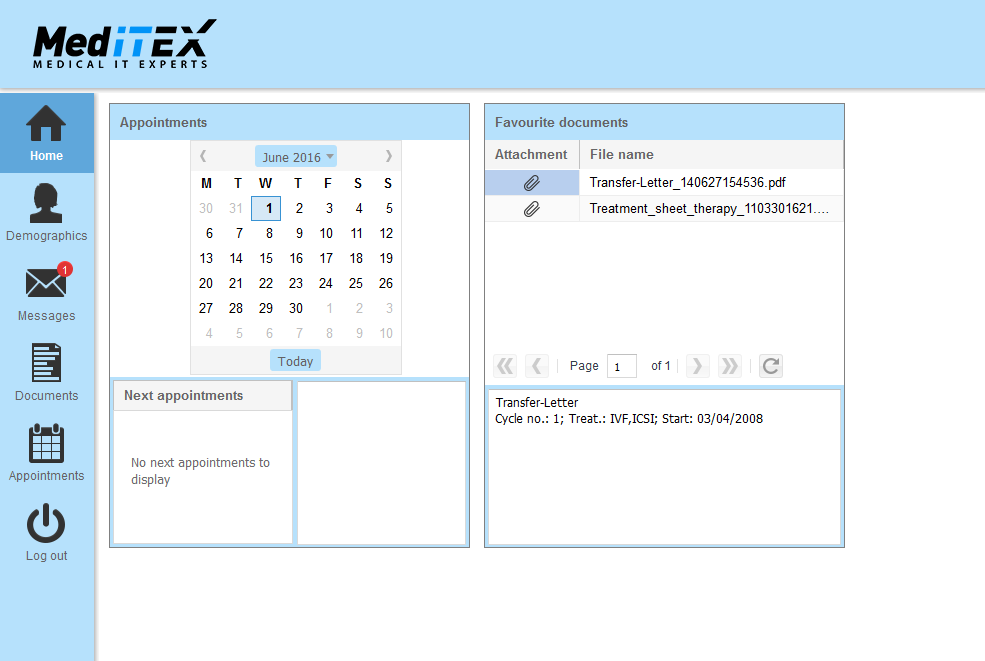
Home
The homescreen is an overview. You can display your next appointments and your favourite documents.
This area is only available for the desktop version of webportal.
 |
Demographics
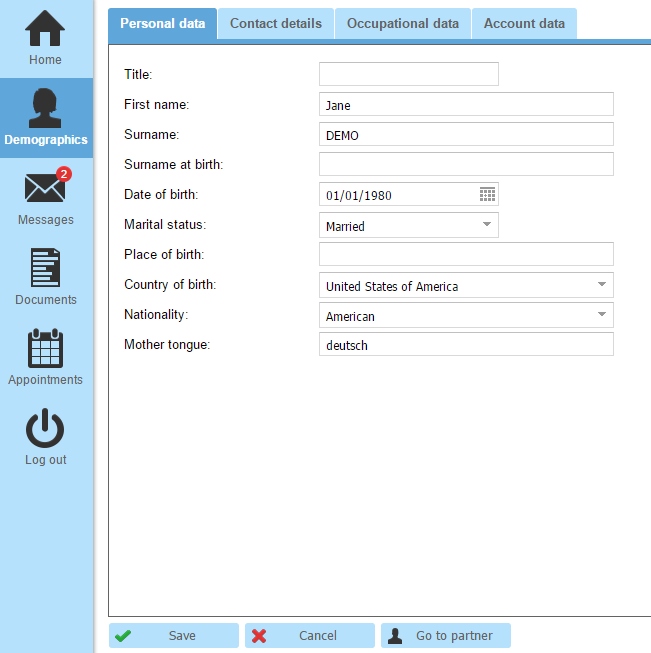
In demographics, you can display and change your data.
Change data
To find everything easily, there are four different areas:
- Personal data
- Contact details
- Occupational data
- Account data
 |
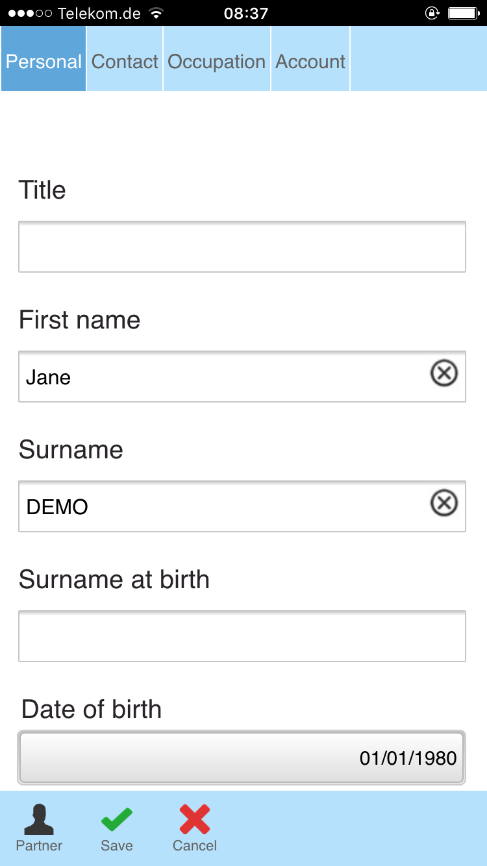 |
| Save all your changes. |
|
| Don’t save your changes and discard. | |
| If you are using your webportal together with your partner you can display the partner's data. |
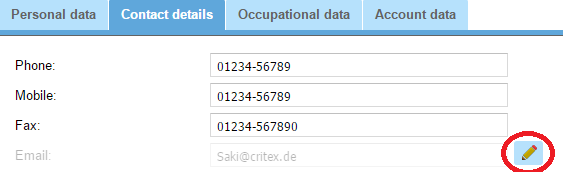
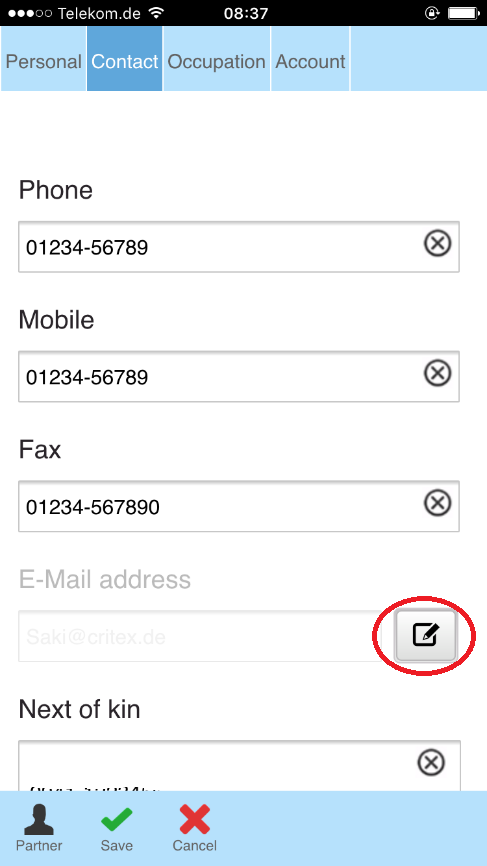
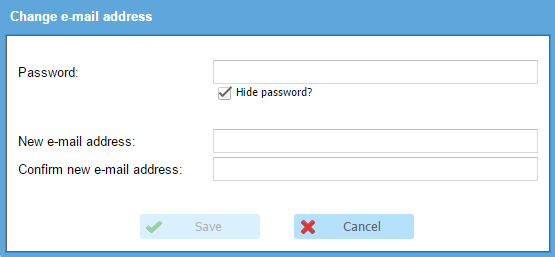
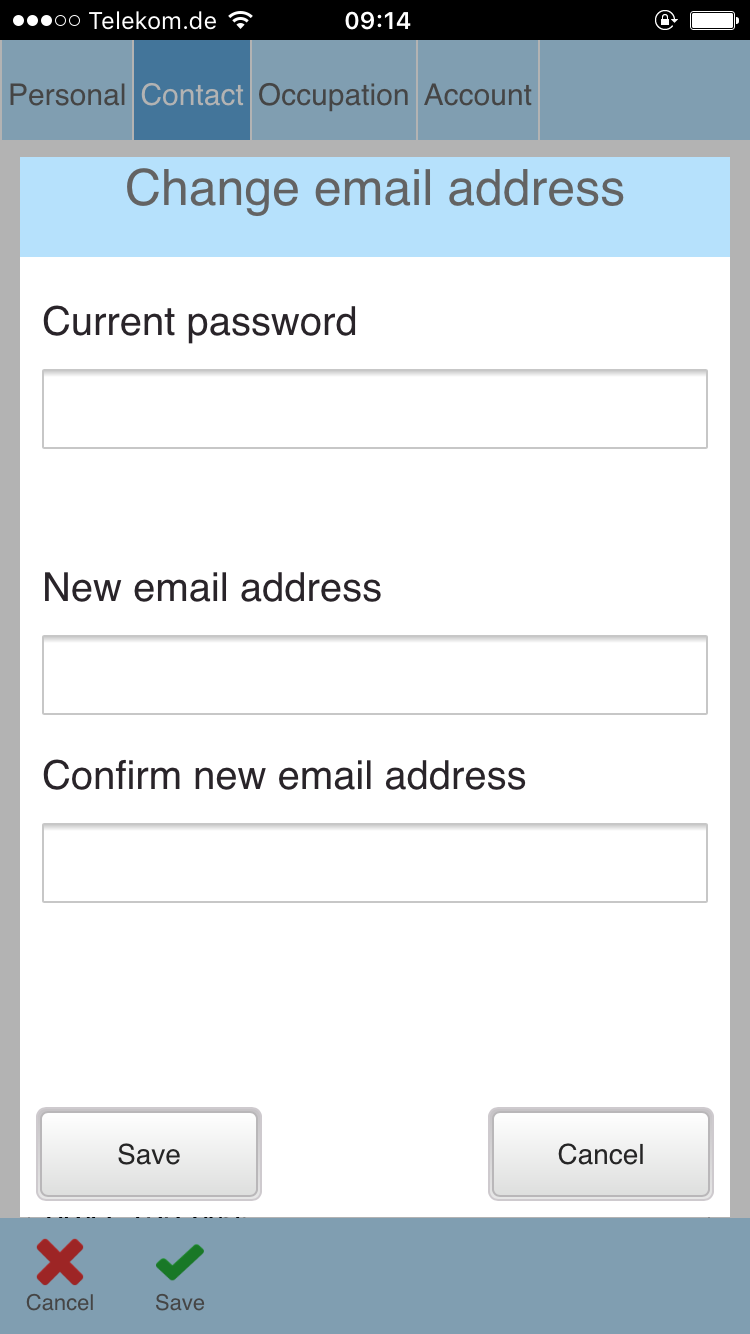
Change Email address
If you want to change your email address go to 'Contact details' and press the button next to your email address.
 |
 |
A new window will open. Here you can change your email address.
 |
 |
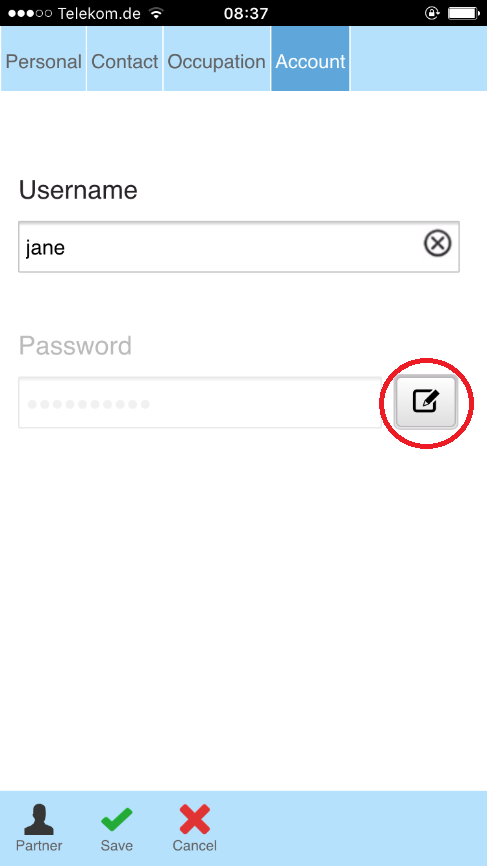
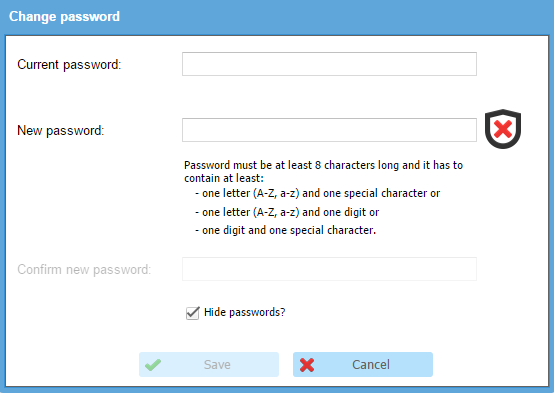
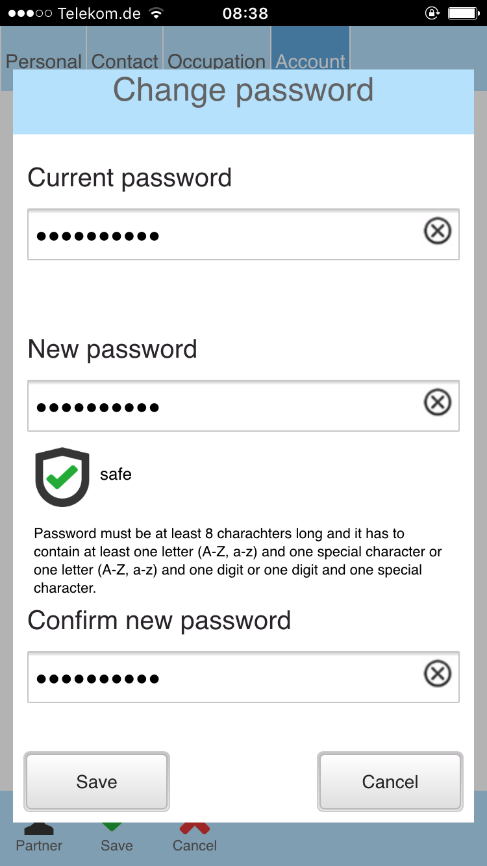
Change password
If you want to change your password, go to 'Account data' and press the button next to your password as shown in the screenshots.
 |
 |
A new window will open. Here you can change your password.
 |
 |
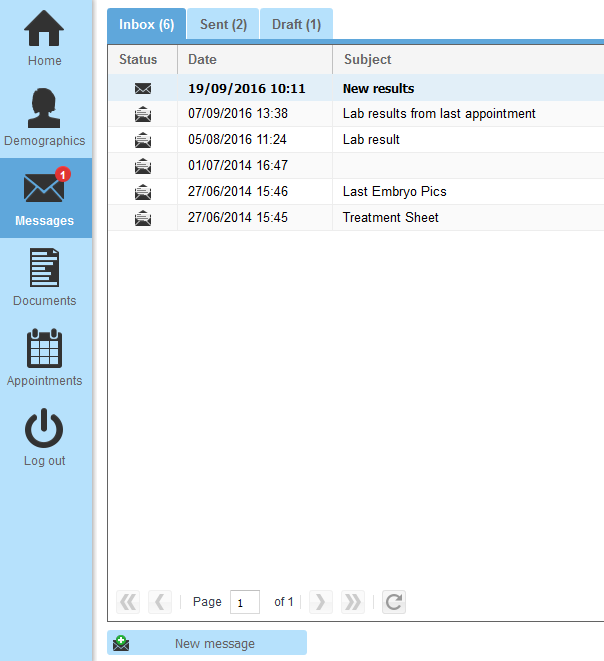
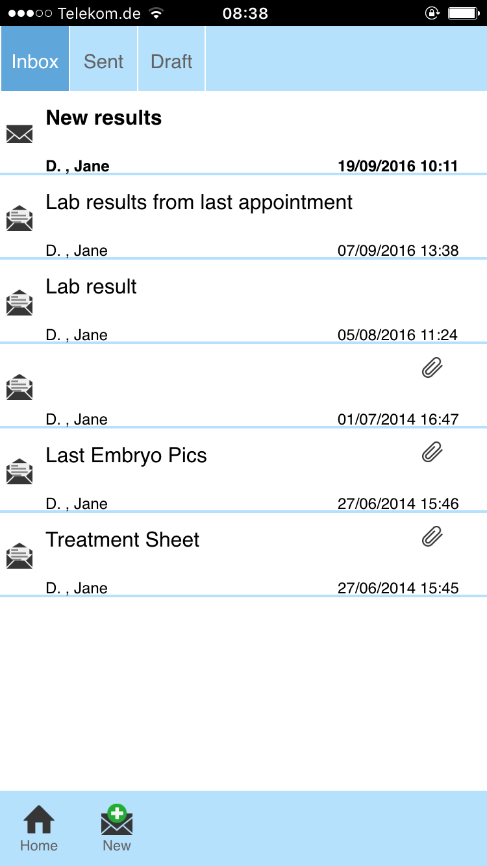
Messages
Areas
There are three different areas
- Inbox
- Sent
- Draft
 |
 |
Open message
To open a message in the desktop version, you have to double click on the desired message.
To open a message in the mobile version, you have to click on the desired message.
|
Click on this button to create a new message. An empty page, where you can type in your message, will open. |
|
| Open the message you want to reply and click on this button. |
|
|
Print message is only available for inbox messages and sent messages. To print a message, open the message that you want to print and click on this button. |
|
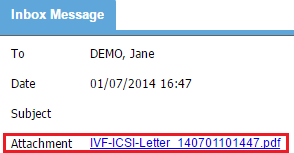 |
There are two different ways to open an attachment:
|
|
Only one document can be uploaded to one message. To upload a document open a new message or reply to a received message and press this button. Afterwards you can choose the document you want to upload. |
|
| If you want to remove an uploaded document, click on this button. |
|
|
|
| If you write a new message or reply to a message but you don’t want to send it immediately, you can save it as a draft. |
|
| If you want to delete a draft, click on this button. |
Documents
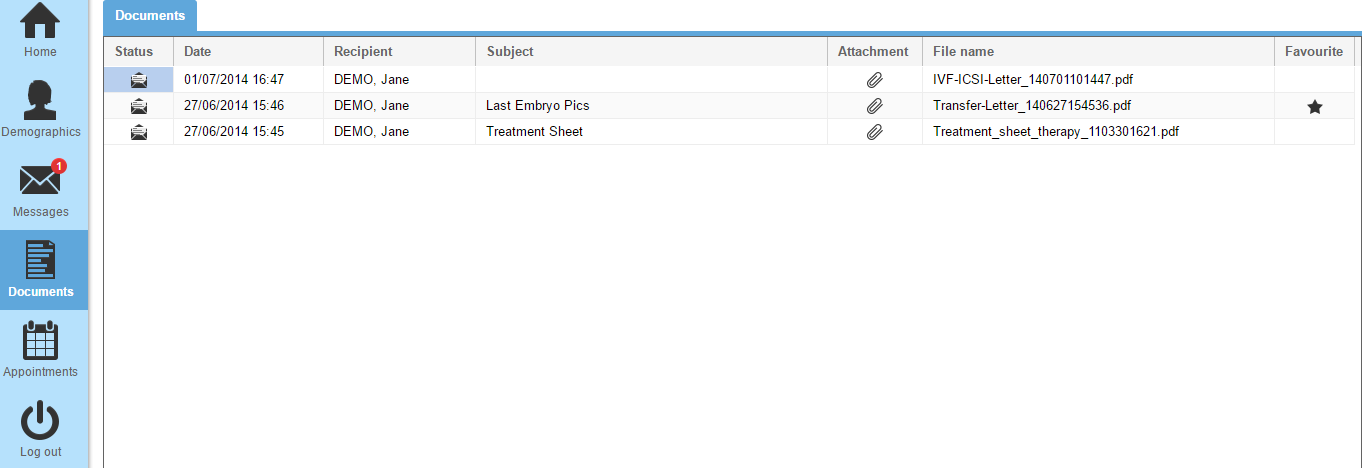 |
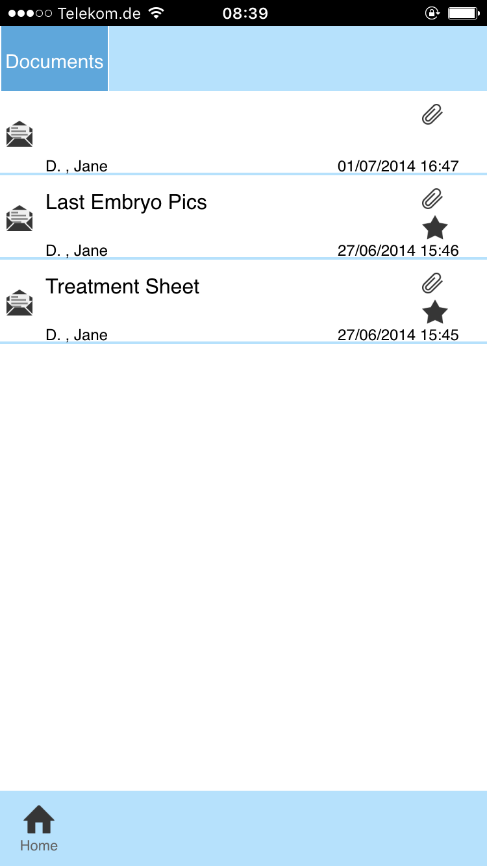 |
Open document
|
There are two different ways to open a document:
|
Set document as favourite/Remove document from favourites
|
Set attachment as favourite/Remove attachment from favourites: If you receive a message with an attachment, you can set the attachment or remove it from your favourites. Just click on one of these buttons. |
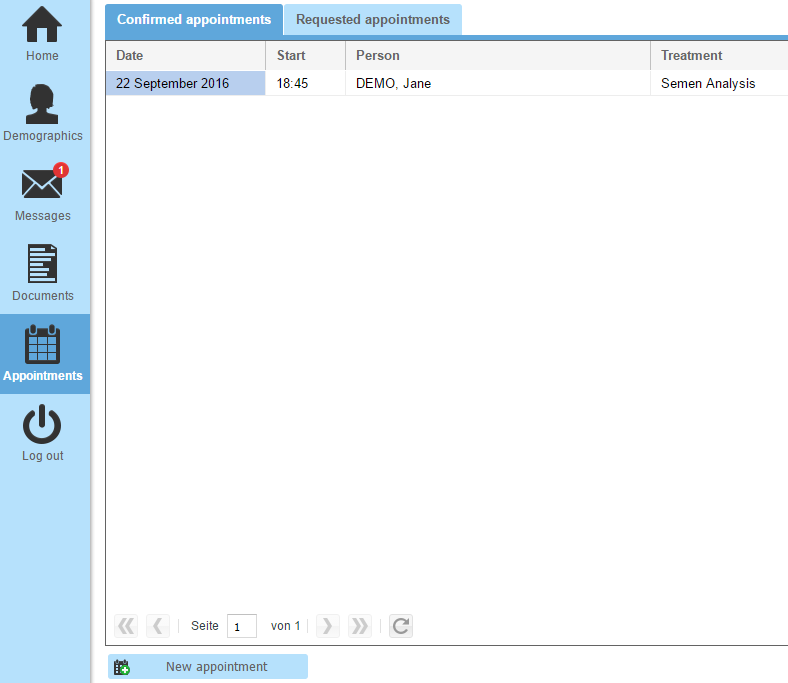
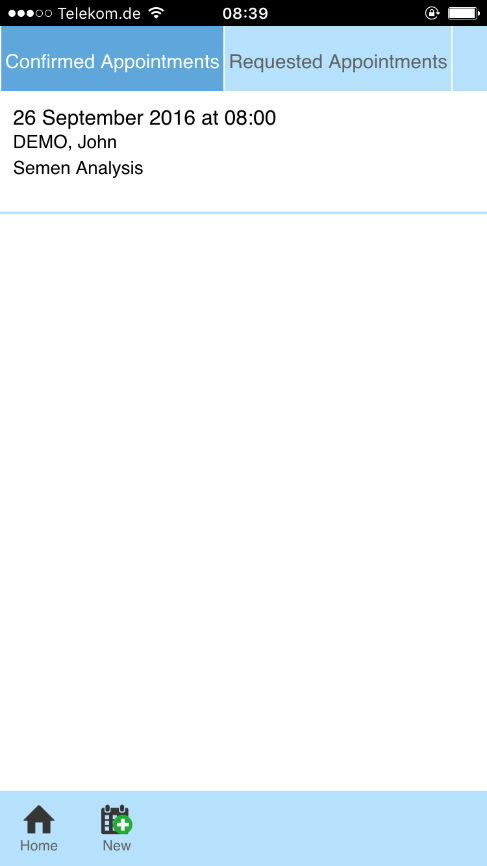
Appointments
Please note that the appointment types shown in the screenshots are example types and are designated by the clinic appointment types within MedITEX Scheduler.
You can display your appointments and make new appointment requests.
Areas
To have an overview of all appointments, we have two areas:
- Confirmed appointments: Displaying all appointments which are already confirmed by the clinic.
- Requested appointments: Here you can display all the requests which have not been confirmed yet and see the declined appointments.
 |
 |
Cancel appointment request
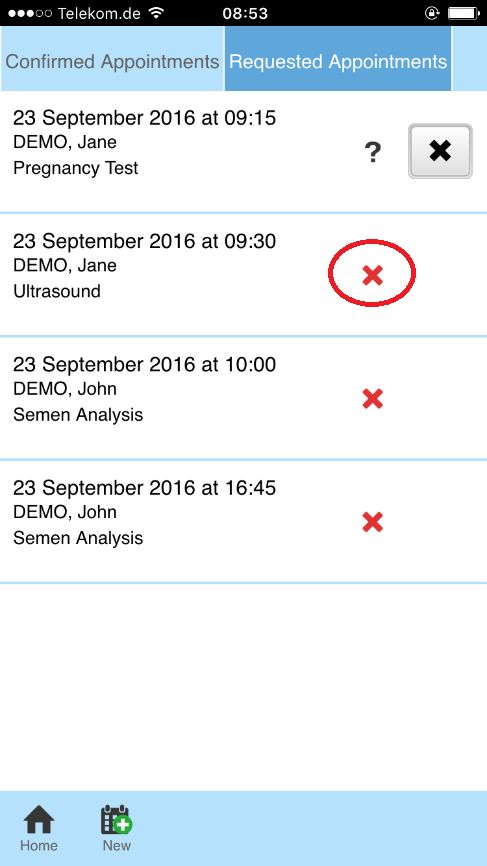 |
It is possible to cancel an appointment request if there is no answer from the clinic. If you want to cancel an appointment request go to 'Requested appointments' and click on this button. |
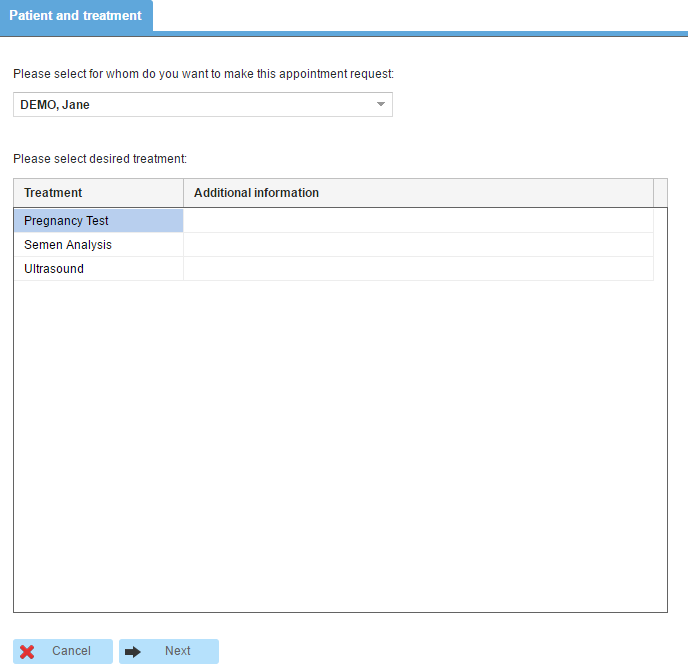
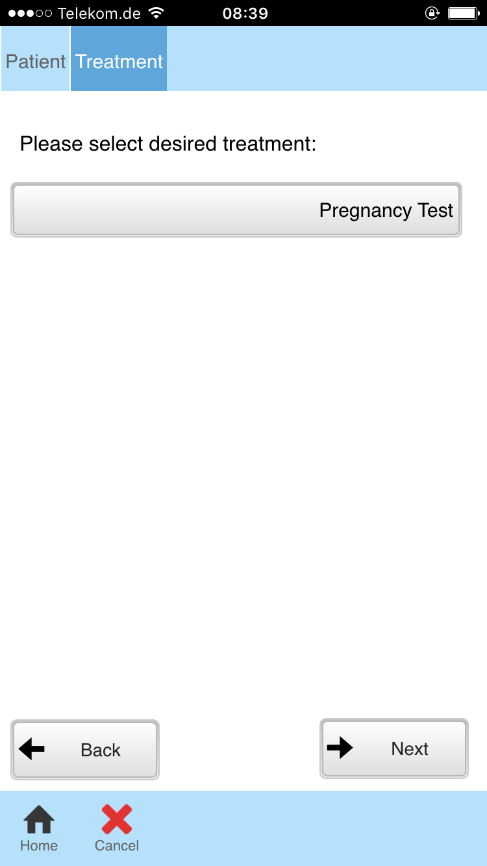
New appointment request
| To make a new appointment request, click on this button. |
Now you have to fill out some information about the request:
- Patient and treatment: If you use the webportal together with your partner, you can also make a request for her/him. Afterwards you have to choose the desired treatment.
 |
|
|
 |
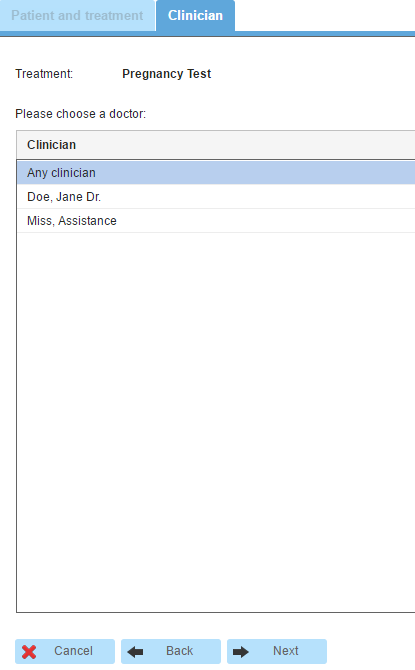
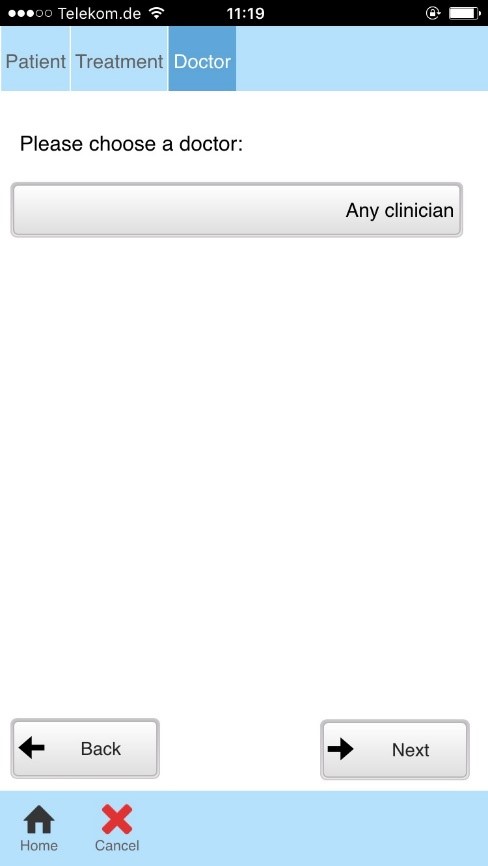
- Clinician: For some treatments (not for all), you can choose your desired clinician.
 |
 |
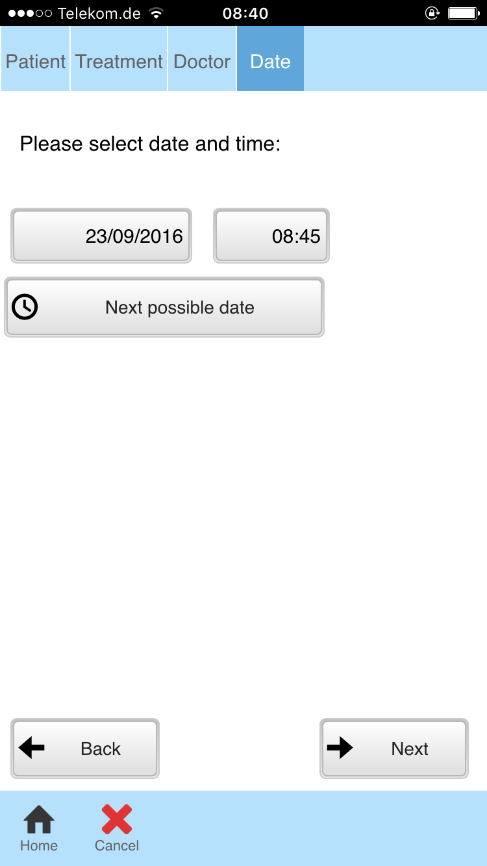
- Date and time: Here you can select a date and a time for your appointment. If you don’t want to search for the next possible date you can use the button 'Next possible date' and it will be made automatically.
 |
 |
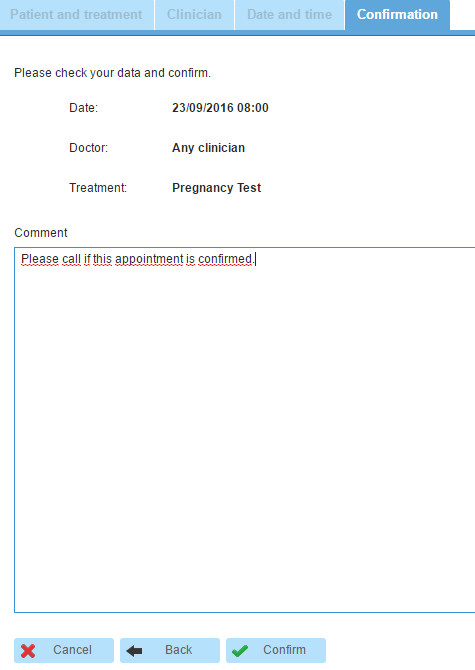
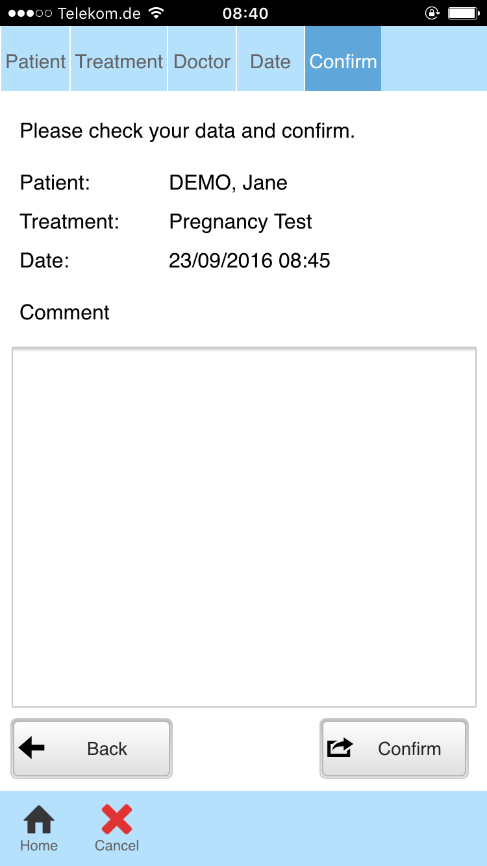
- Confirm: The last step is to check all the information and confirm the request. If you want to write something in addition, you can use the field for comments. Once your request is complete, please click on 'Confirm' to send the appointment request to the clinic.
 |
 |
| Back to top |