How to define a special view?
From MedITEX - Wiki
(Difference between revisions)
| Line 1: | Line 1: | ||
| − | |||
<table border="0" width="367" height="149"> | <table border="0" width="367" height="149"> | ||
<tbody> | <tbody> | ||
| Line 8: | Line 7: | ||
</tbody> | </tbody> | ||
</table> | </table> | ||
| − | |||
<table border="0"> | <table border="0"> | ||
<tbody> | <tbody> | ||
<tr> | <tr> | ||
| − | <td><img src="/images/ | + | <td><img src="/images/DefineSpecialViewNew.png" alt="" width="568" height="530" /></td> |
</tr> | </tr> | ||
</tbody> | </tbody> | ||
| Line 25: | Line 23: | ||
<li>This order will be saved for each user individually. So if you quit the scheduler and log in again you will see the order as you have defined it.</li> | <li>This order will be saved for each user individually. So if you quit the scheduler and log in again you will see the order as you have defined it.</li> | ||
</ul> | </ul> | ||
| + | <ul> | ||
| + | <li>If you select a different view and want to return to your defined view, click on "Special Selection".</li> | ||
| + | </ul> | ||
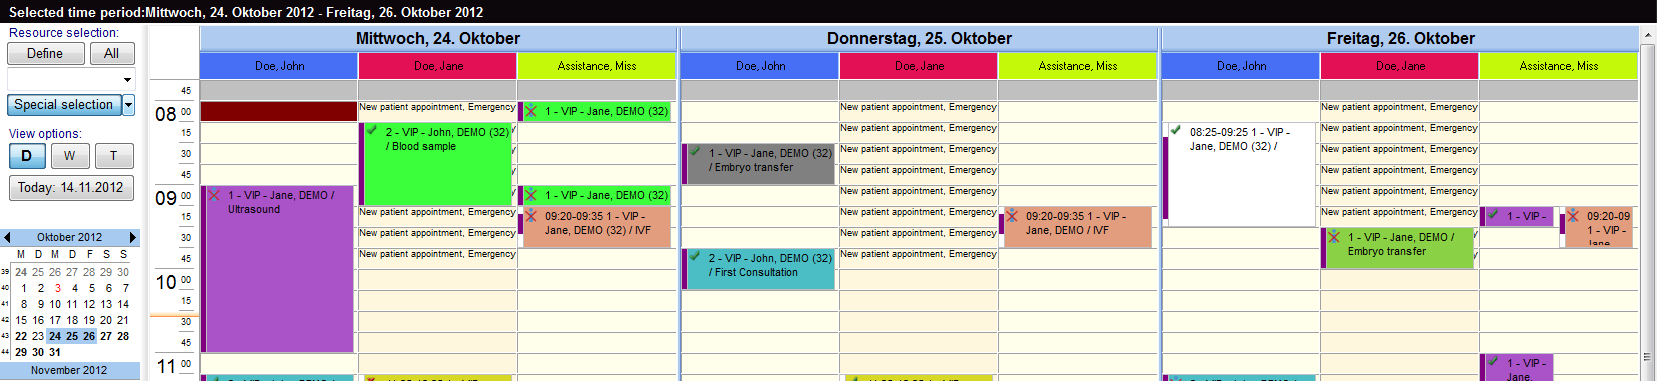
| + | <p>For example:<br />When you choose the selection shown above, you obtained this view:</p> | ||
| + | <table border="0"> | ||
| + | <tbody> | ||
| + | <tr> | ||
| + | <td>[[Image:Define3Day.png|none|765px|thumb|left|link=http://wiki.meditex-software.com/images/Define3Day.png| ]]</td> | ||
| + | </tr> | ||
| + | </tbody> | ||
| + | </table> | ||
| + | <p> </p> | ||
| + | <p> </p> | ||
Revision as of 11:38, 14 November 2012
| <img src="/images/SpecialViewEditRed.png" alt="" width="142" height="193" /> | To create a special view, you have to click at the arrow on the right side of the button "special selection". It opens a box labeled "Edit". Click it to go to the editing window. |
| <img src="/images/DefineSpecialViewNew.png" alt="" width="568" height="530" /> |
- In this list it is possible to vary the order of resources by moving the selected resource it up or down using the corresponding buttons on the right side.
- In the middle of the window you can create your personal scheduler view: day, week, timeline or year.
- This order will be saved for each user individually. So if you quit the scheduler and log in again you will see the order as you have defined it.
- If you select a different view and want to return to your defined view, click on "Special Selection".
For example:
When you choose the selection shown above, you obtained this view:
 |